
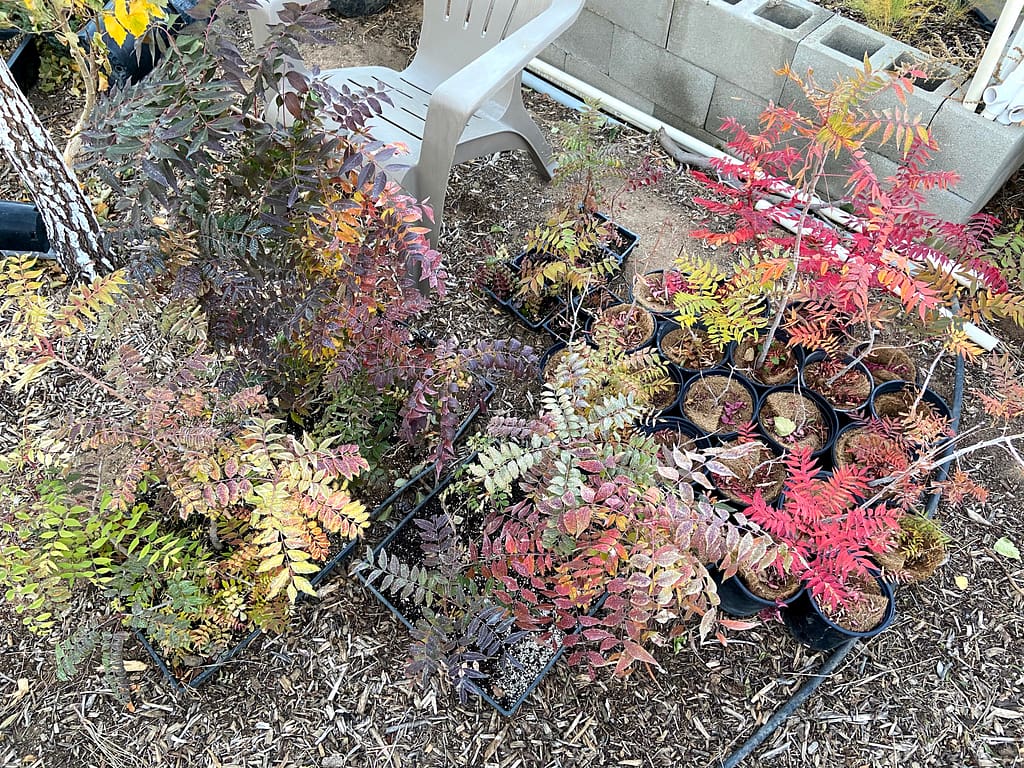
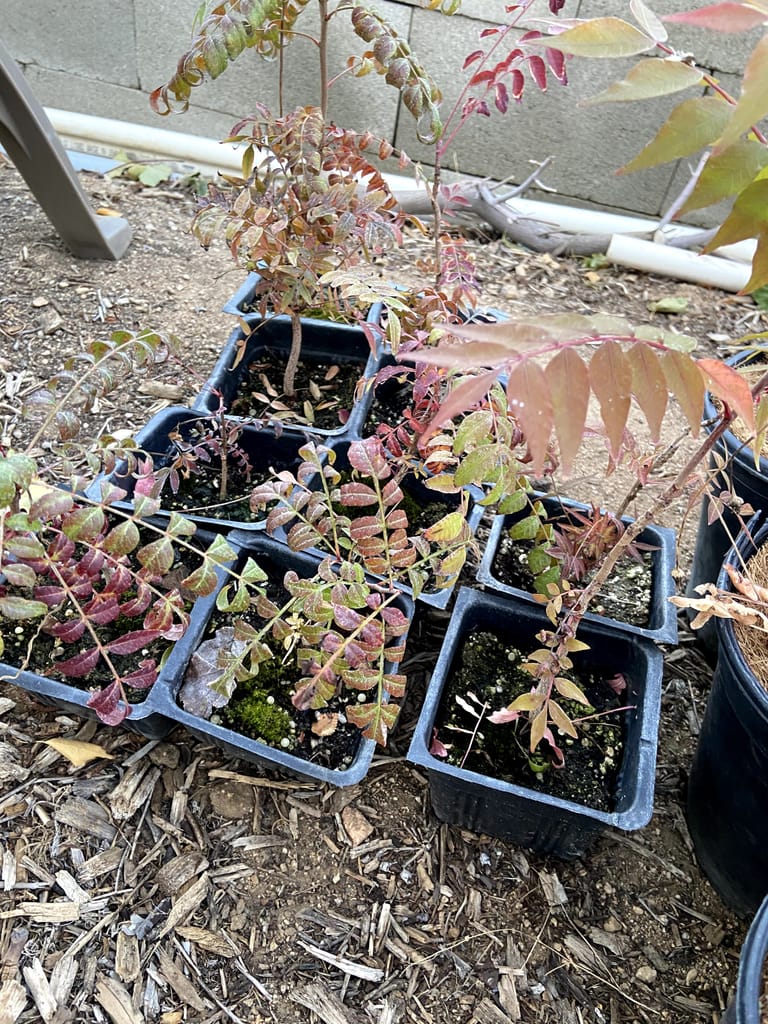
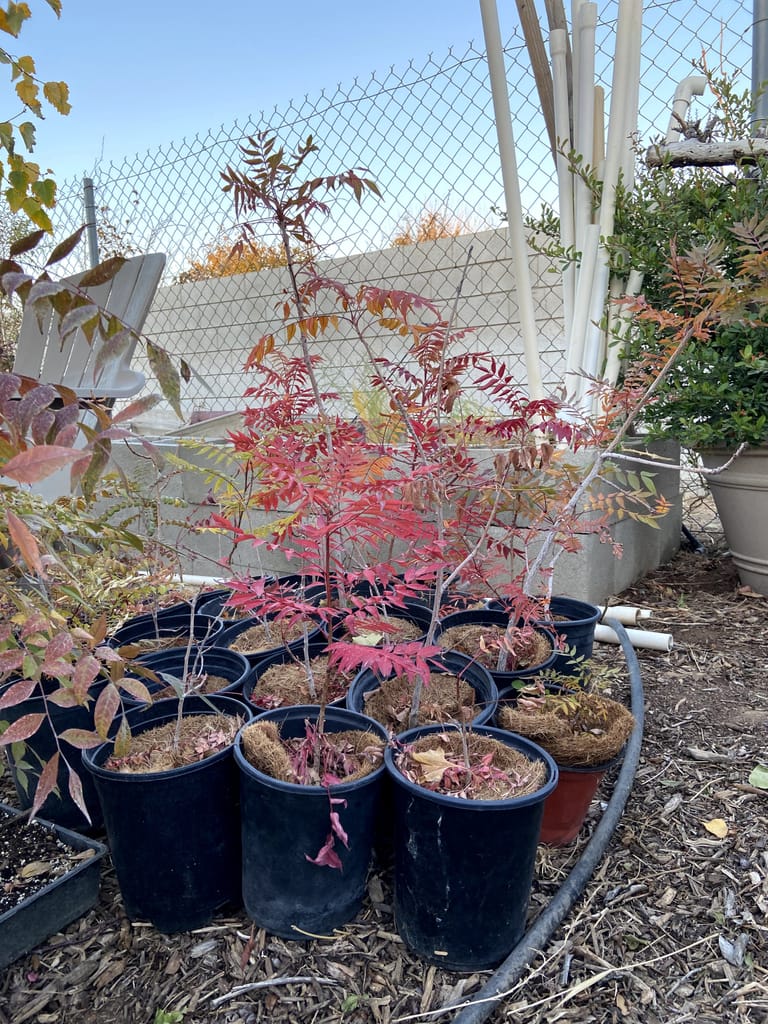
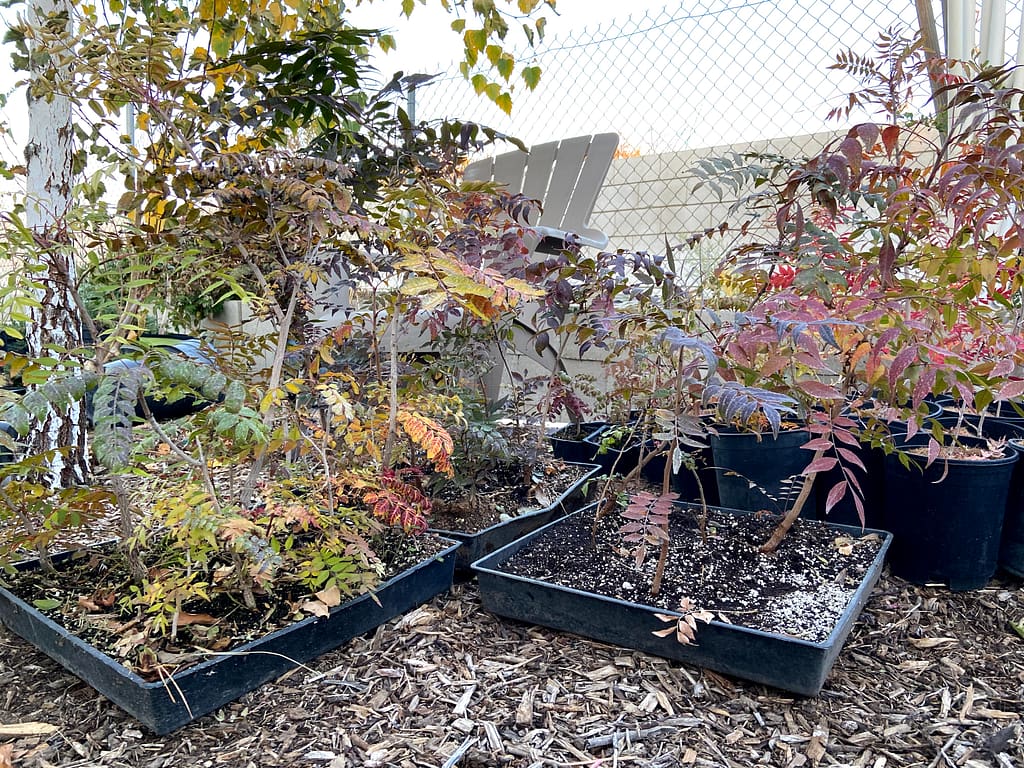
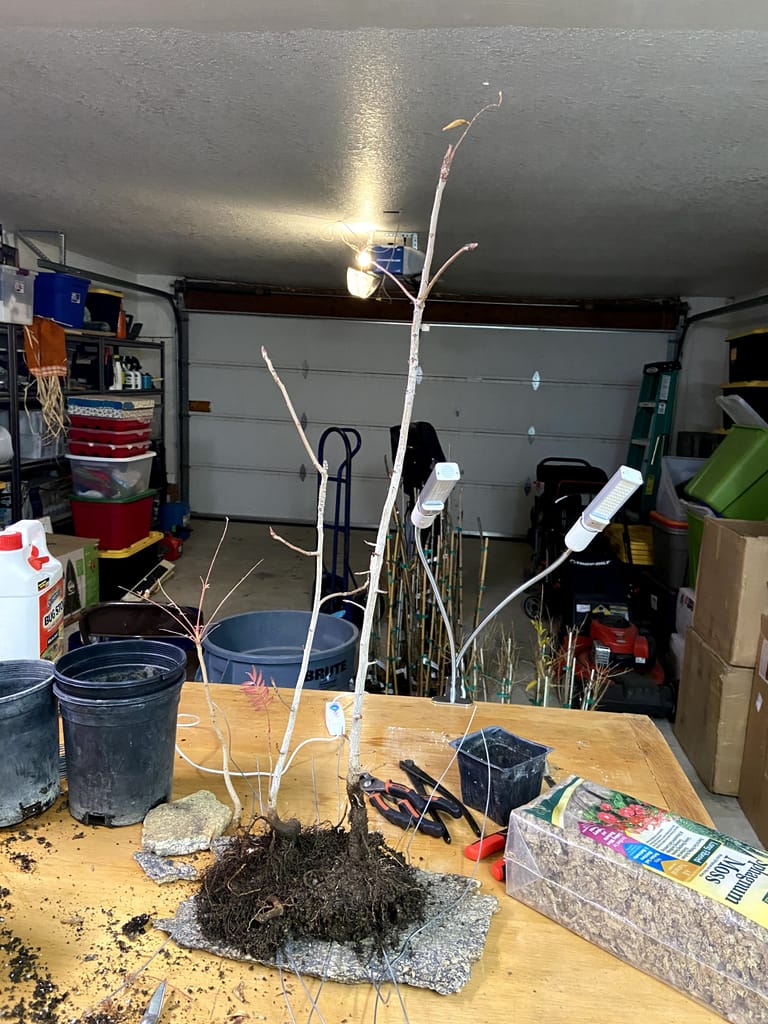
I’ve been excited about this lot of Chinese pistache trees that I’ve been nursing for 2 years. They began as a bunch of understory seedlings from a larger Chinese pistache. I took out several sections in a mat of roots, and let them recover for one year in ground before potting them up.
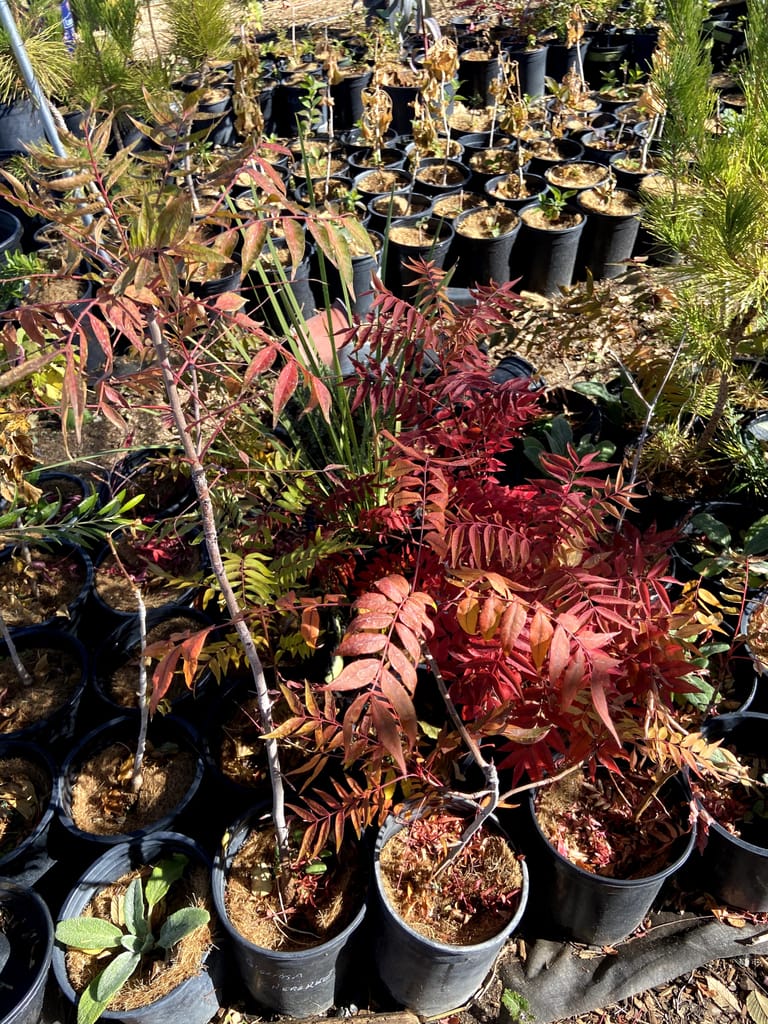
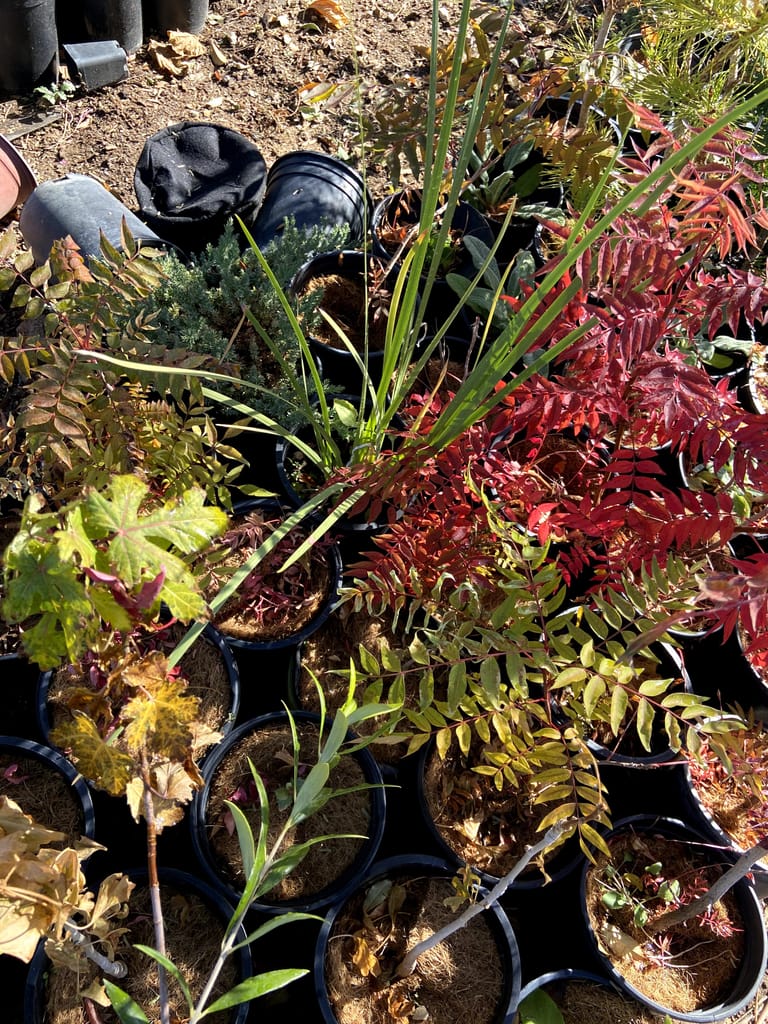
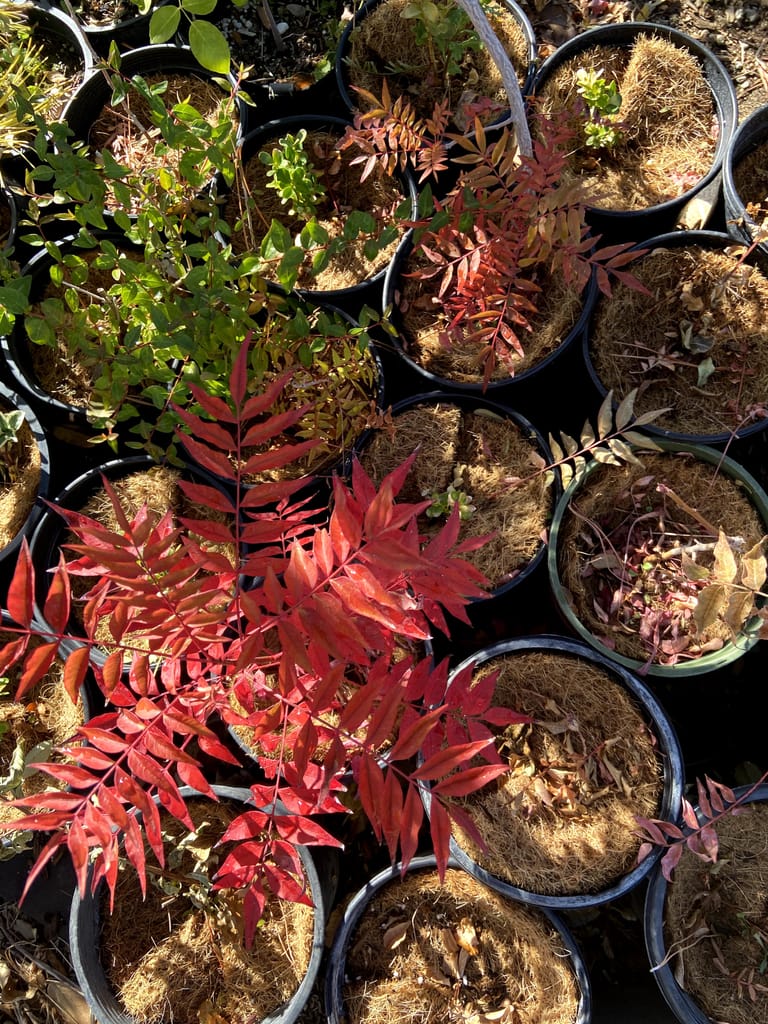
As you can see below, the fall colors on these trees are awesome, and with each individual seedling comes its own timing that differs from other seedlings when it comes to leafing out and changing colors in fall. These were a great recipe for a forest. (some of the colors were ruined by a few early frosts, but you get the picture)
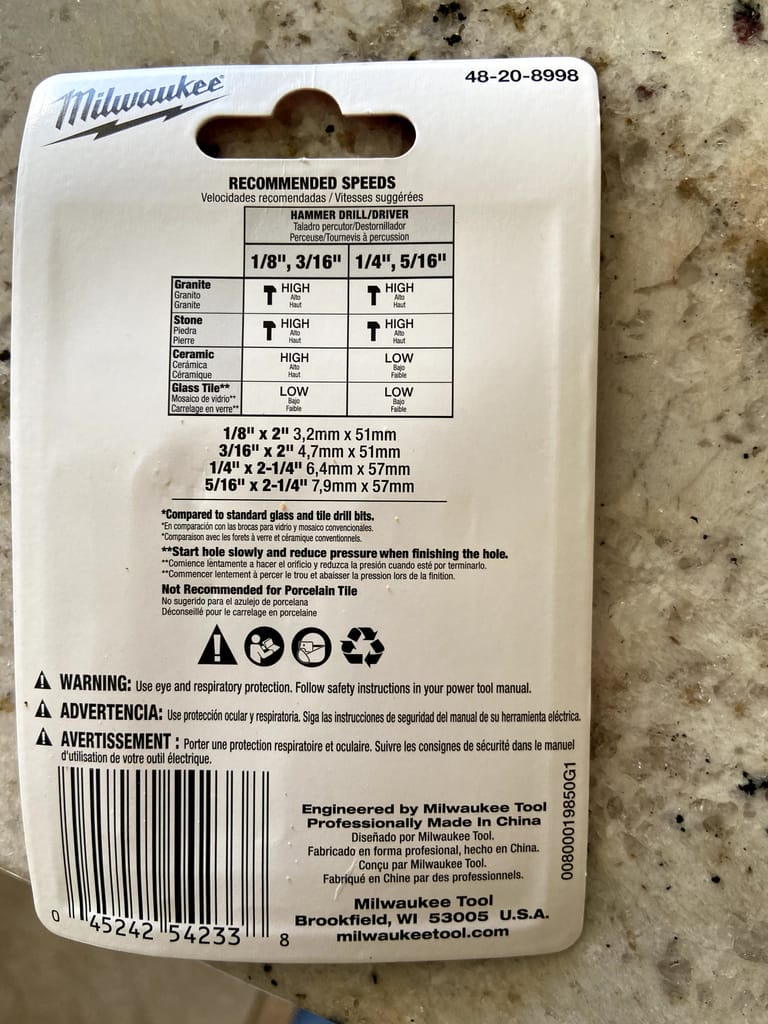
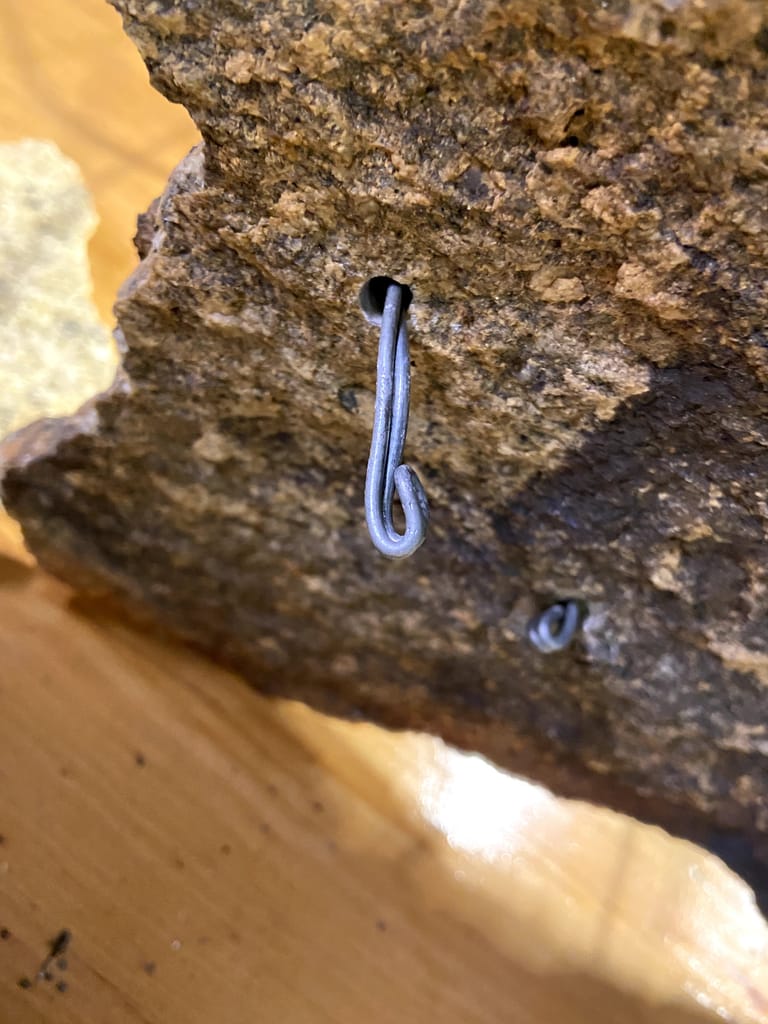
Now I decided to plant a few on a slab of granite (I think…) and that came with a bit of preparation before beginning the repotting process. I first had to drill holes with a stone and tile bit. Of all the bits I’ve used, I was most pleased with Milwaukee’s drill and bit combo, as they specify what settings to use and what speeds to drill with for each varying situation. This is something I haven’t seen on other bits, that have led to incorrect use and me destroying them and/or the subject of the drilling. The closest thing I’ve found on other bits is a rpm recommendation, but how hard you pull the trigger on your drill doesn’t easily convert to rpms, so that wasn’t ideal…
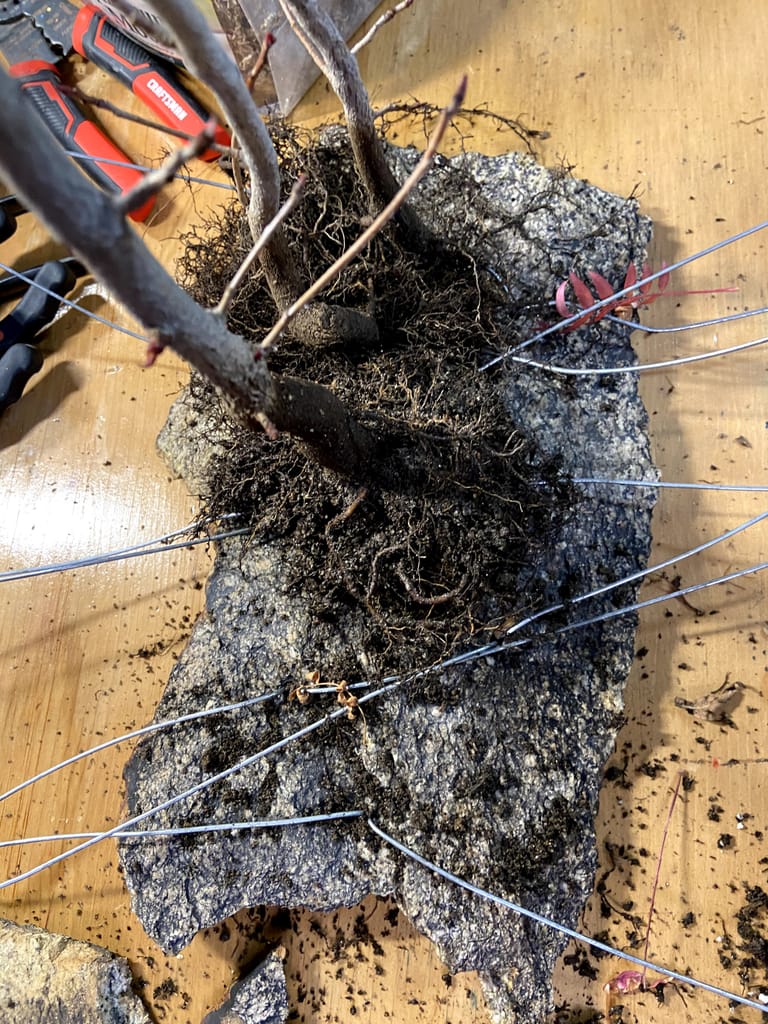
Once I had the holes drilled in more places than I thought necessary (turns out I was wrong…), I went ahead with the tie down wires. In each hole I’d put a crimped piece of galvanized steel through and bend it back as to prevent it from escaping the hole. This is a trick I learned watching Ryan Neil of Bonsai Mirai, and it was pretty handy.
Finished with all the wires but one in.

My tie down options on the slab.

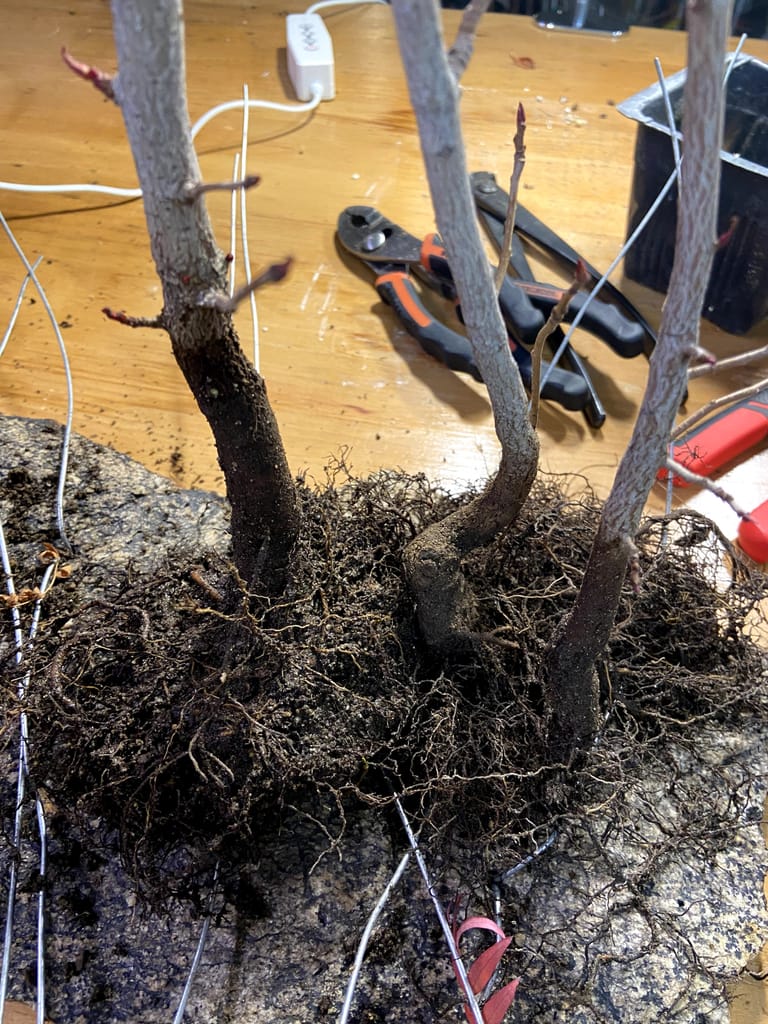
Now I started playing with positioning of the larger trees. I was able to place them and step back to see how they’d fit. I tried putting the trees on the left side, but after moving them to the right side I decided they looked better there.
I then started looking at which tie down wires I would use for each tree.
I then forgot to take any pictures from there on out, which coincided with the difficulty and frustration I was dealing with while trying to get it to work properly. There were a few issues I dealt with and the toughest one was having enough tie down wires in enough places, and being able to access them after soil had been put down. This compounded with the fact that the root systems we not significantly developed/flattened out which made it harder to pin down without specifically placed tie downs. Nonetheless, I ended up with this below.
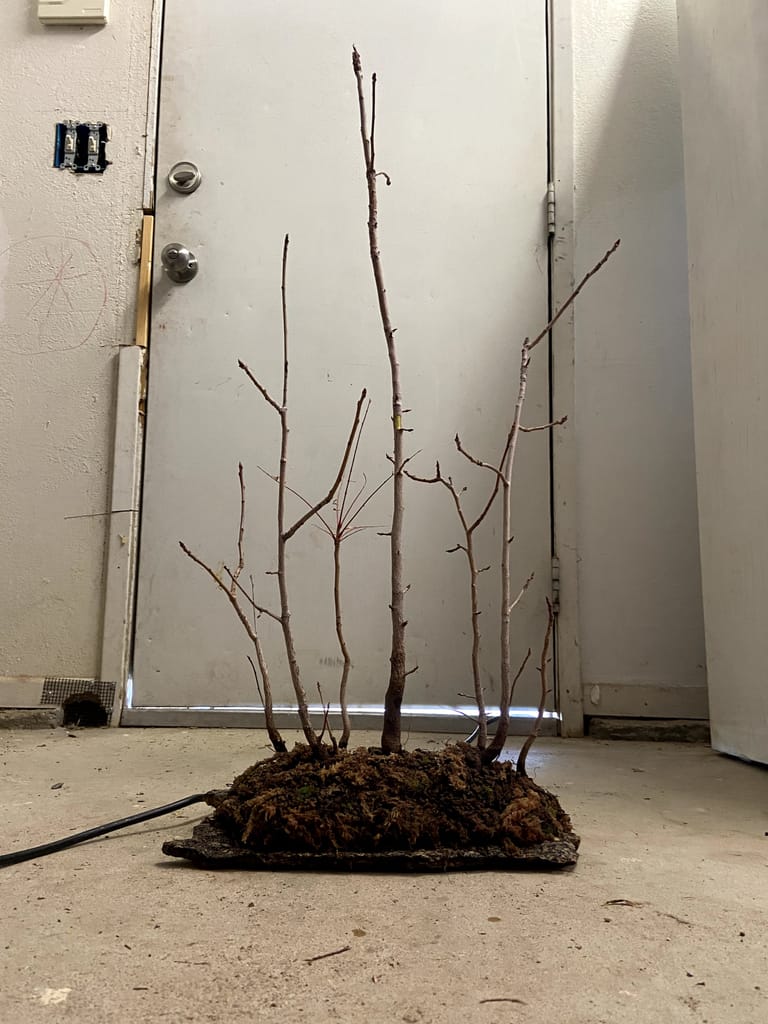
Overall I’m pleased with the outcome, but I wish I would’ve been able to secure certain angles better, and wish I had fit more trees on there, but I went with what I thought was attainable with my skill level in slab planting.