
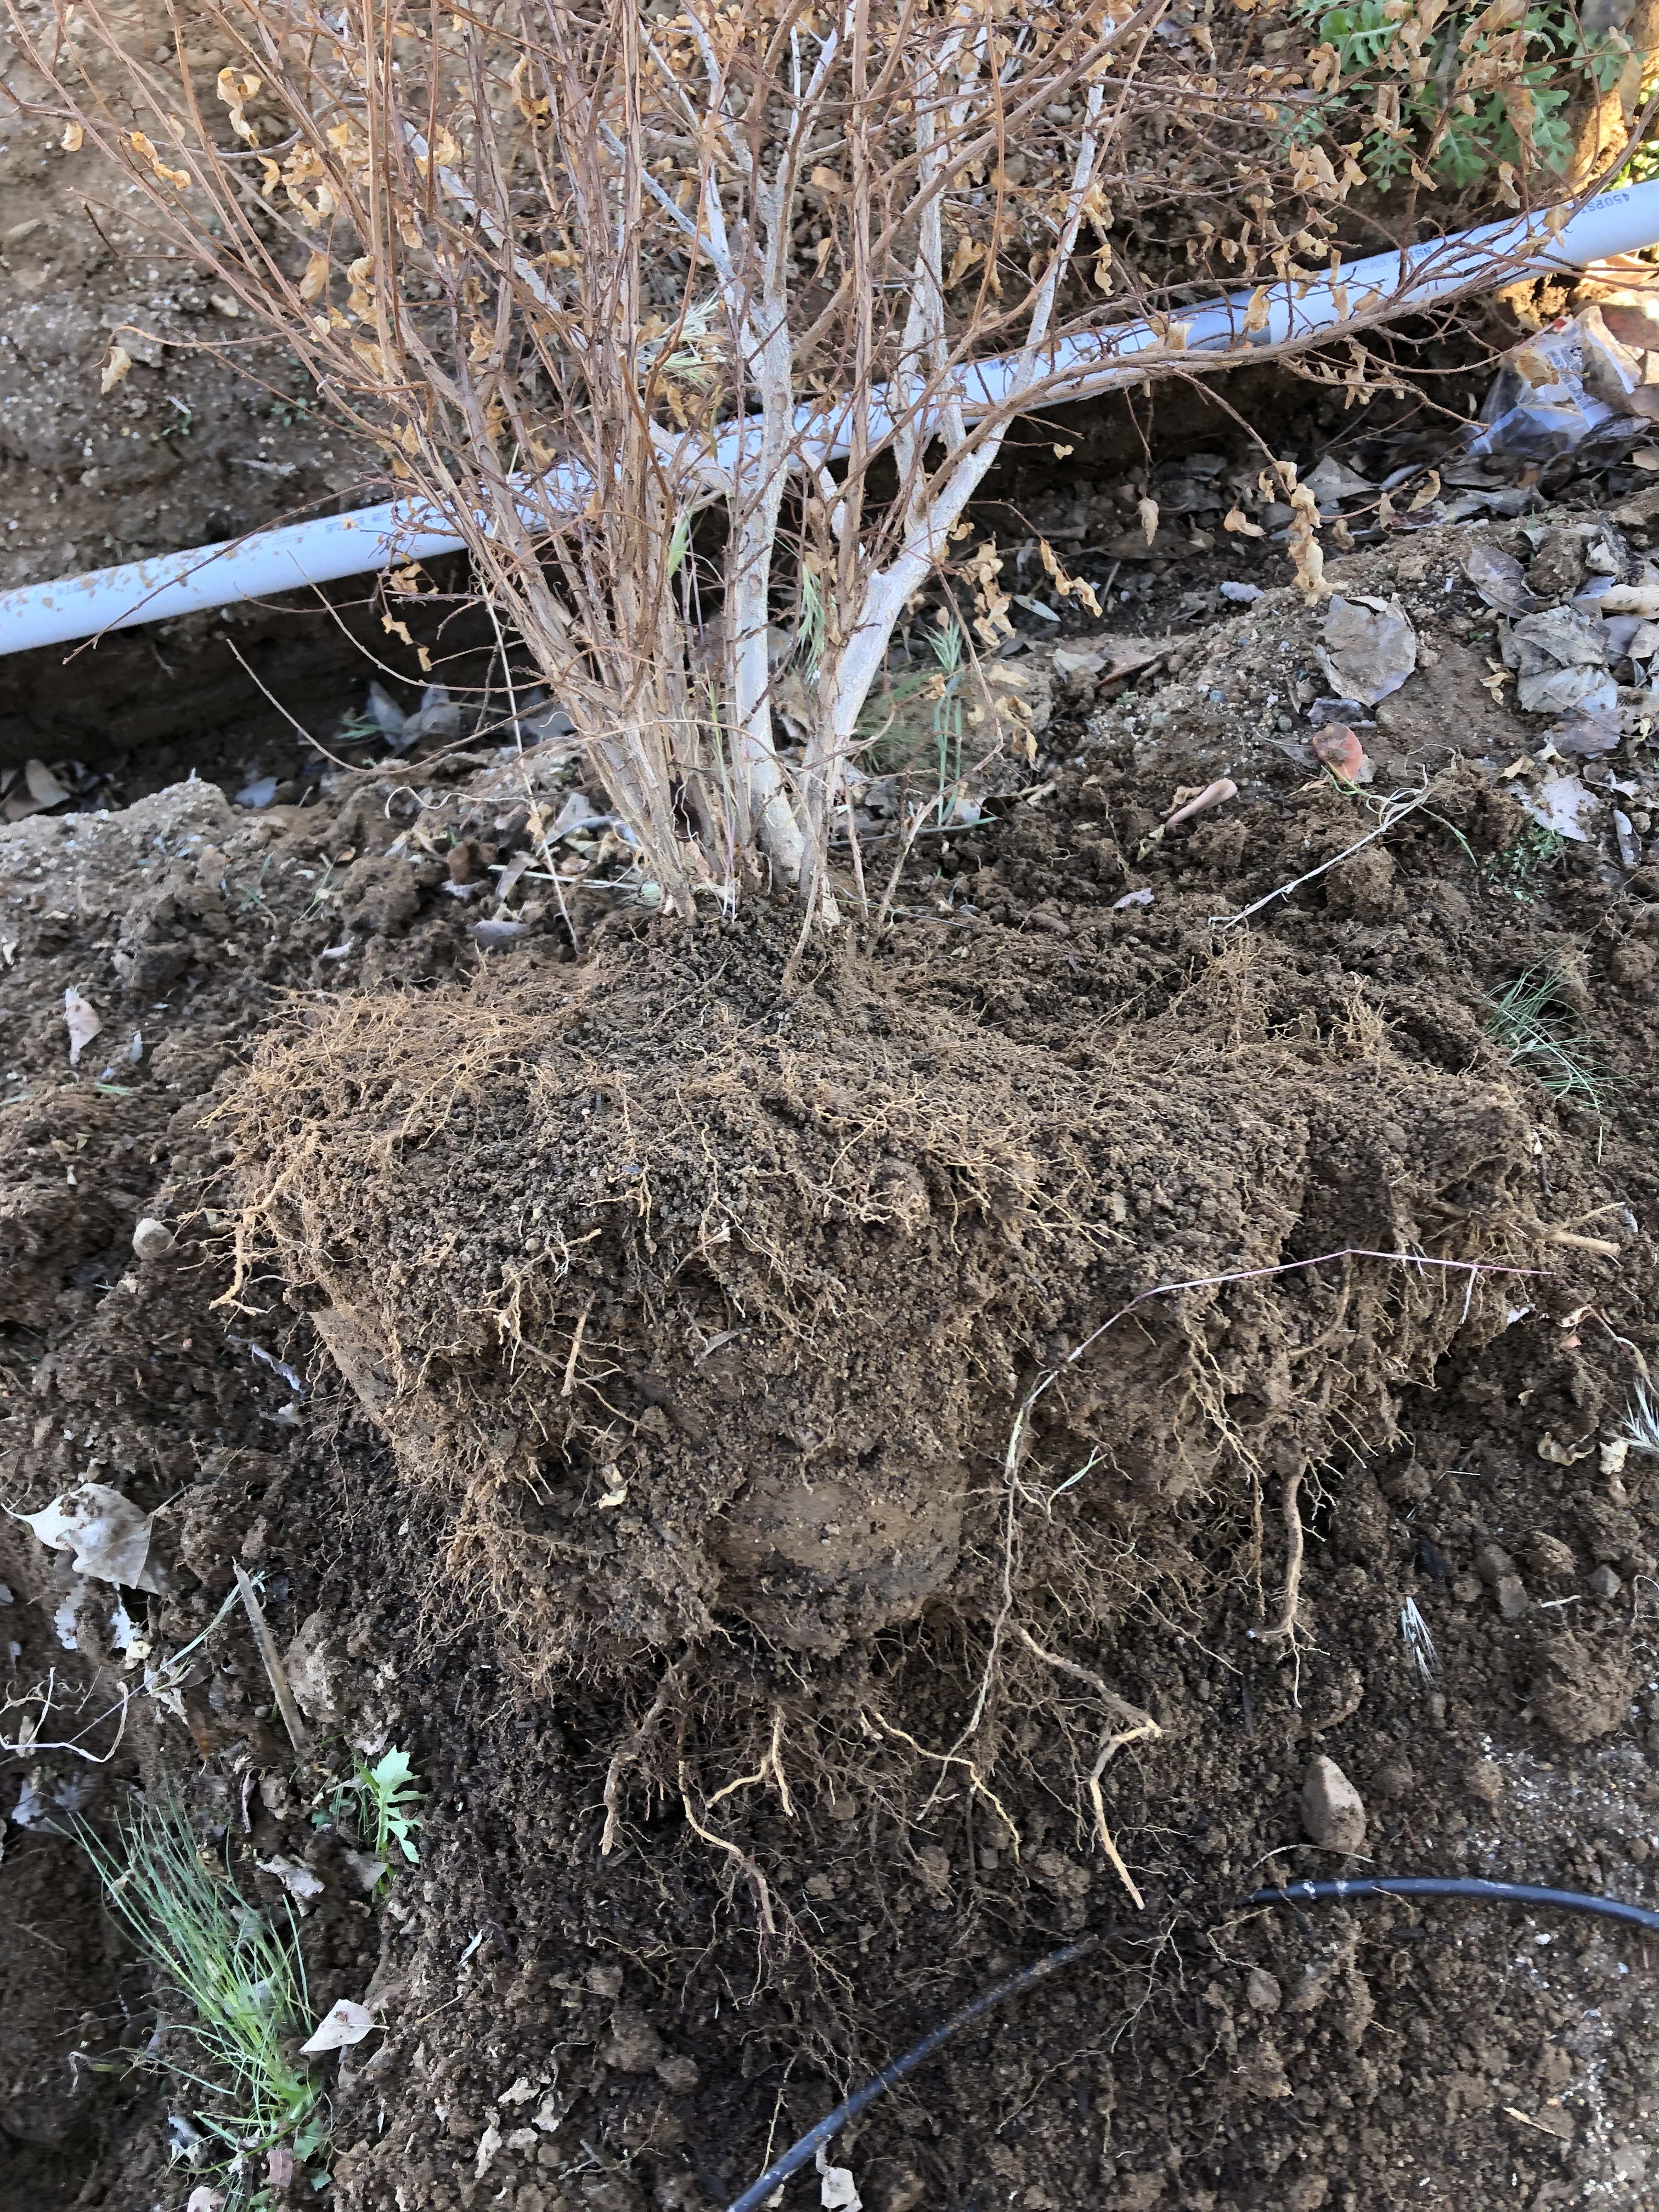
This crape myrtle has been in the ground for about a year and a half. I was hoping to thicken the trunk below the junction of the two main trunks. I got several “suckers” below it, so I’m hoping to see a significant thickening there.
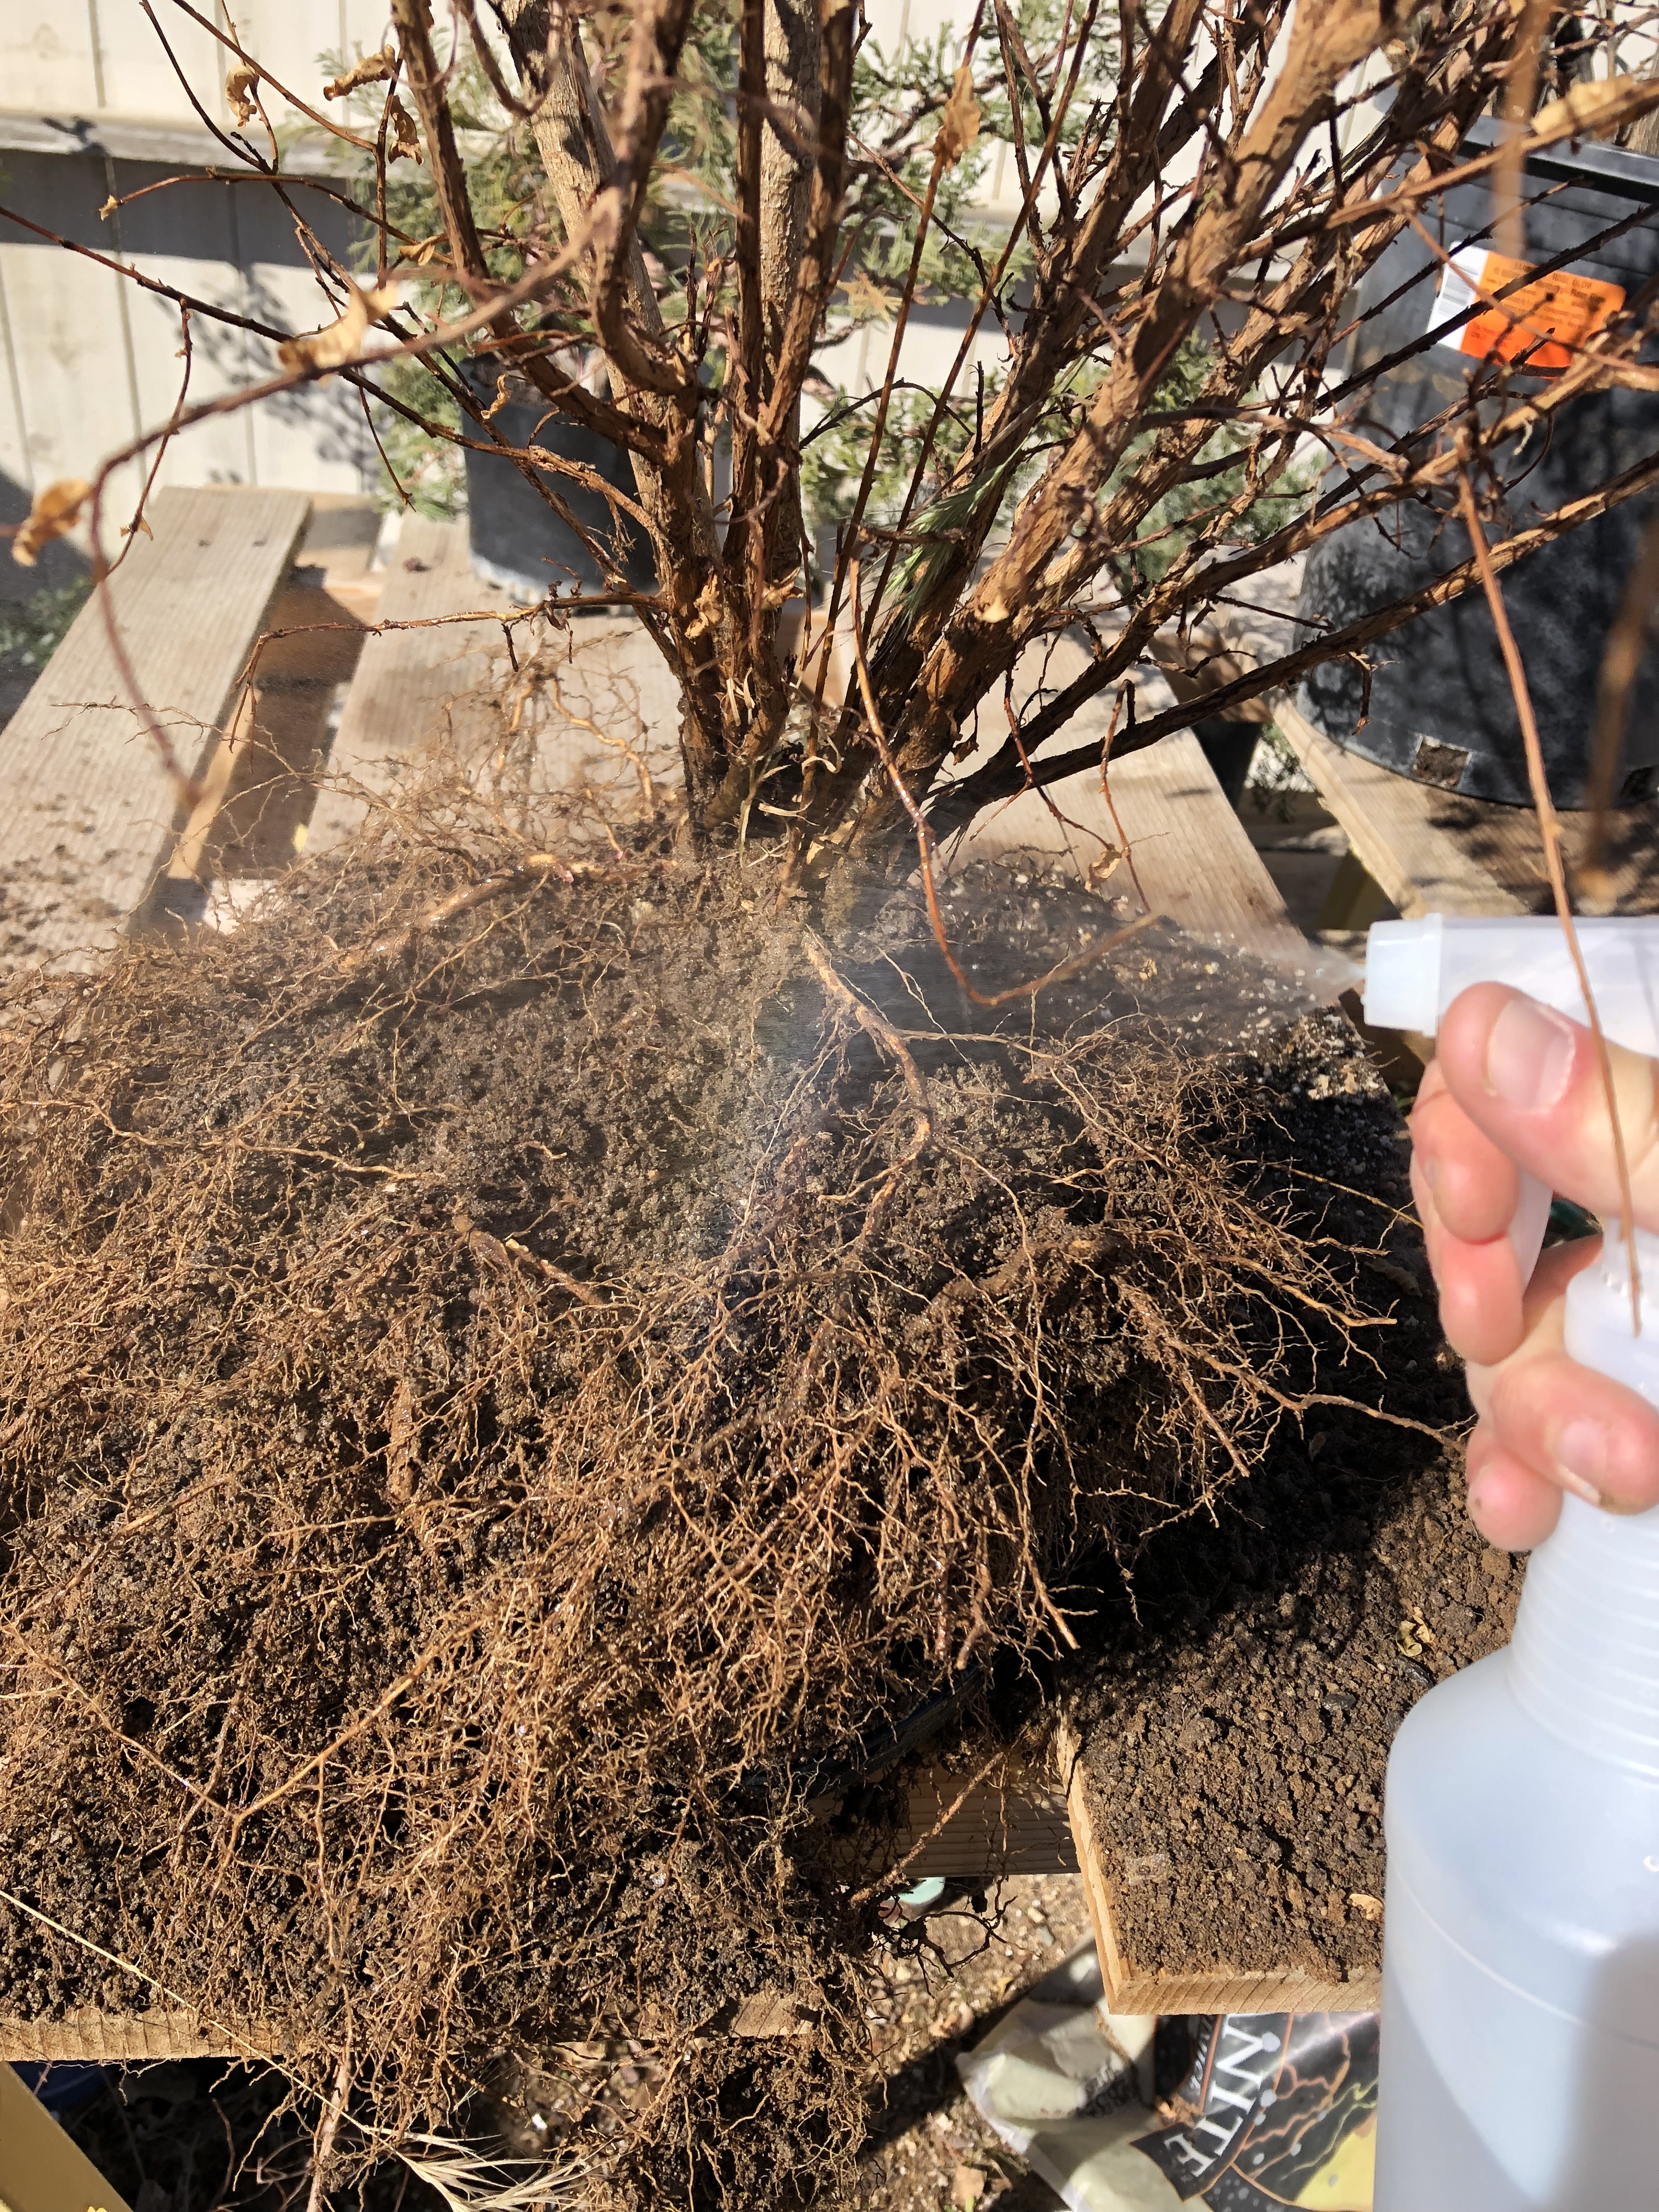
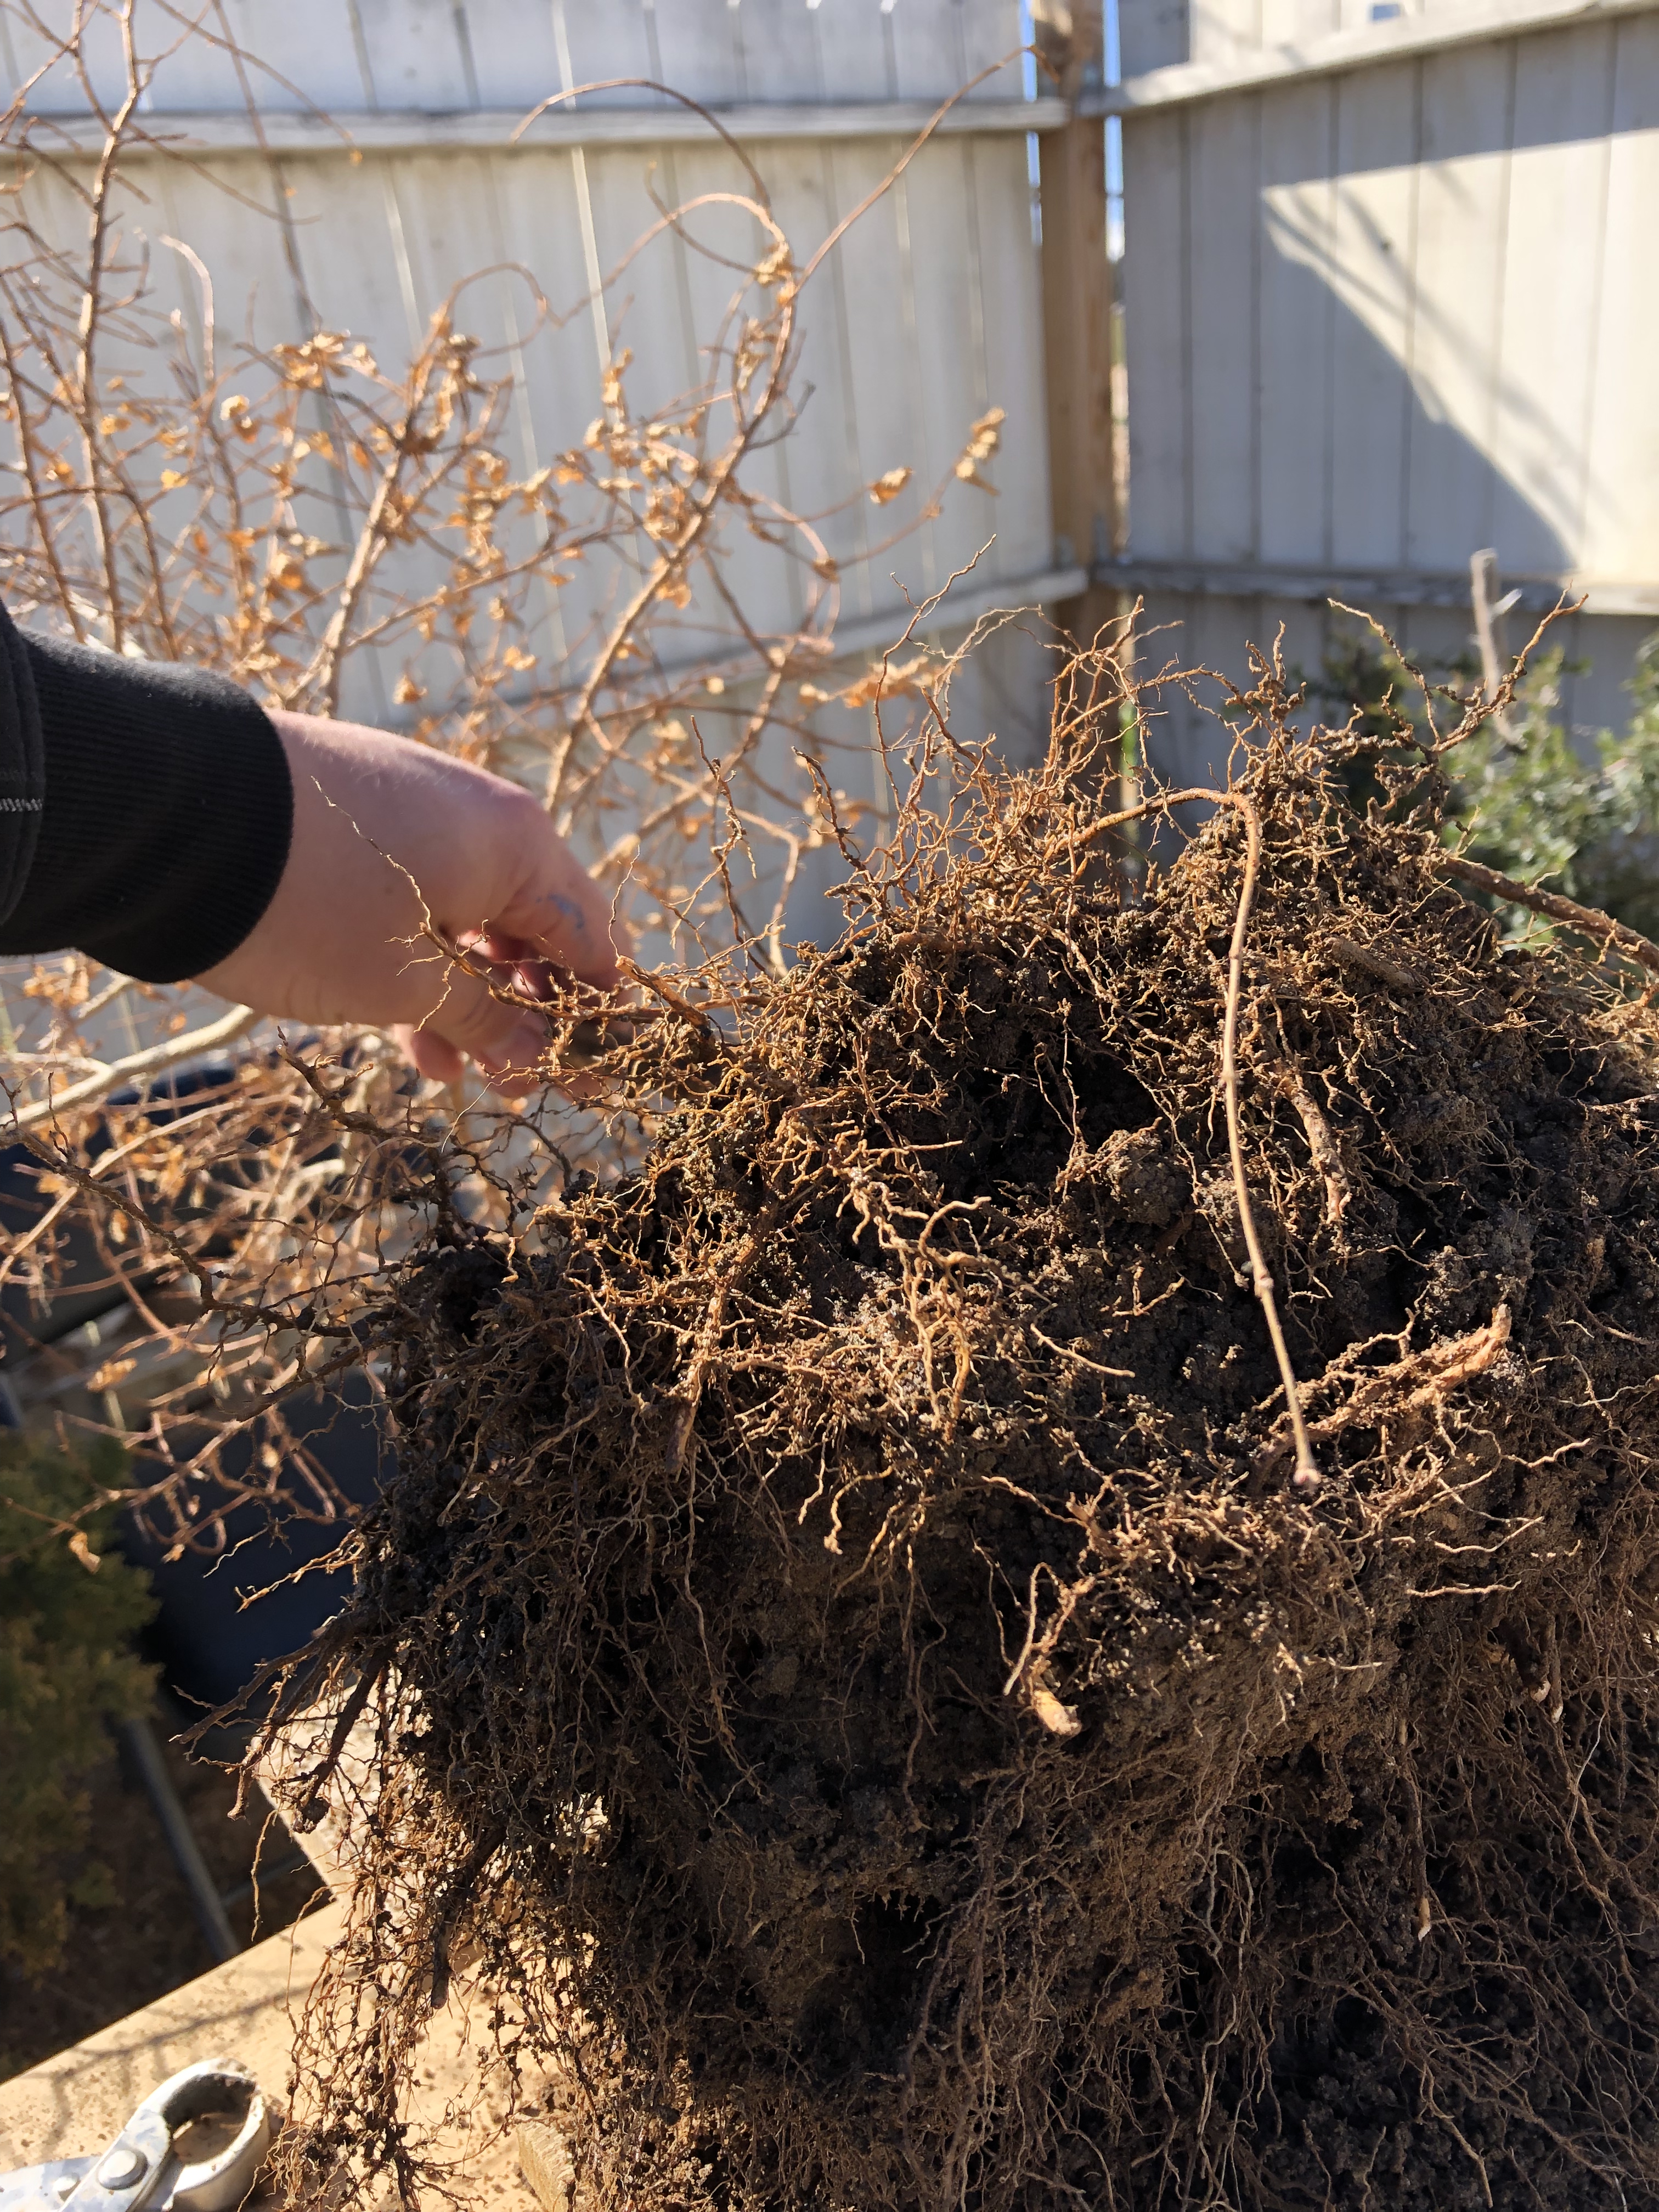
When working through the roots I make sure to frequently wet the roots. This is to counter the sun and light wind that is happening while I’m performing this repot. I definitely don’t want the roots to dry out and damage the tree.
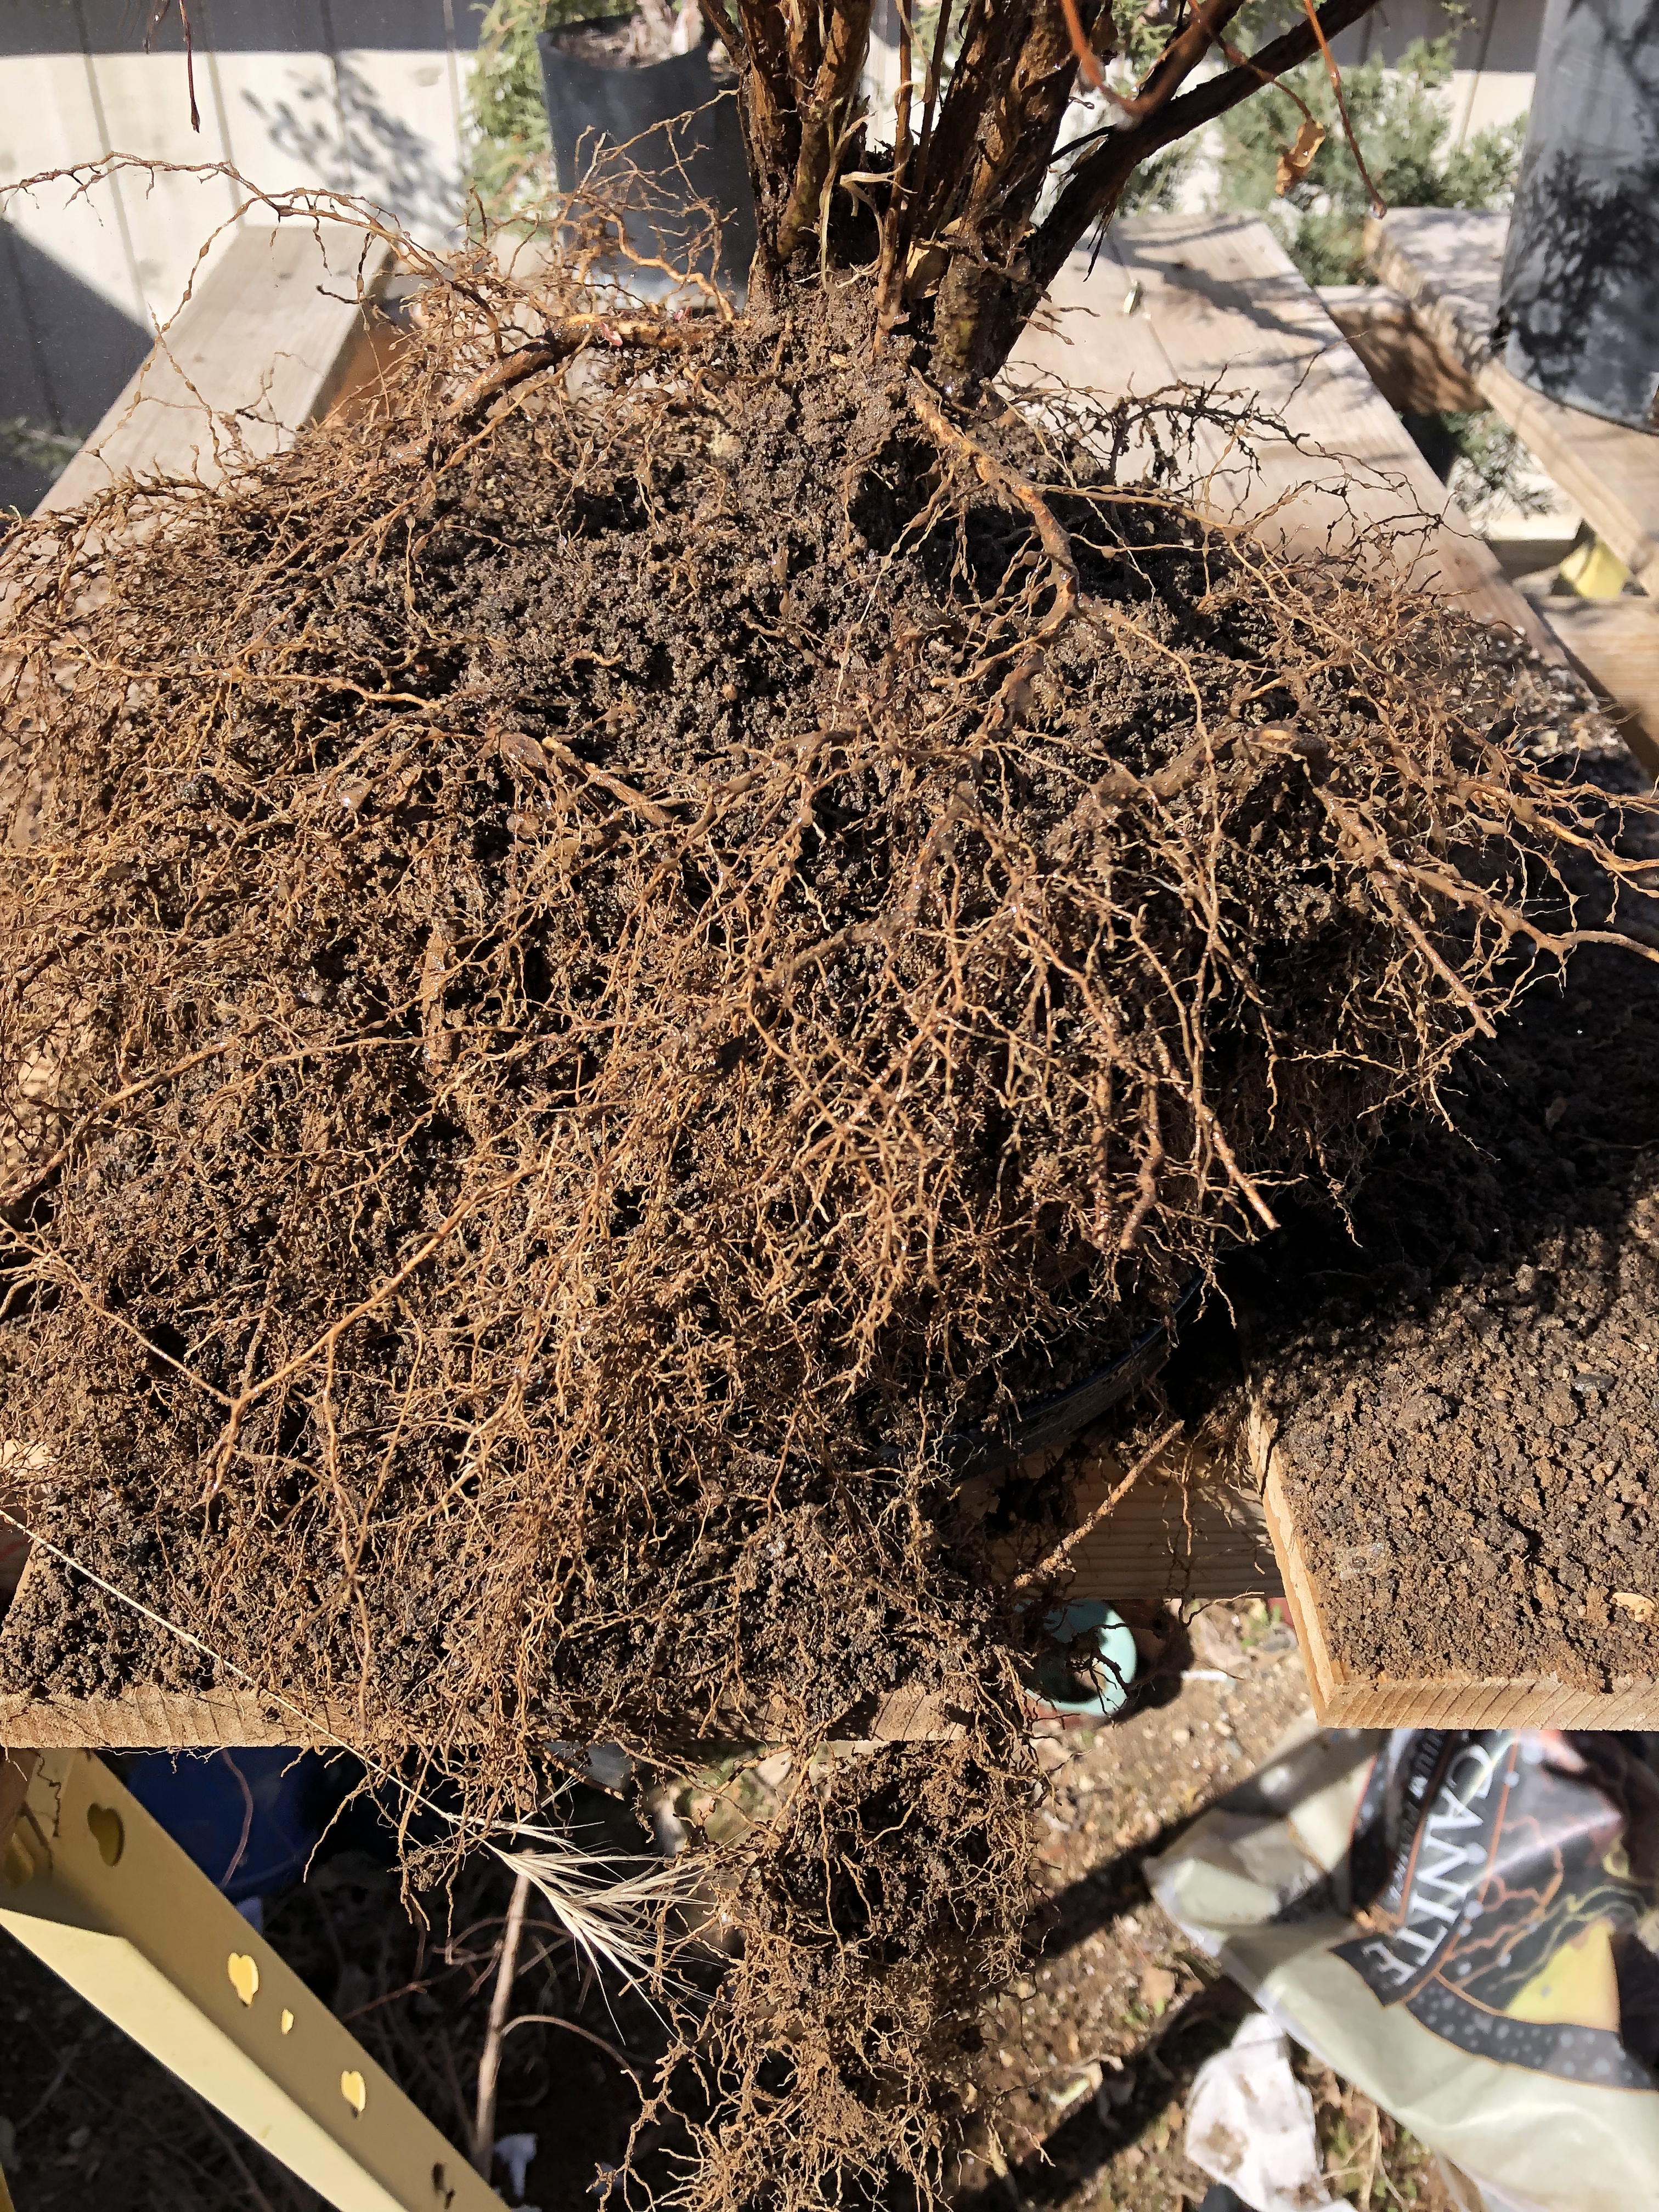
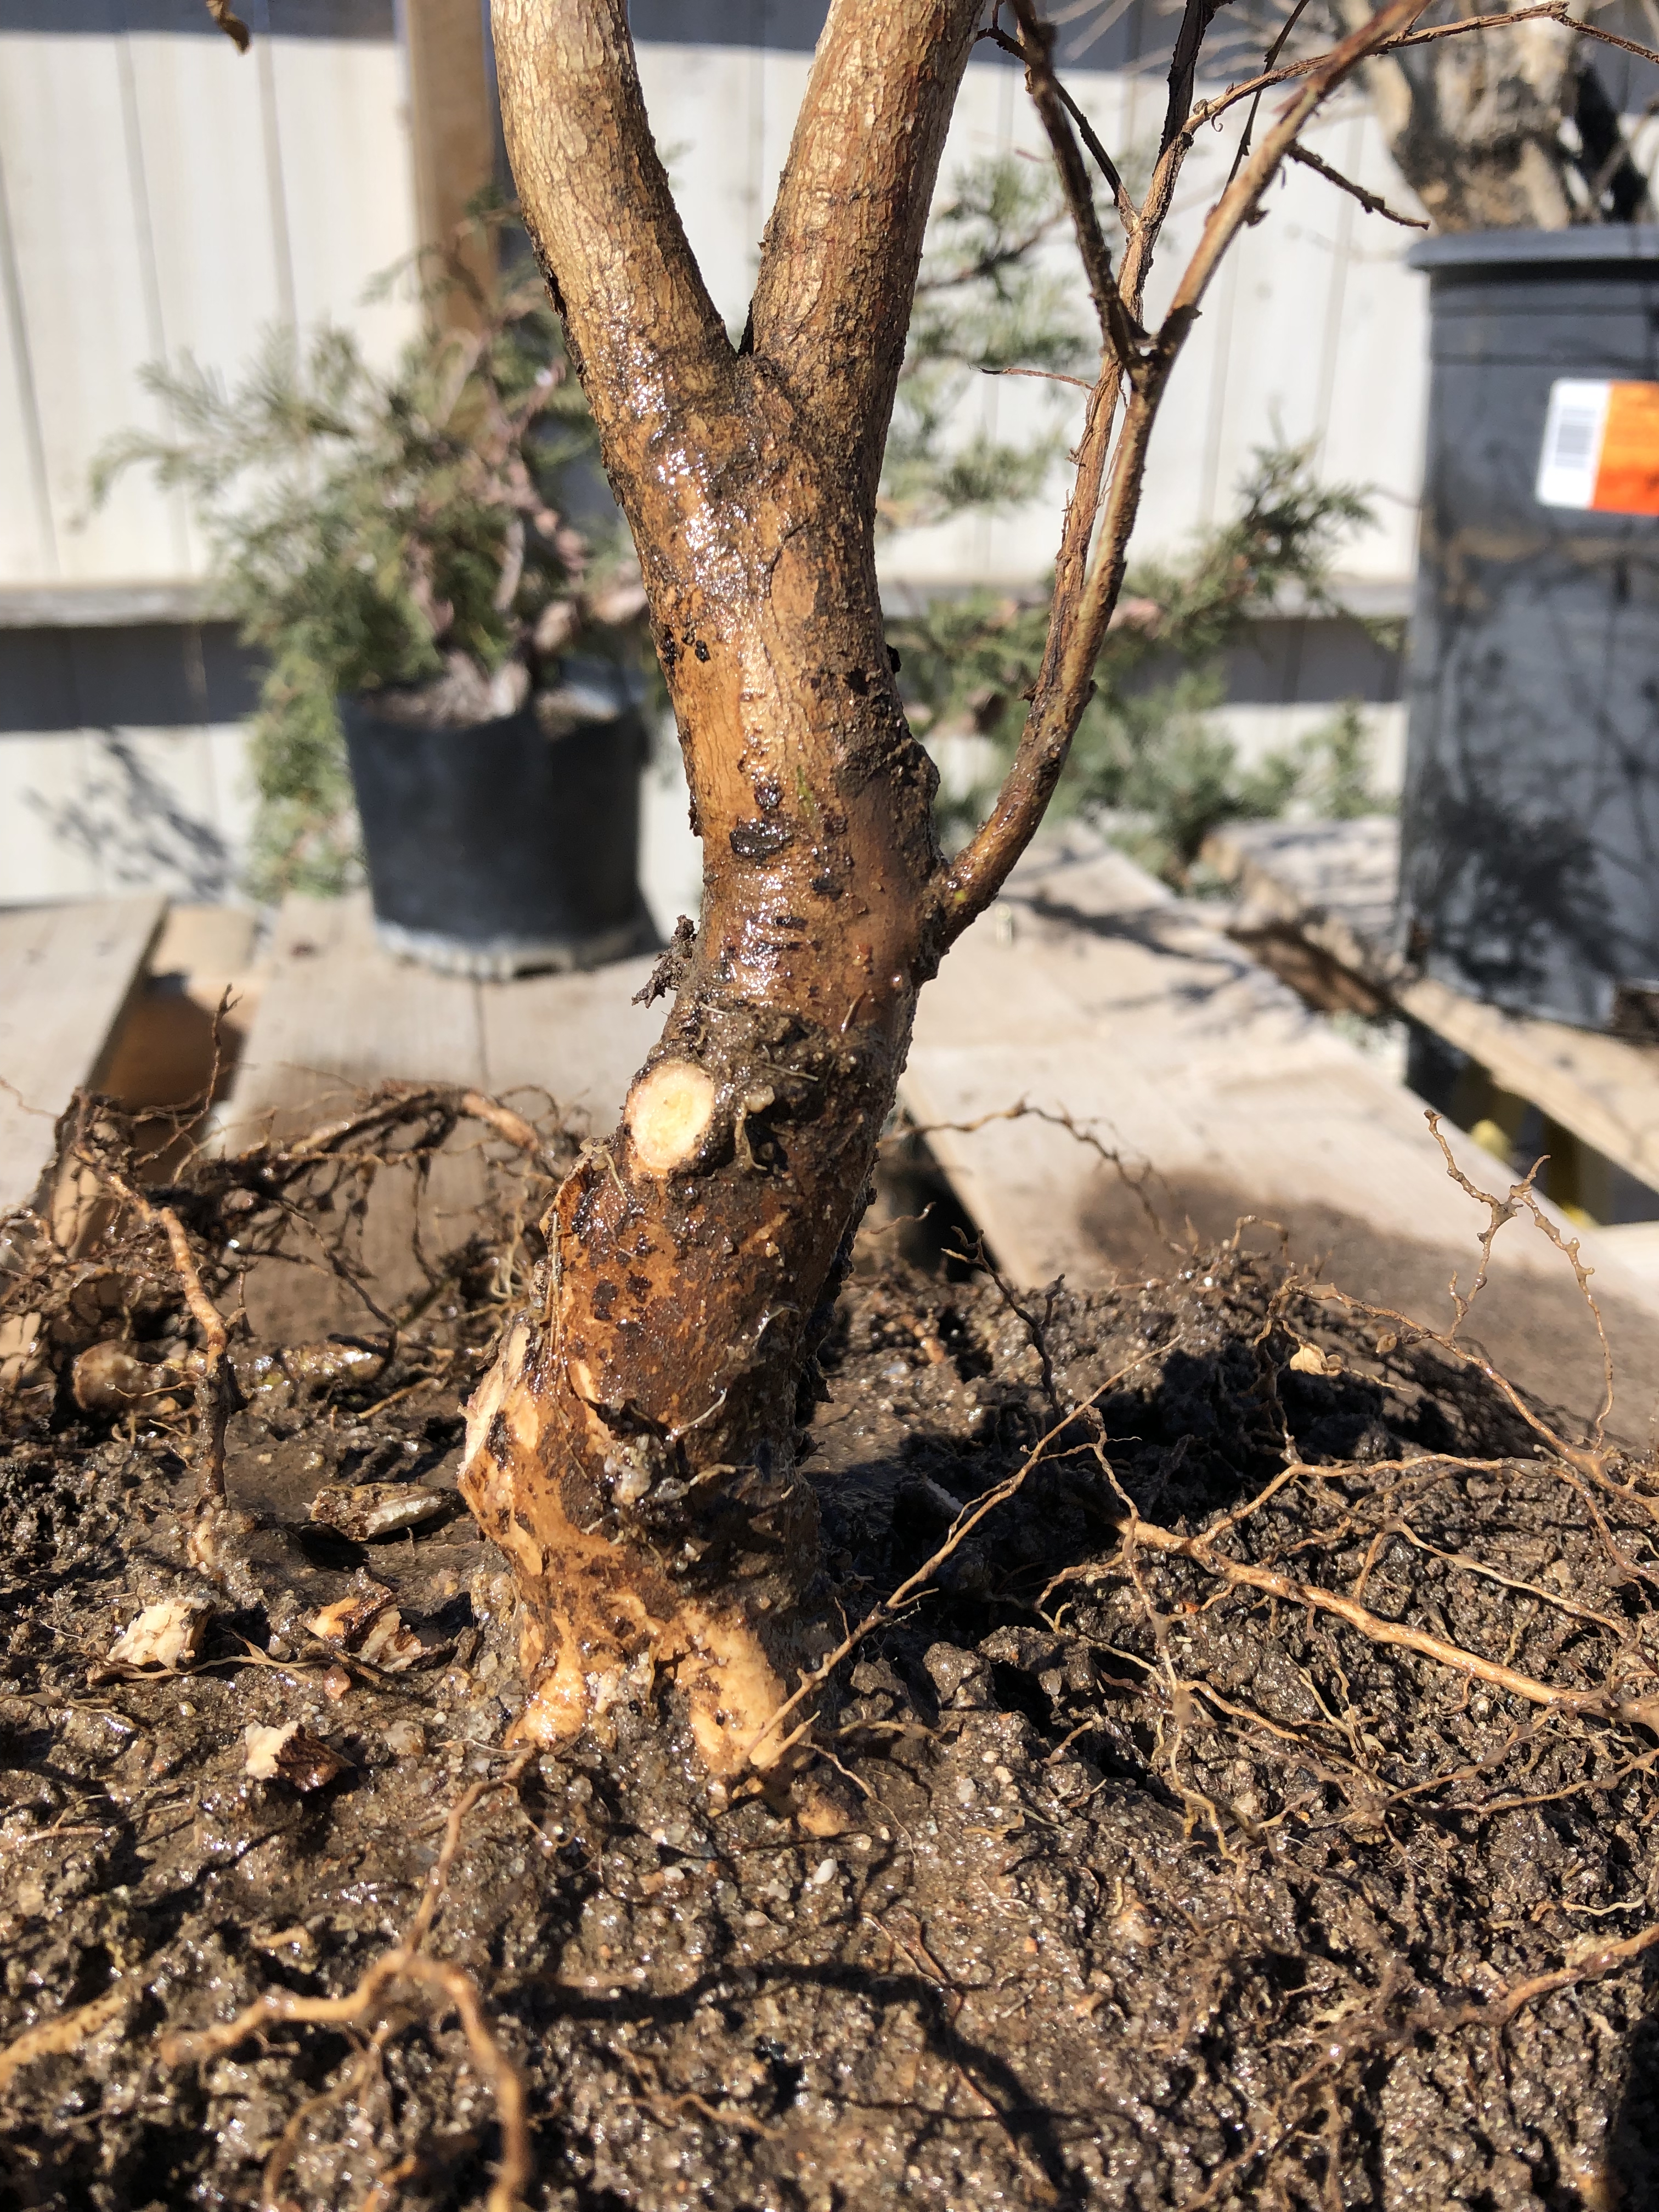
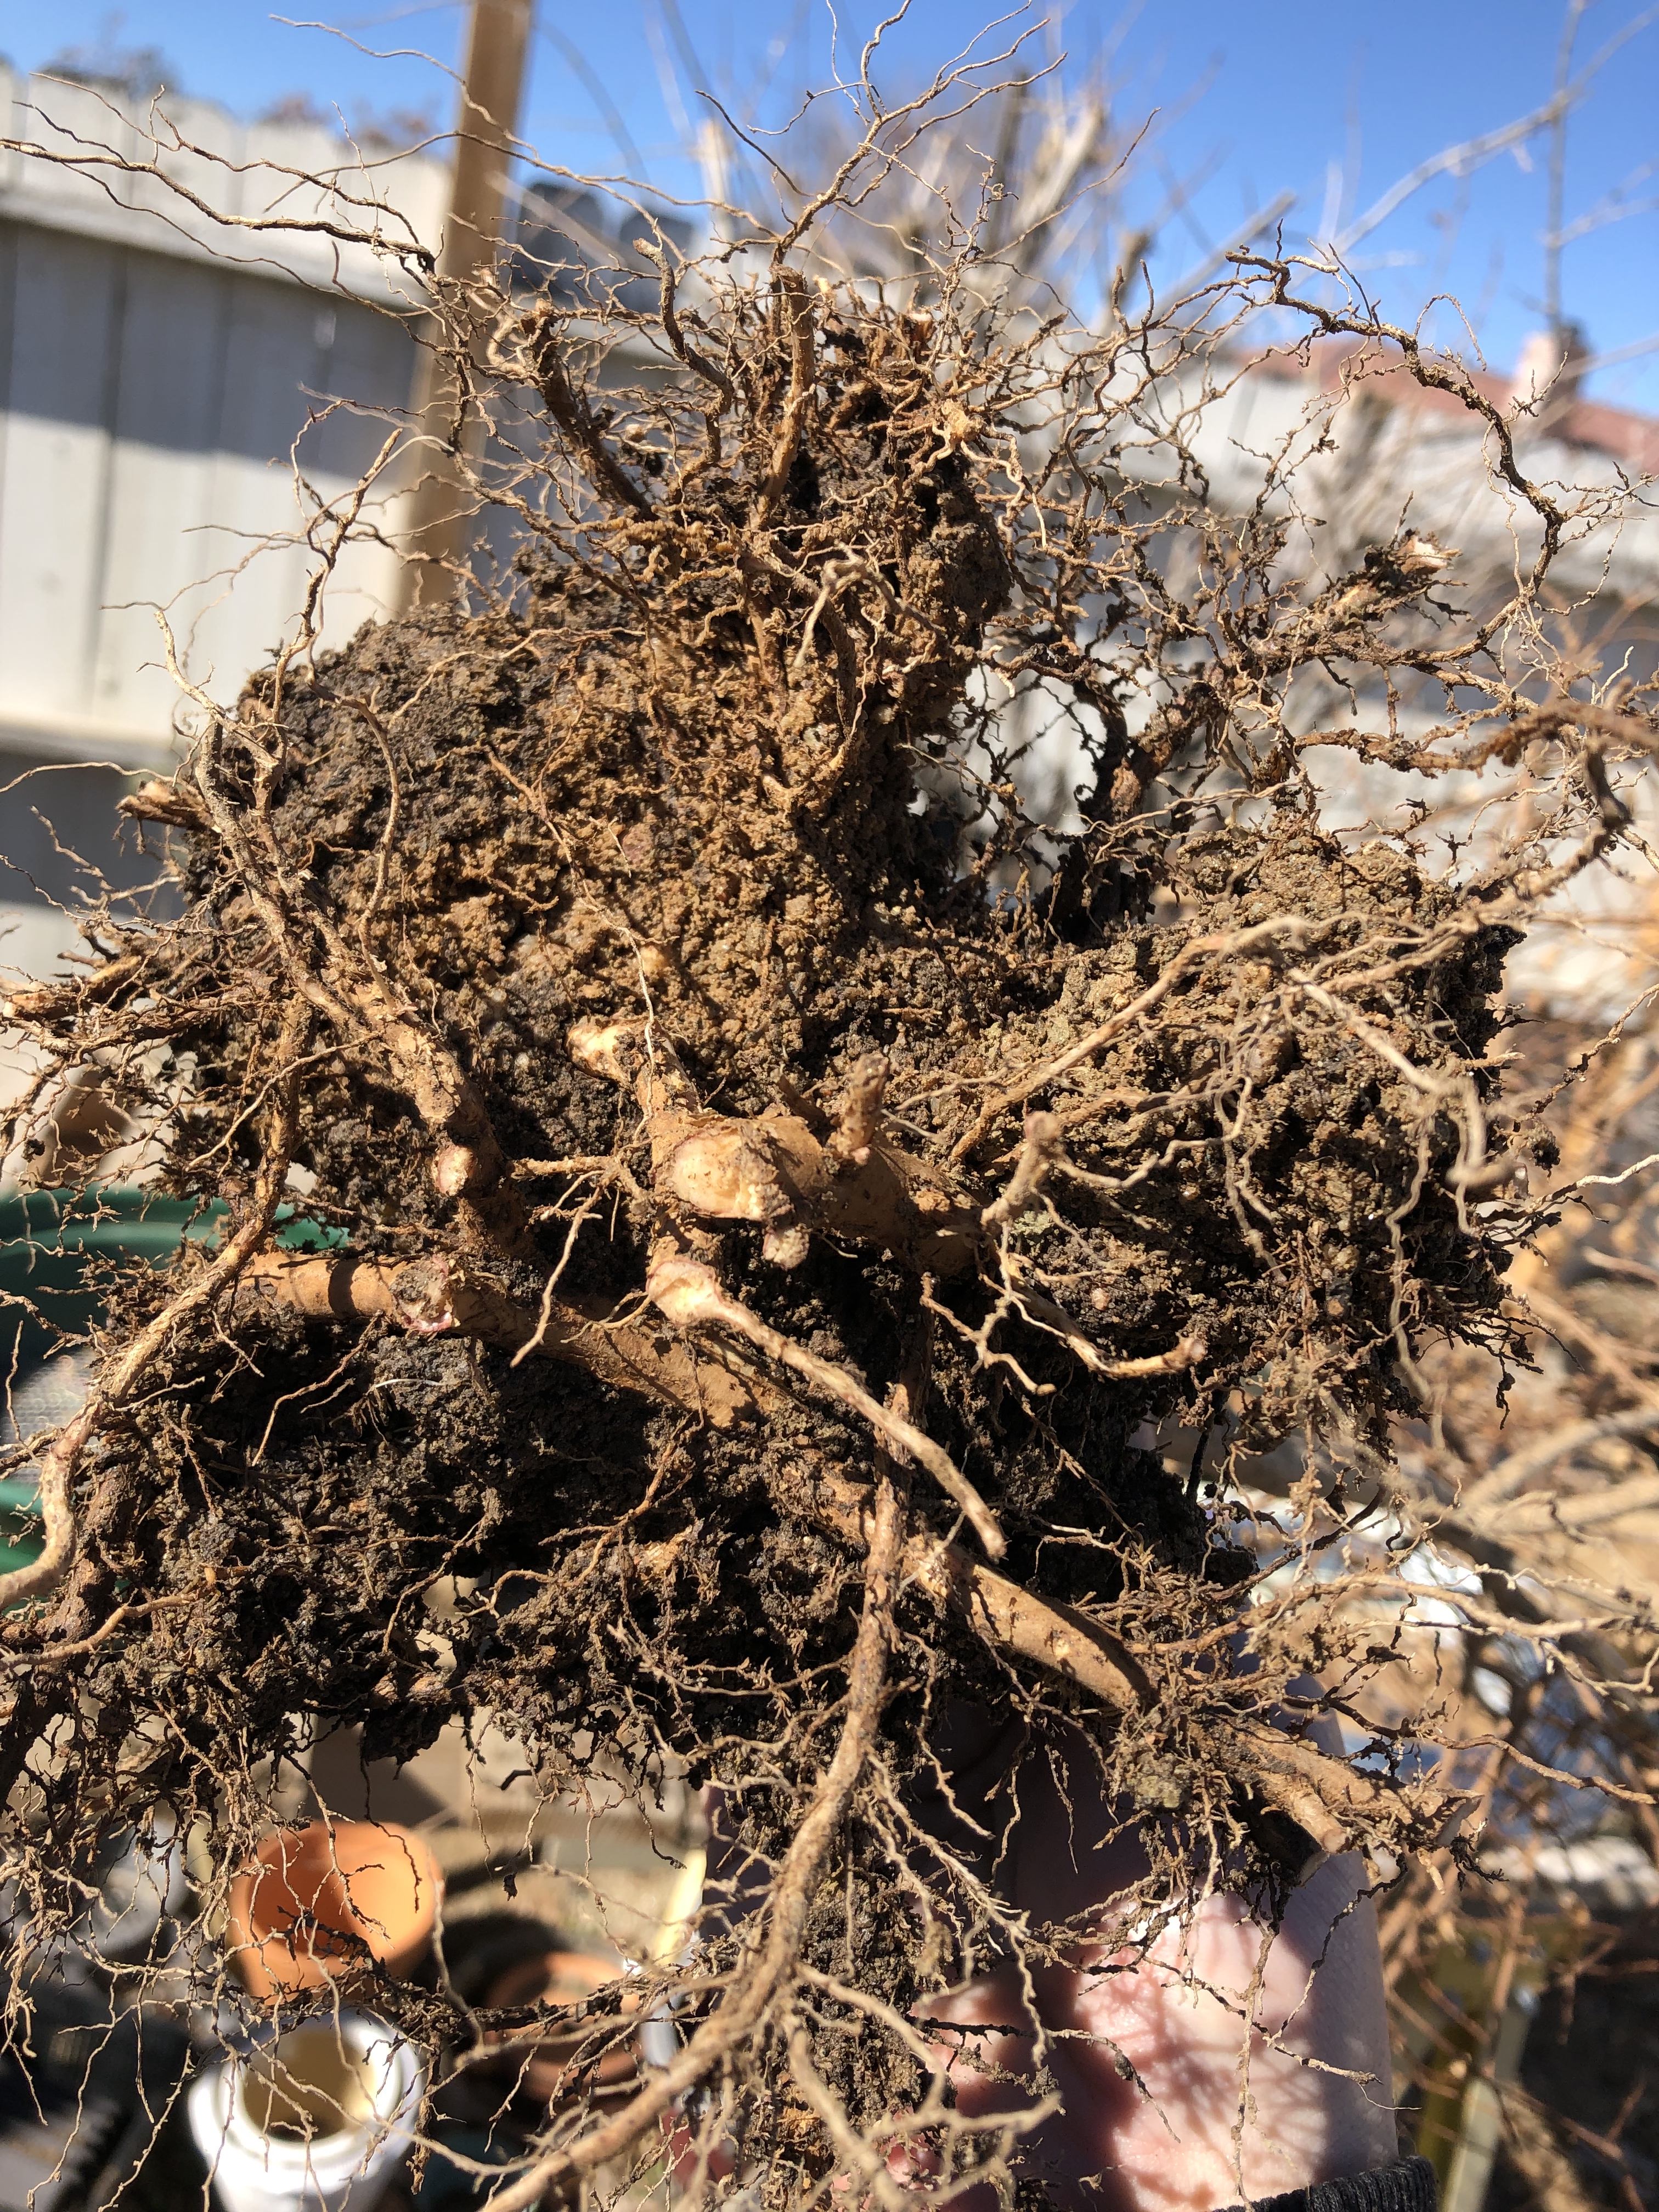
I found a significant amount of roots above where I remember the base being, so I continue to chopstick down until I can see the flaring of the original base.
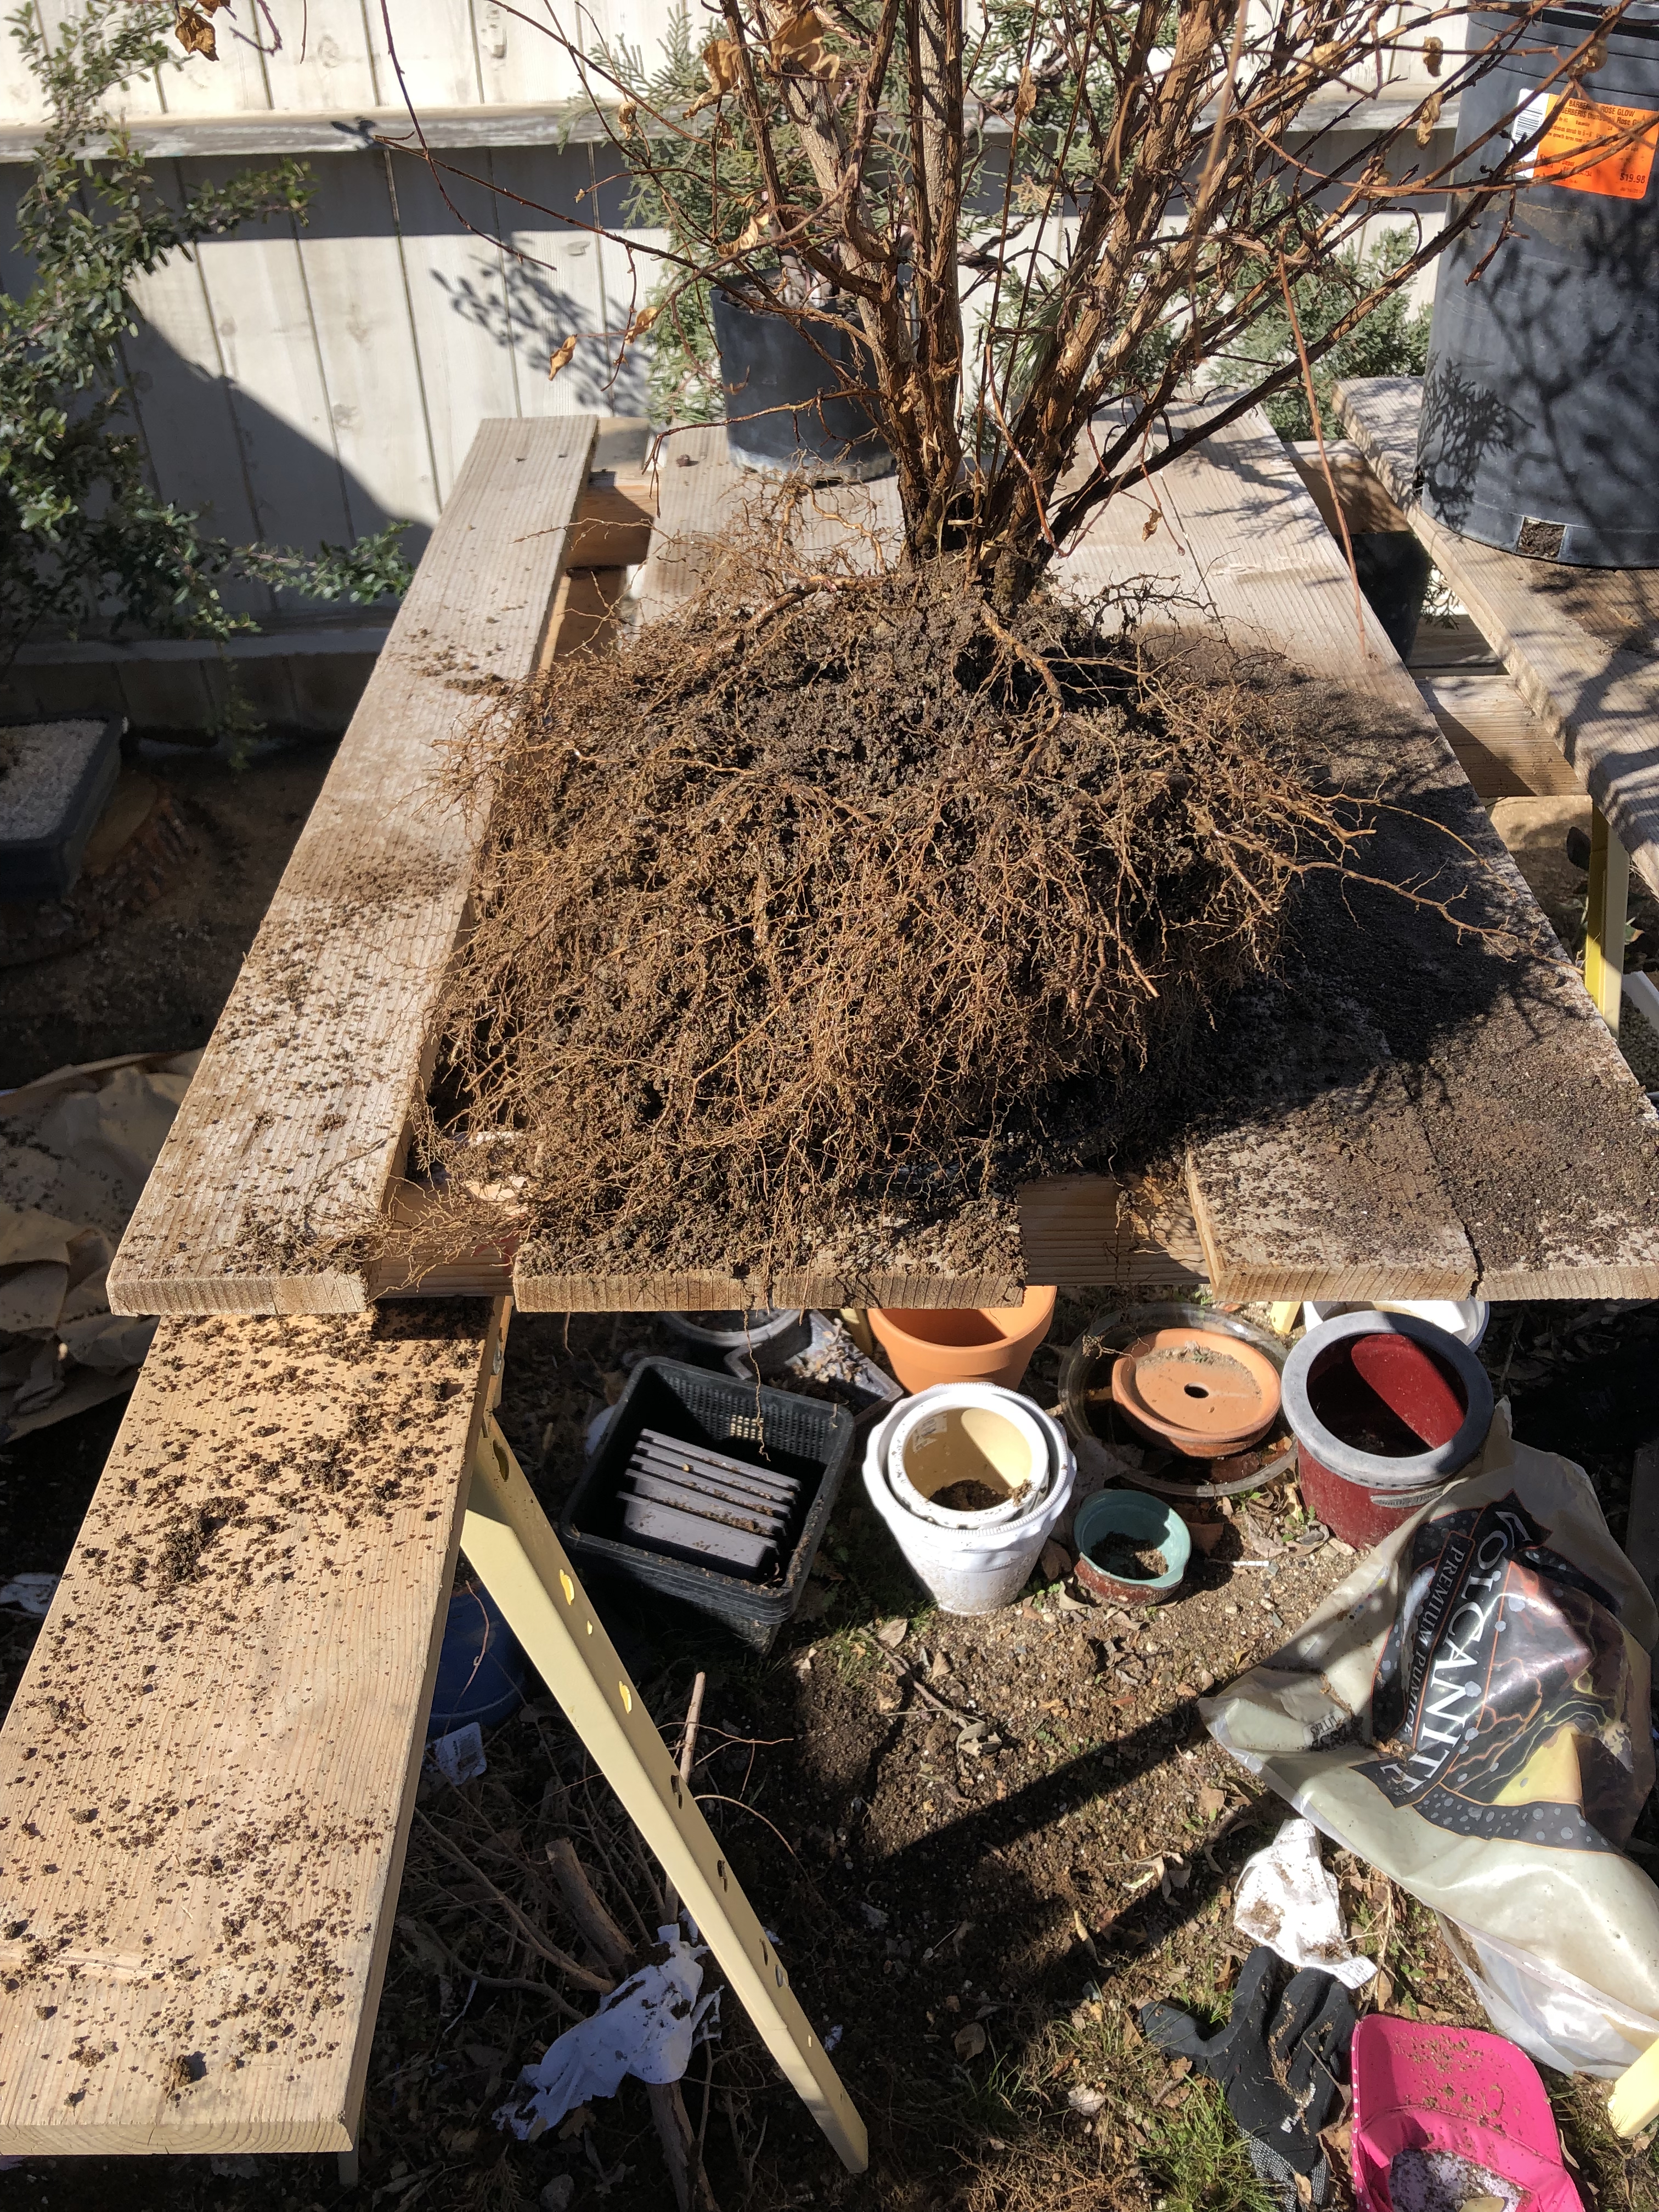
I had to clean my space every now and then to clear out unwanted roots and dirt.
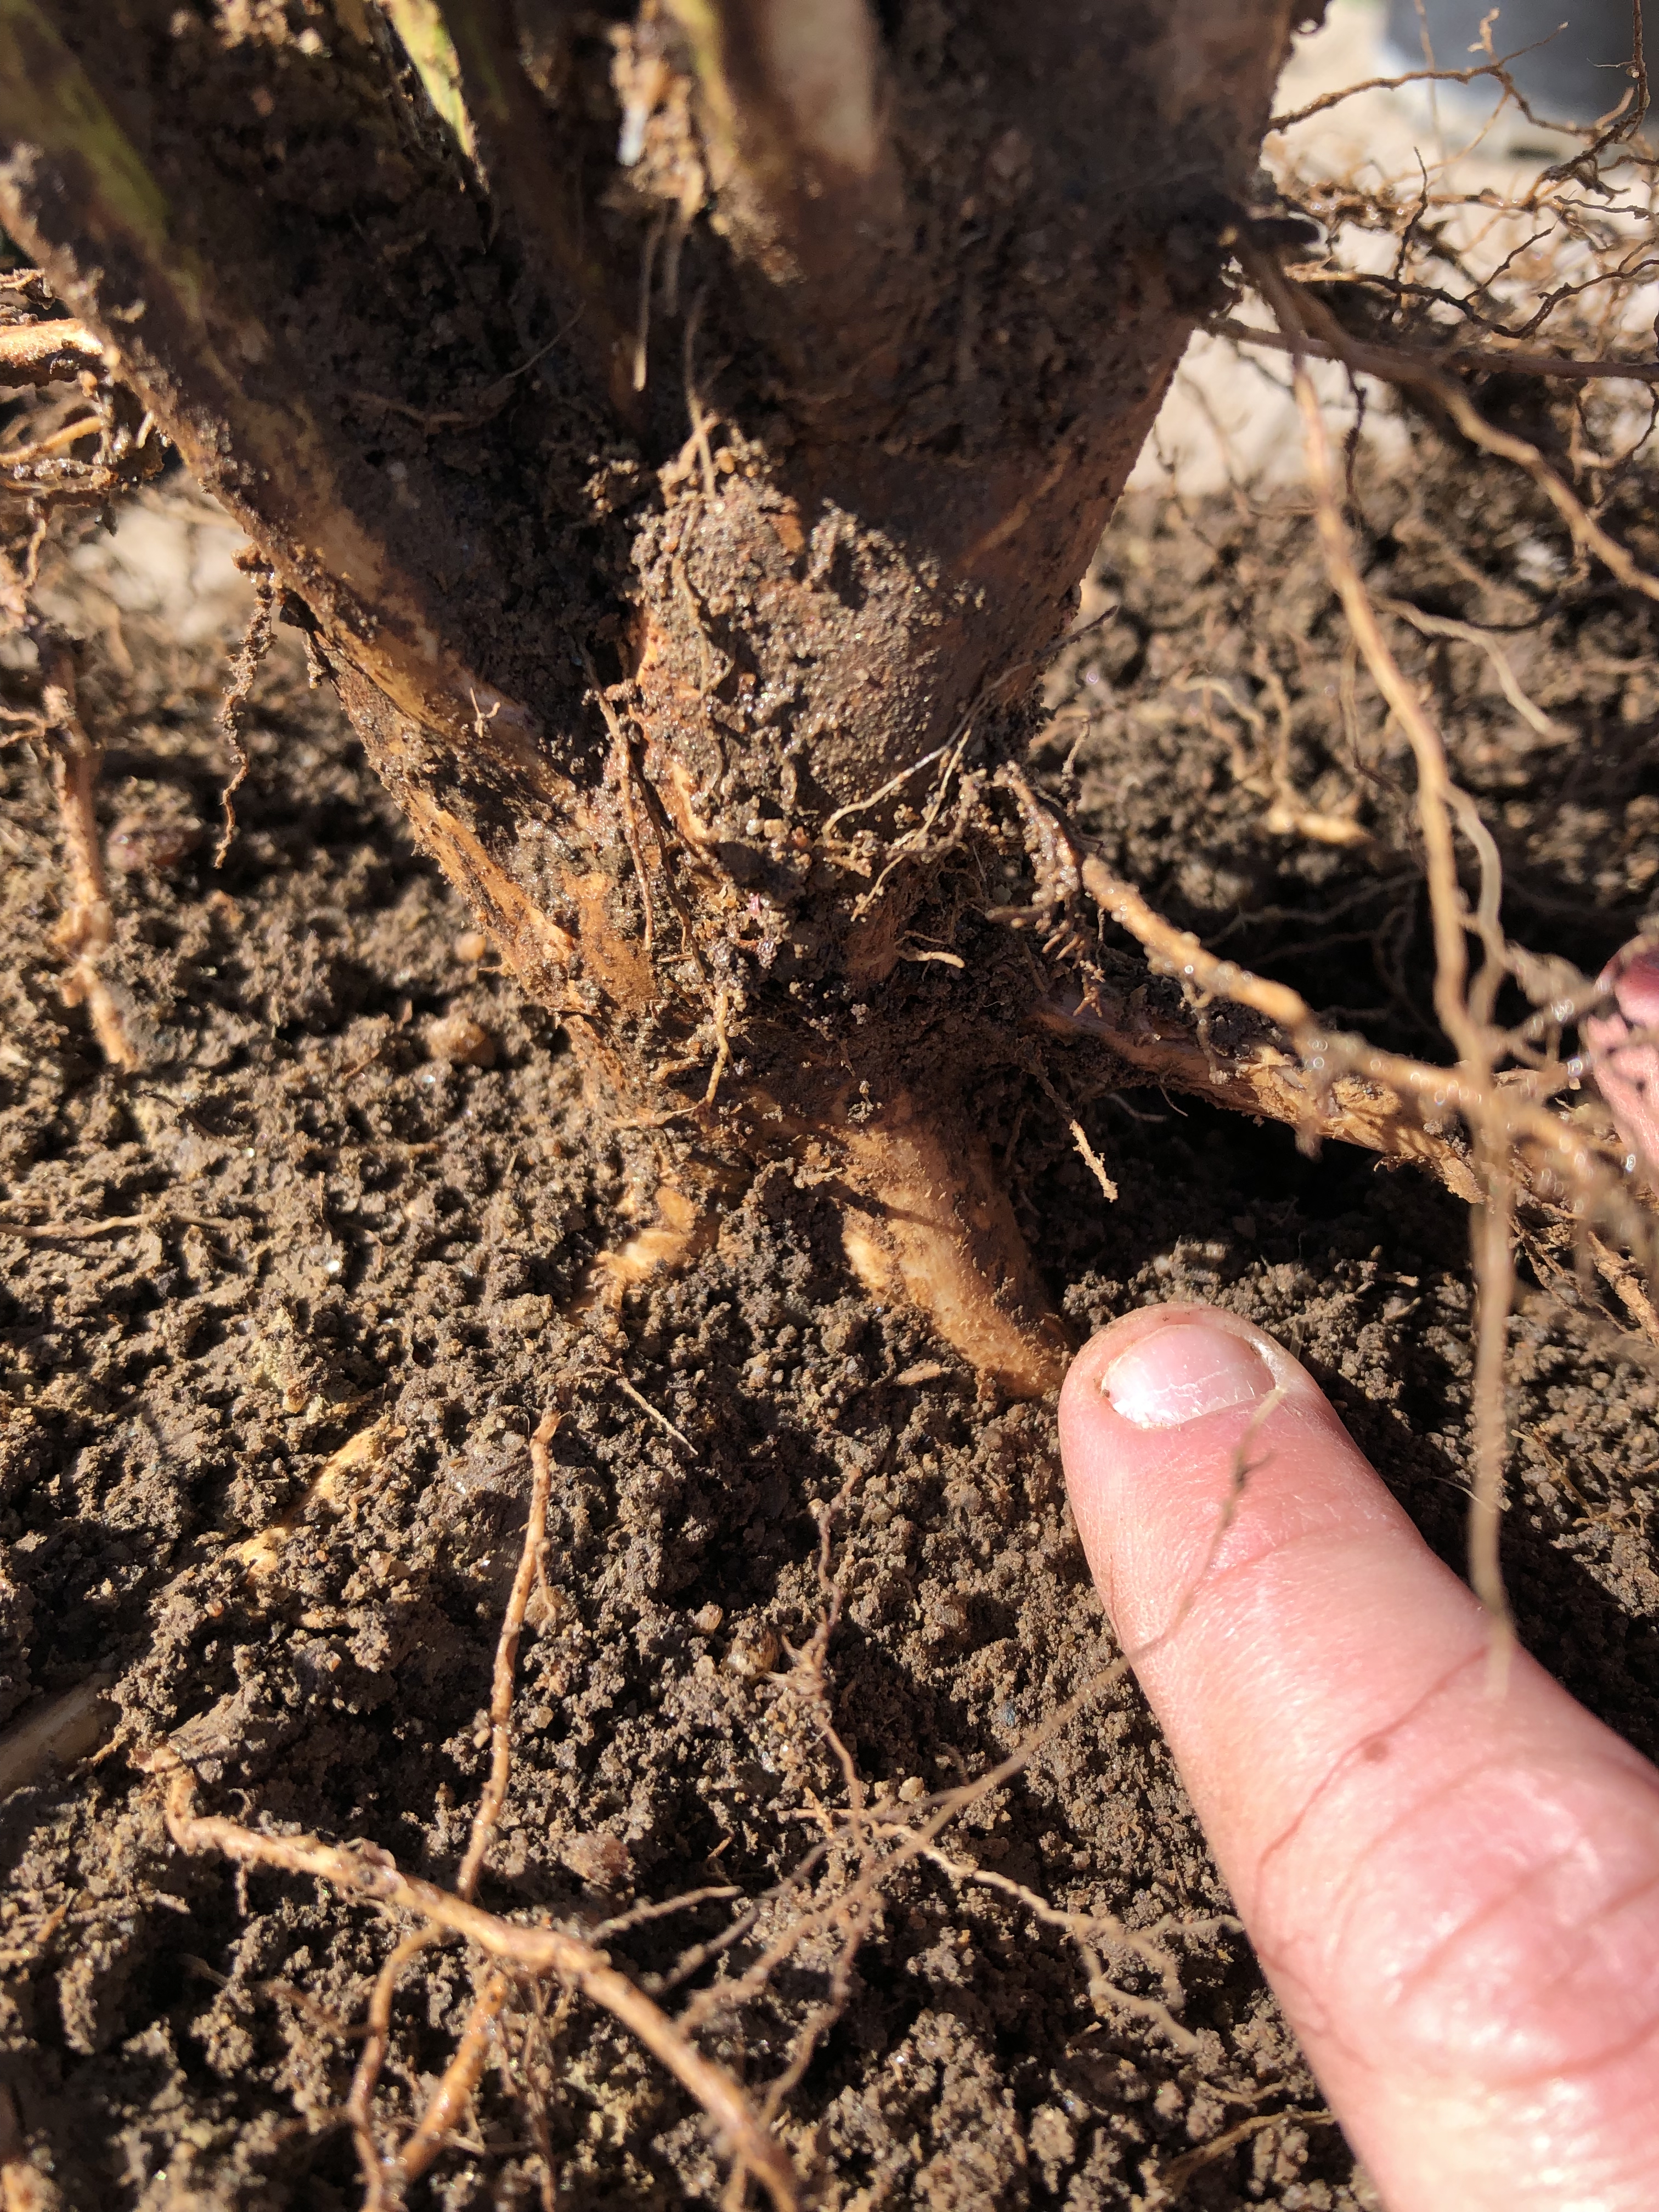
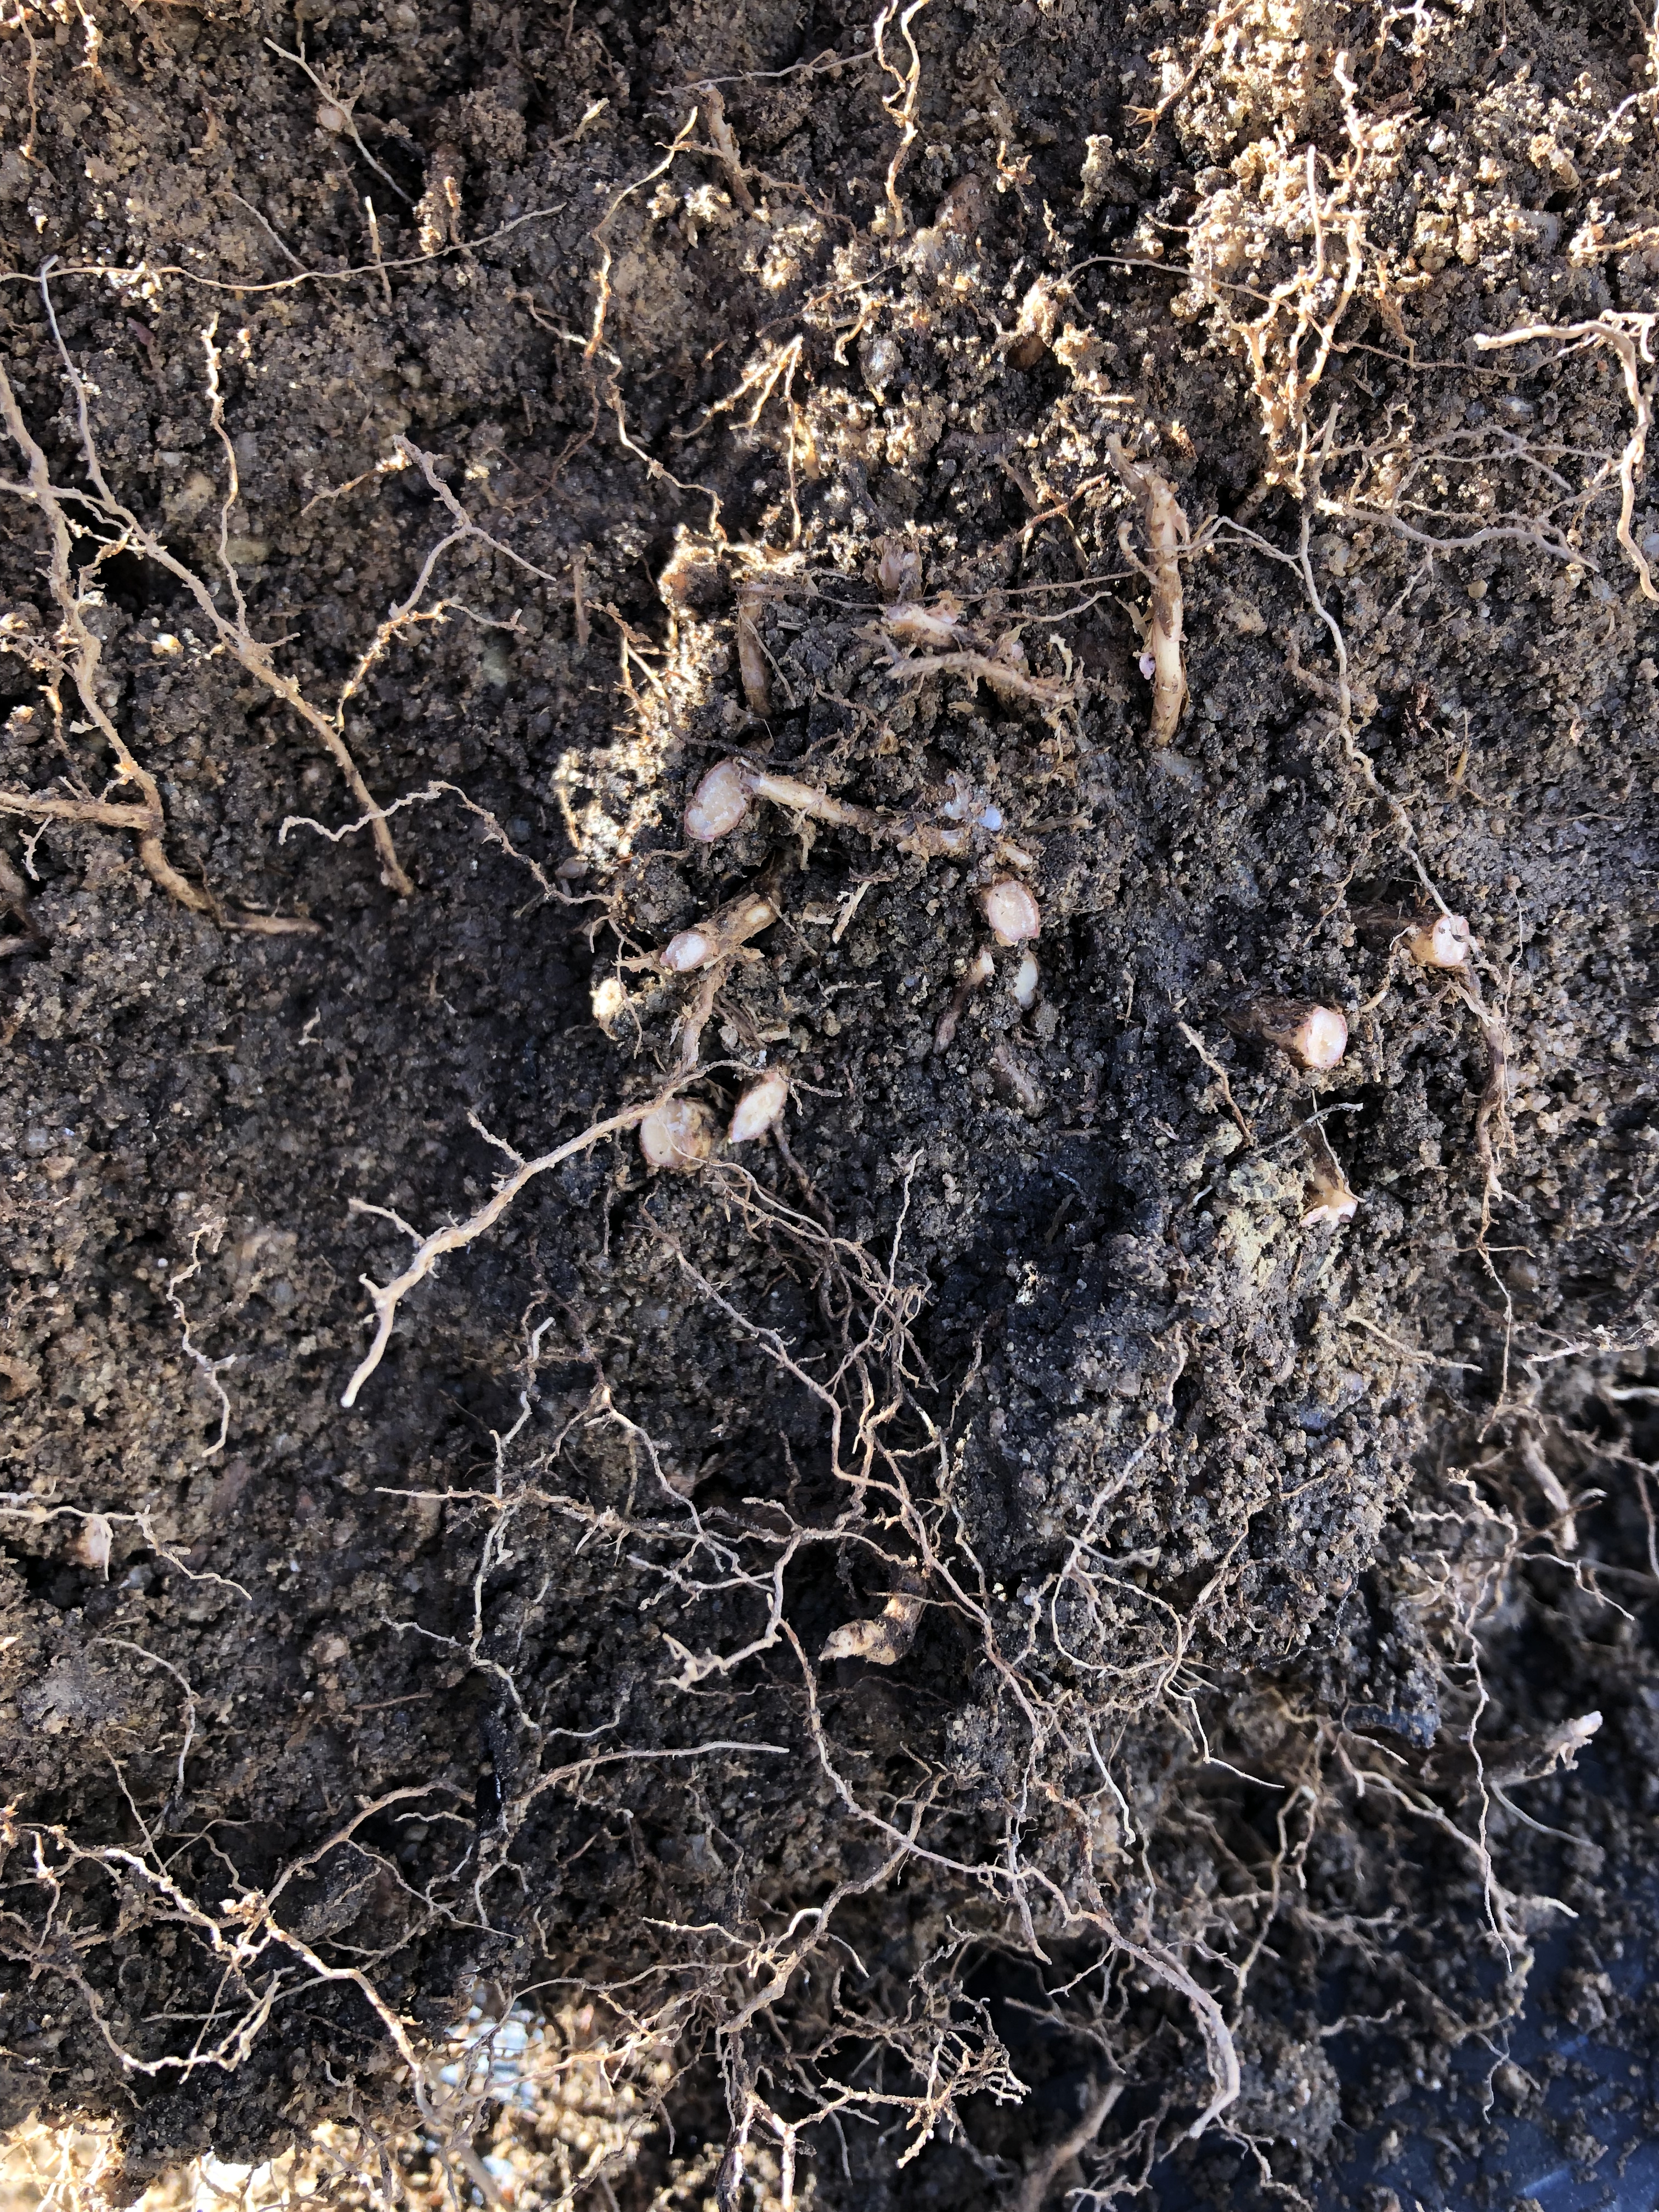
I finally reached a section where two main roots were emerging from the trunk.
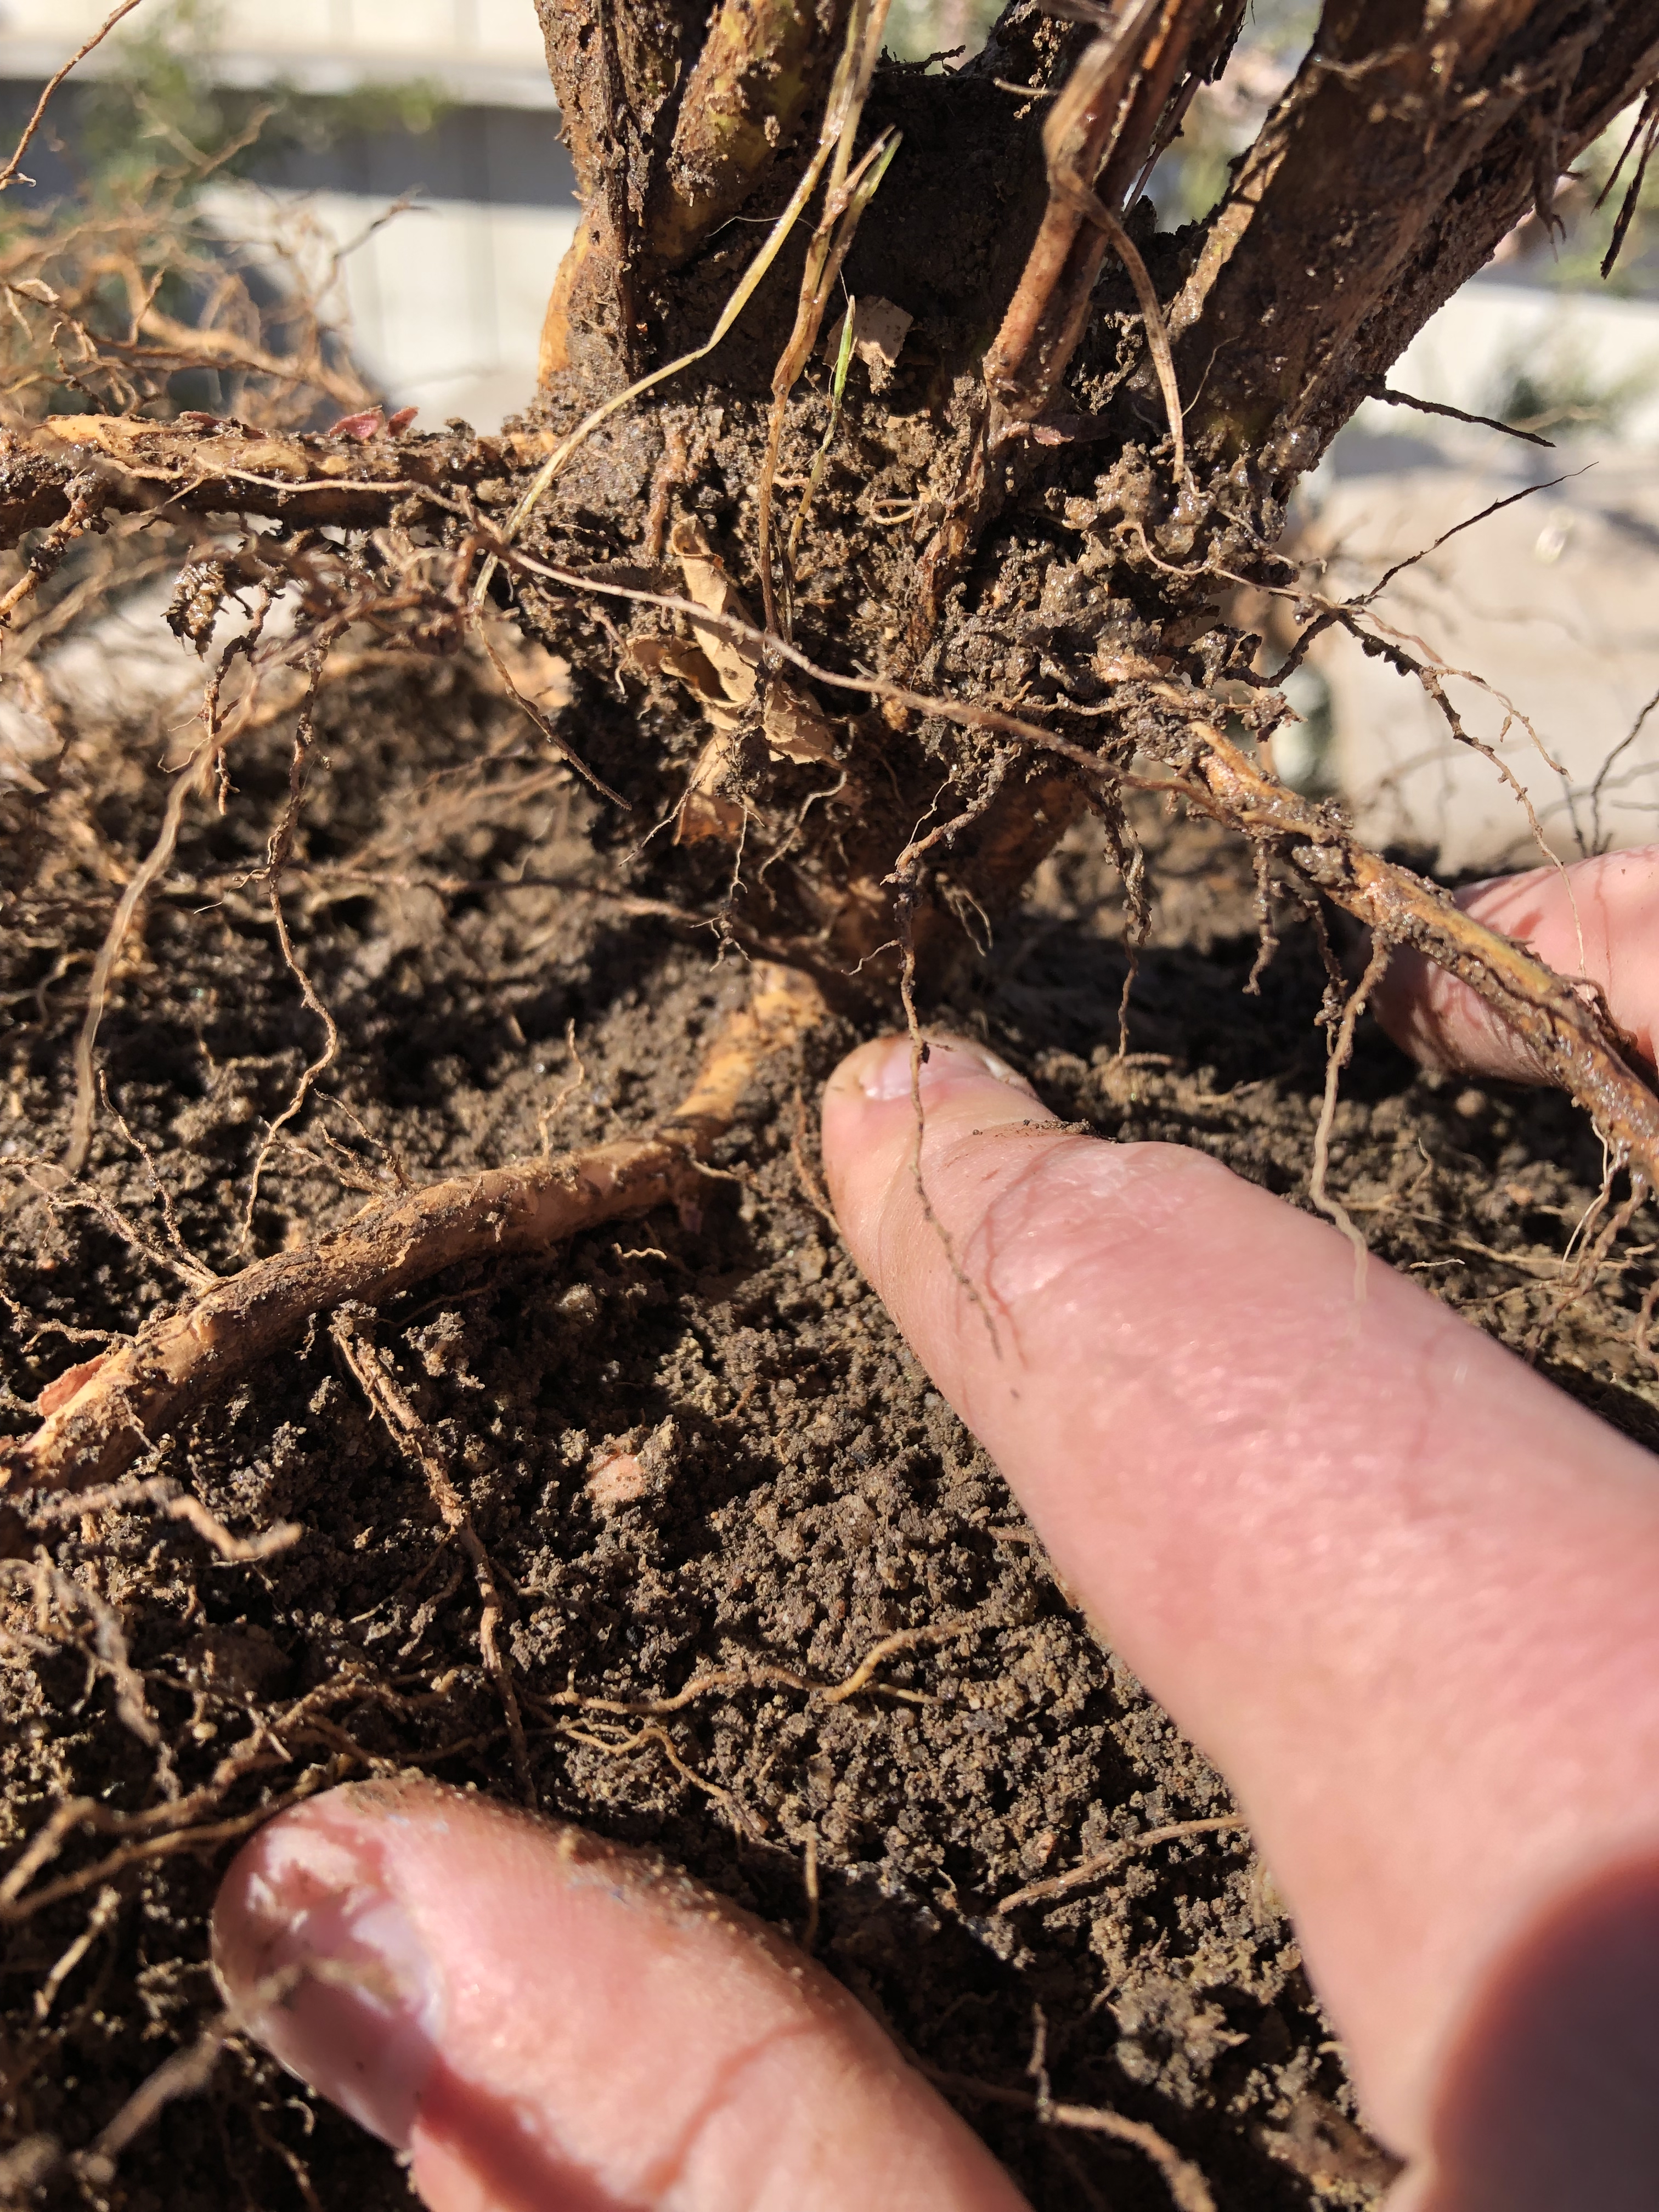
On the other side there was another.

I had two larger roots above this point, but both will have to go.
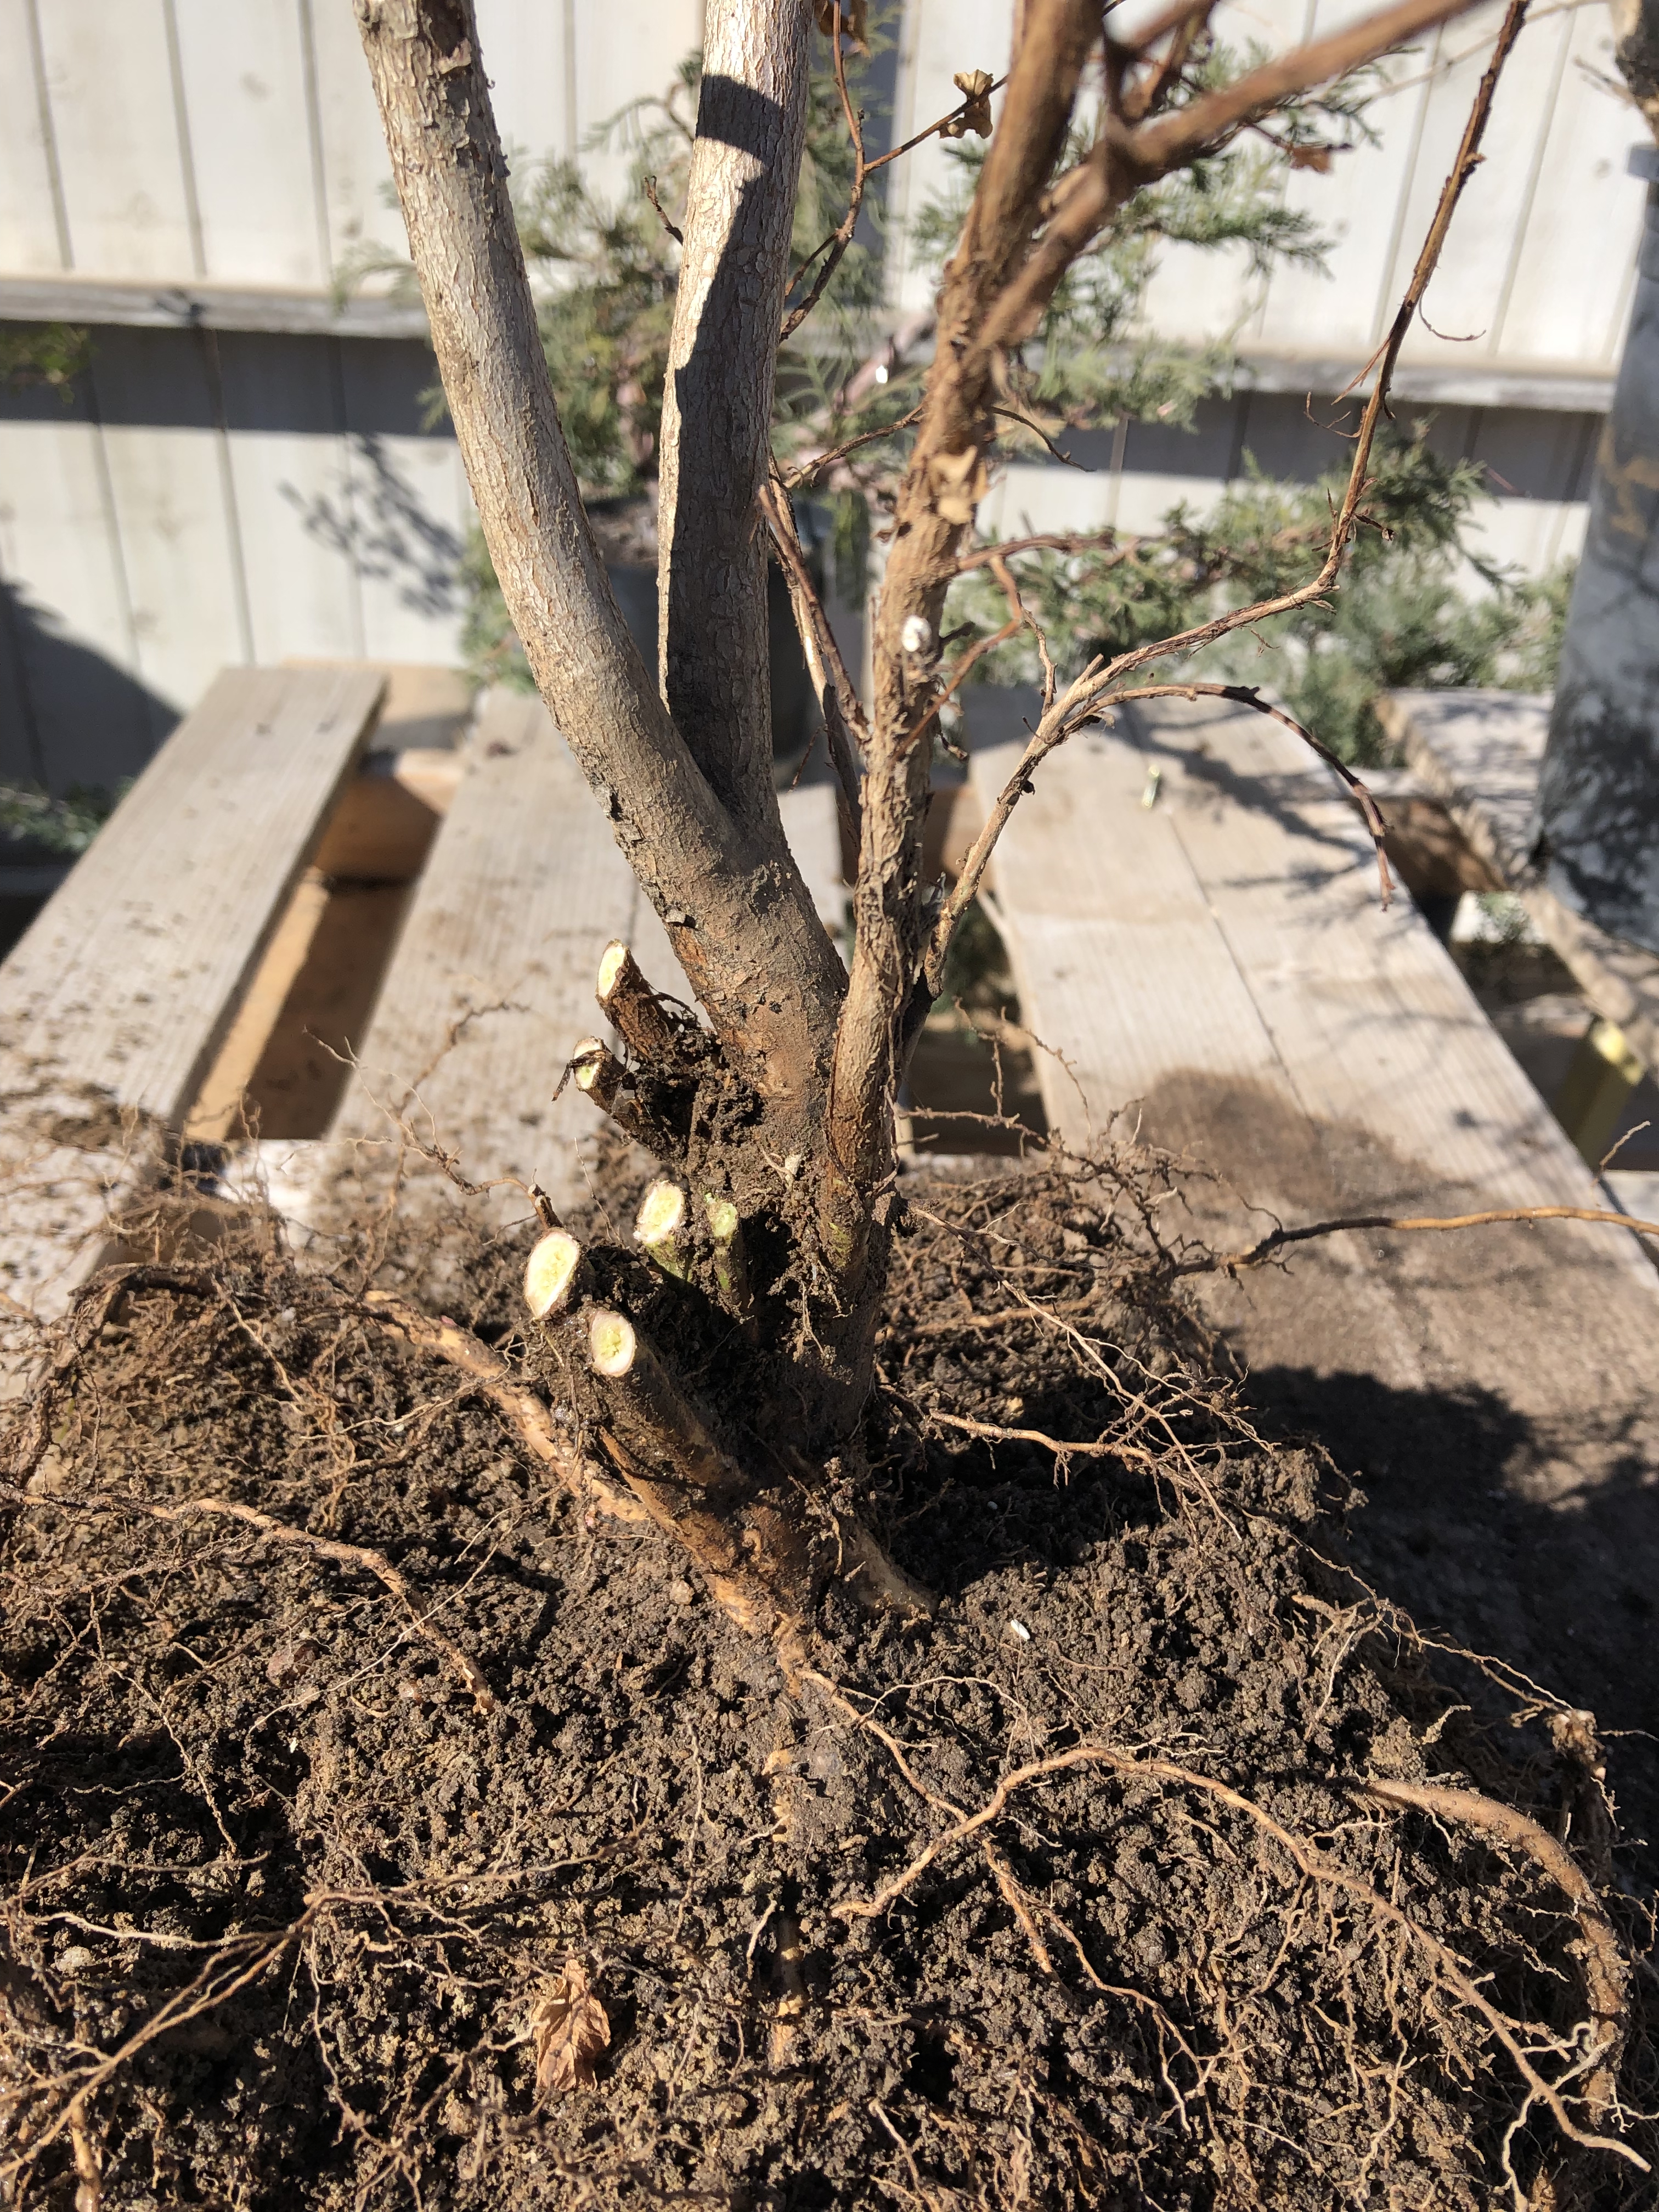
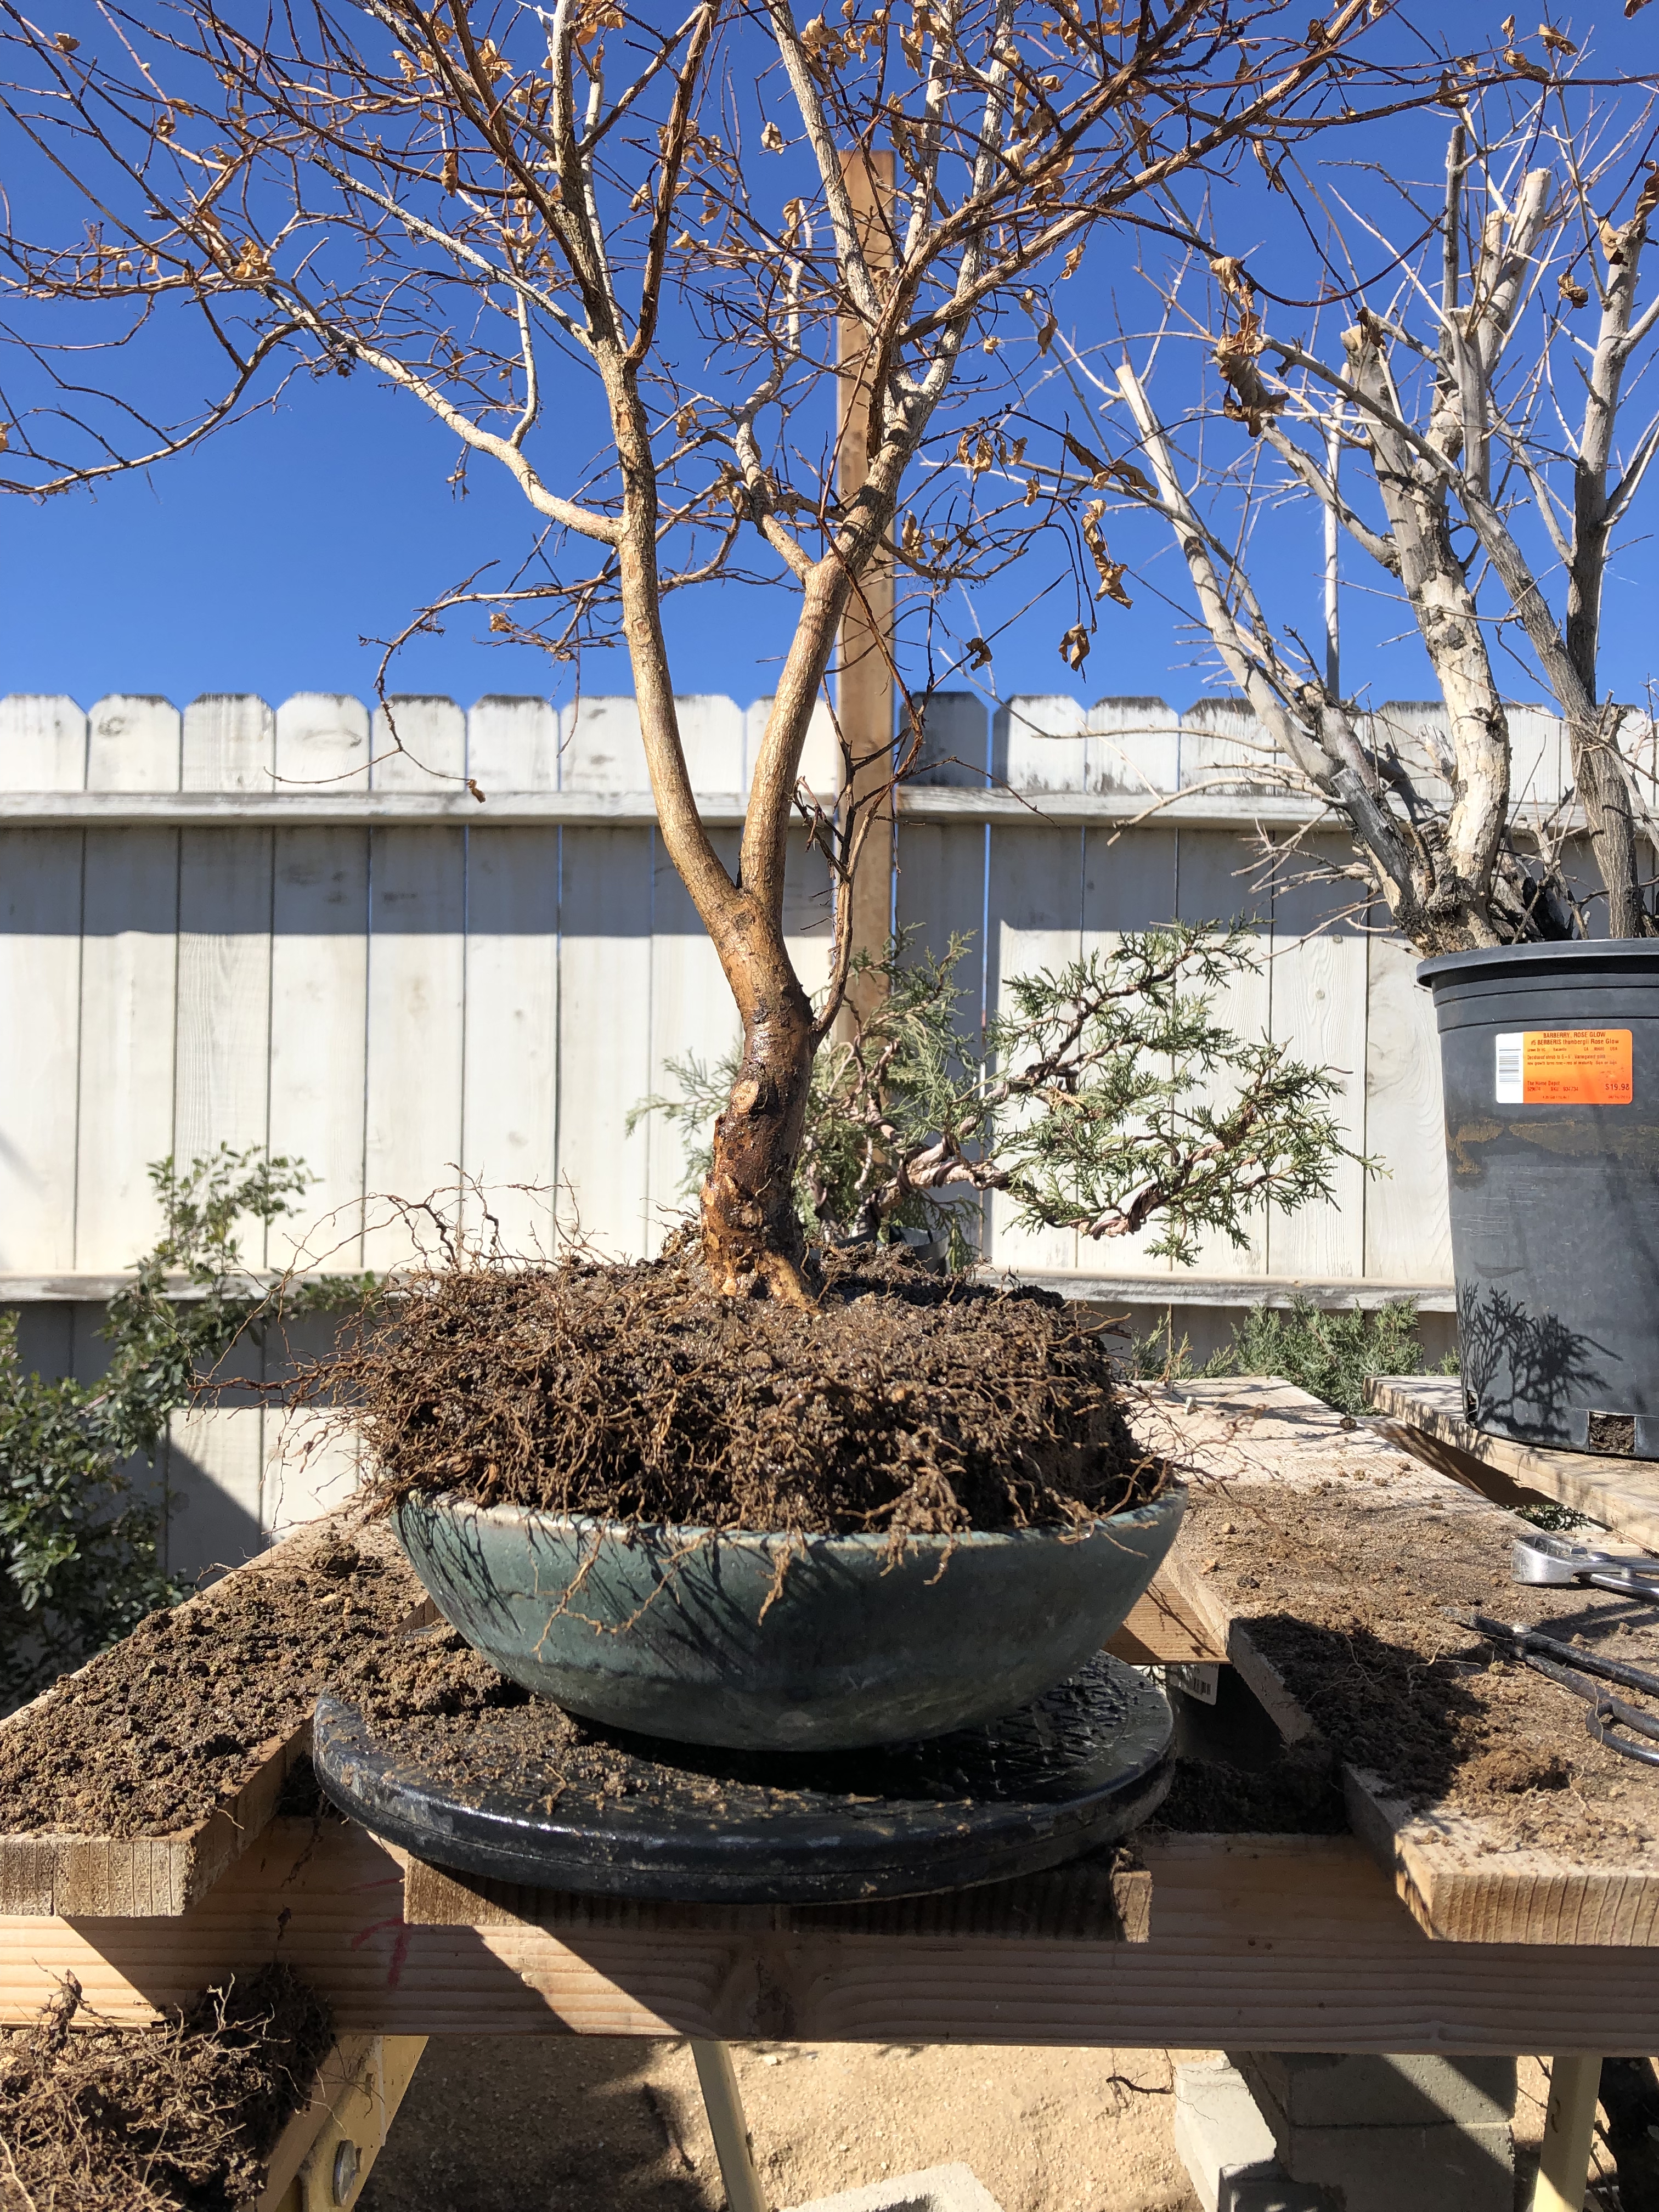
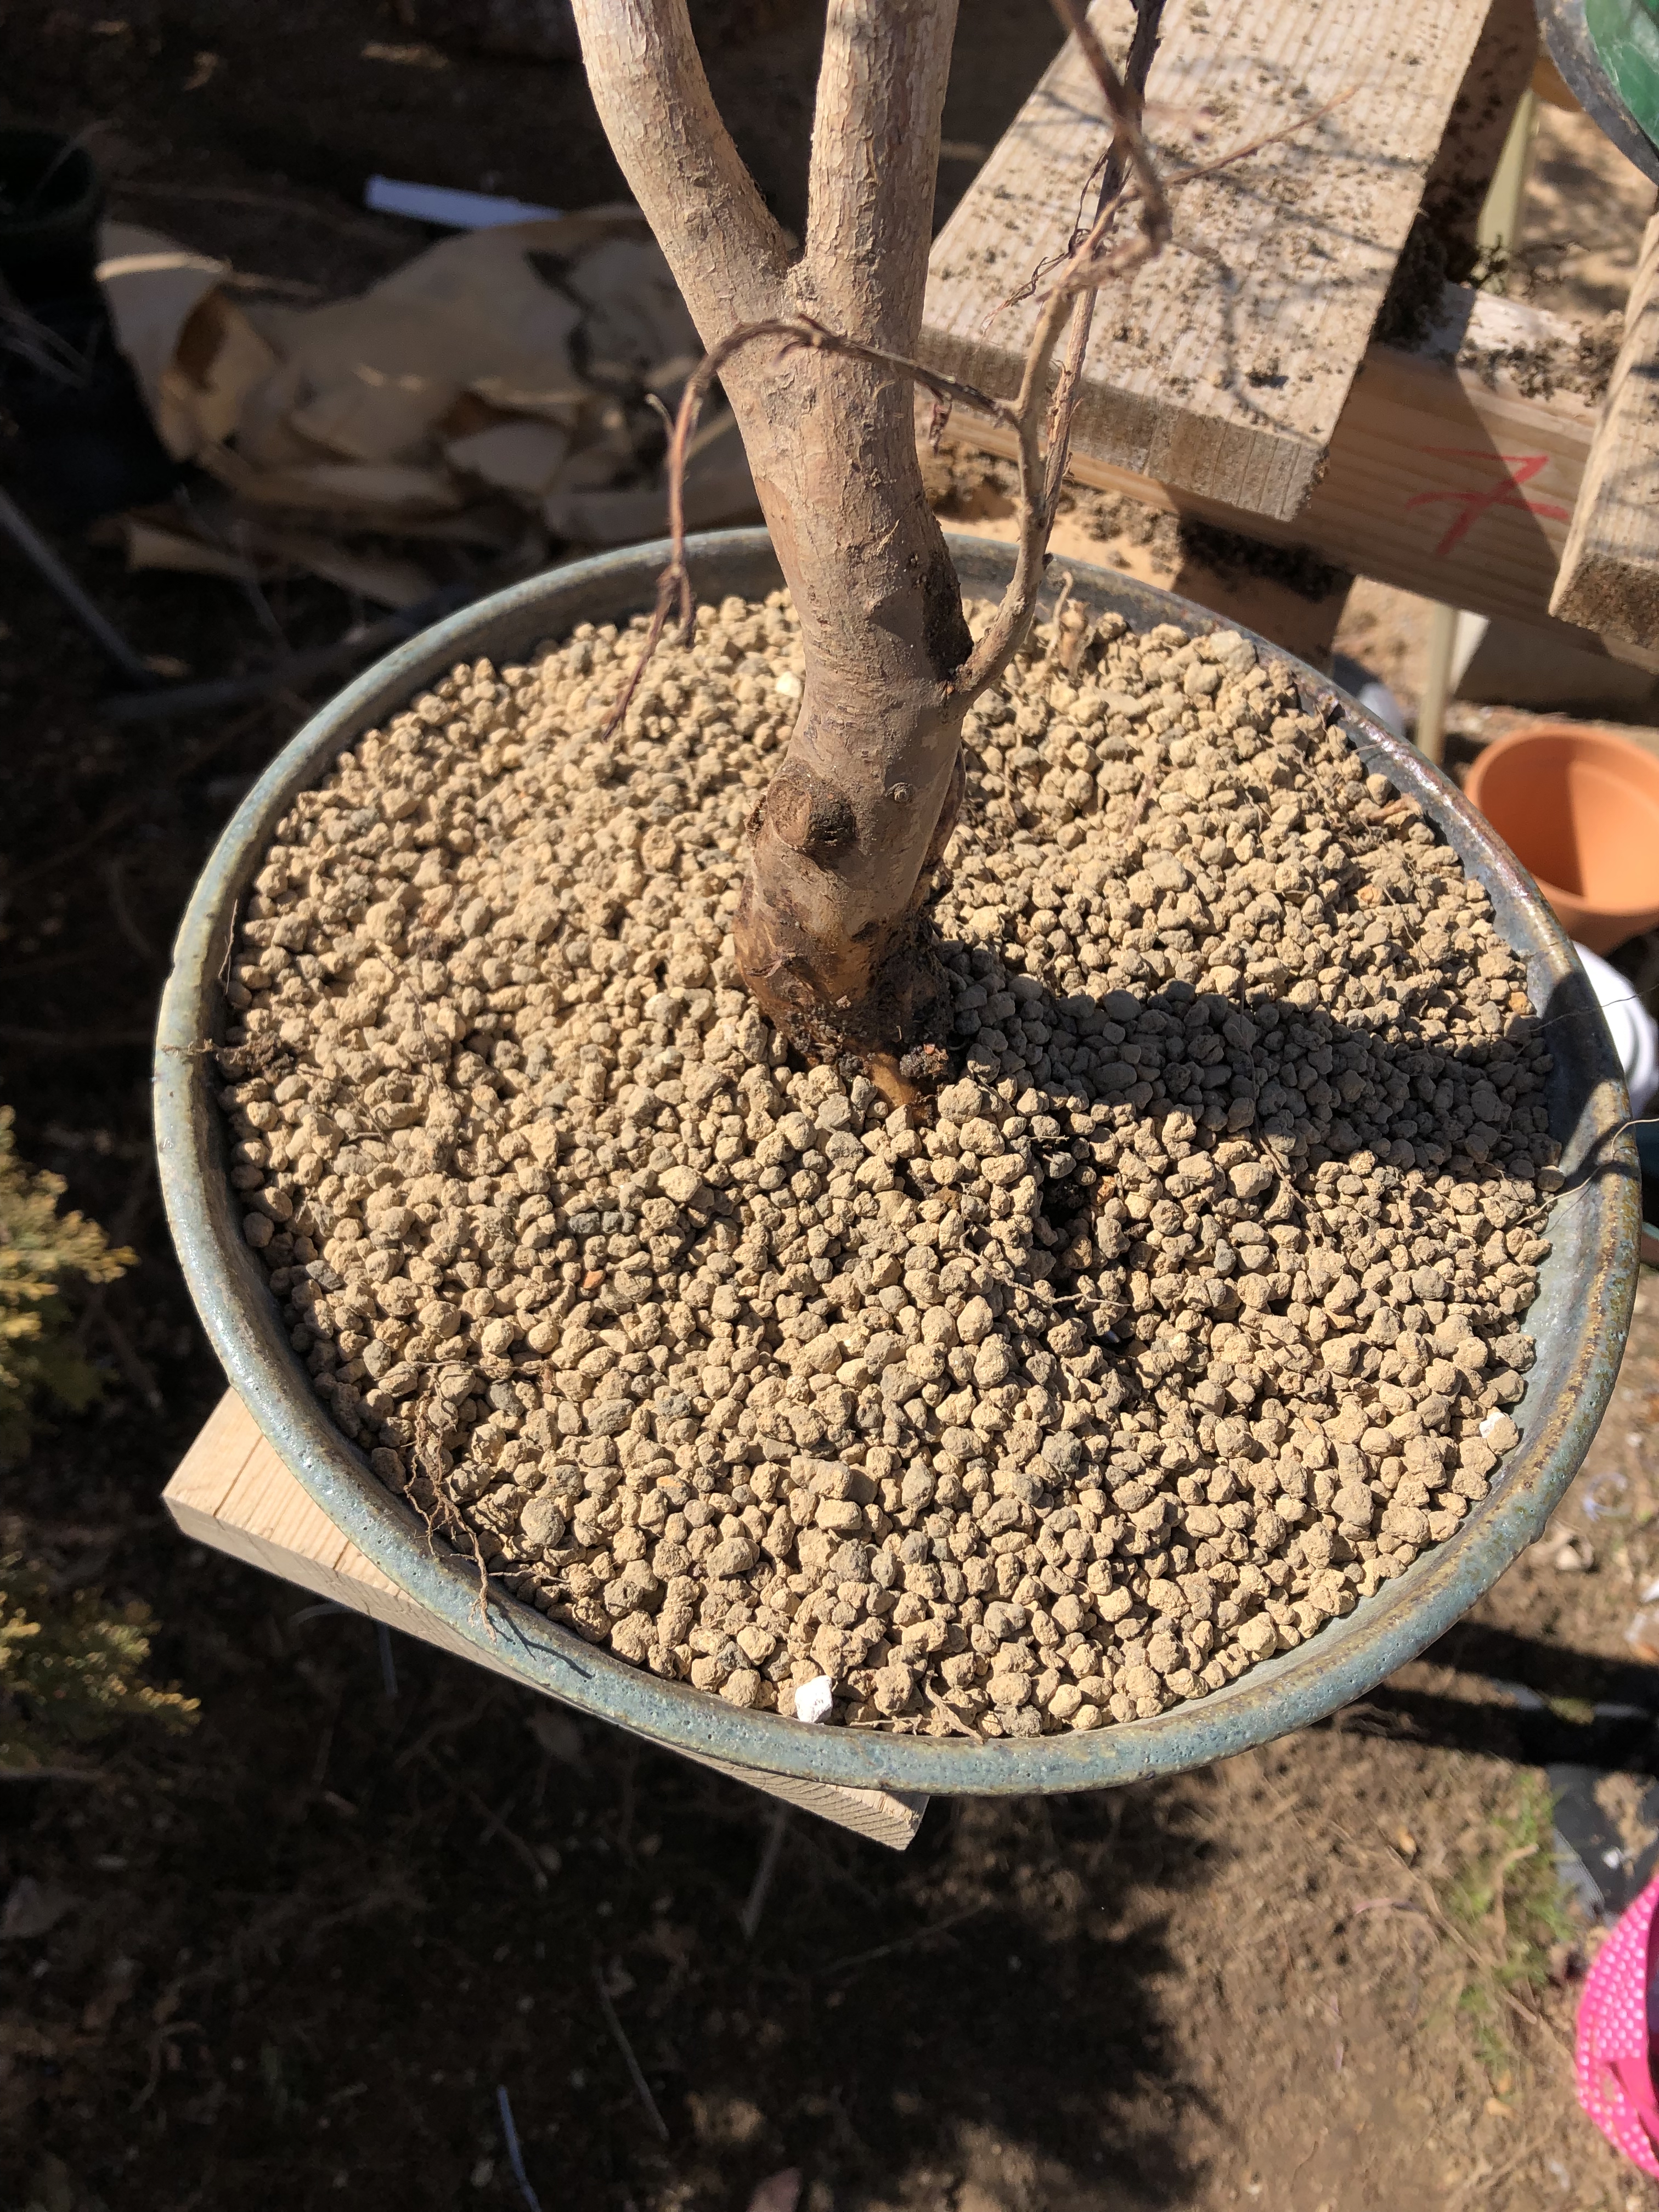
I cut back all of the sucker trunks and then cleaned it up to give you a better view of the trunk.
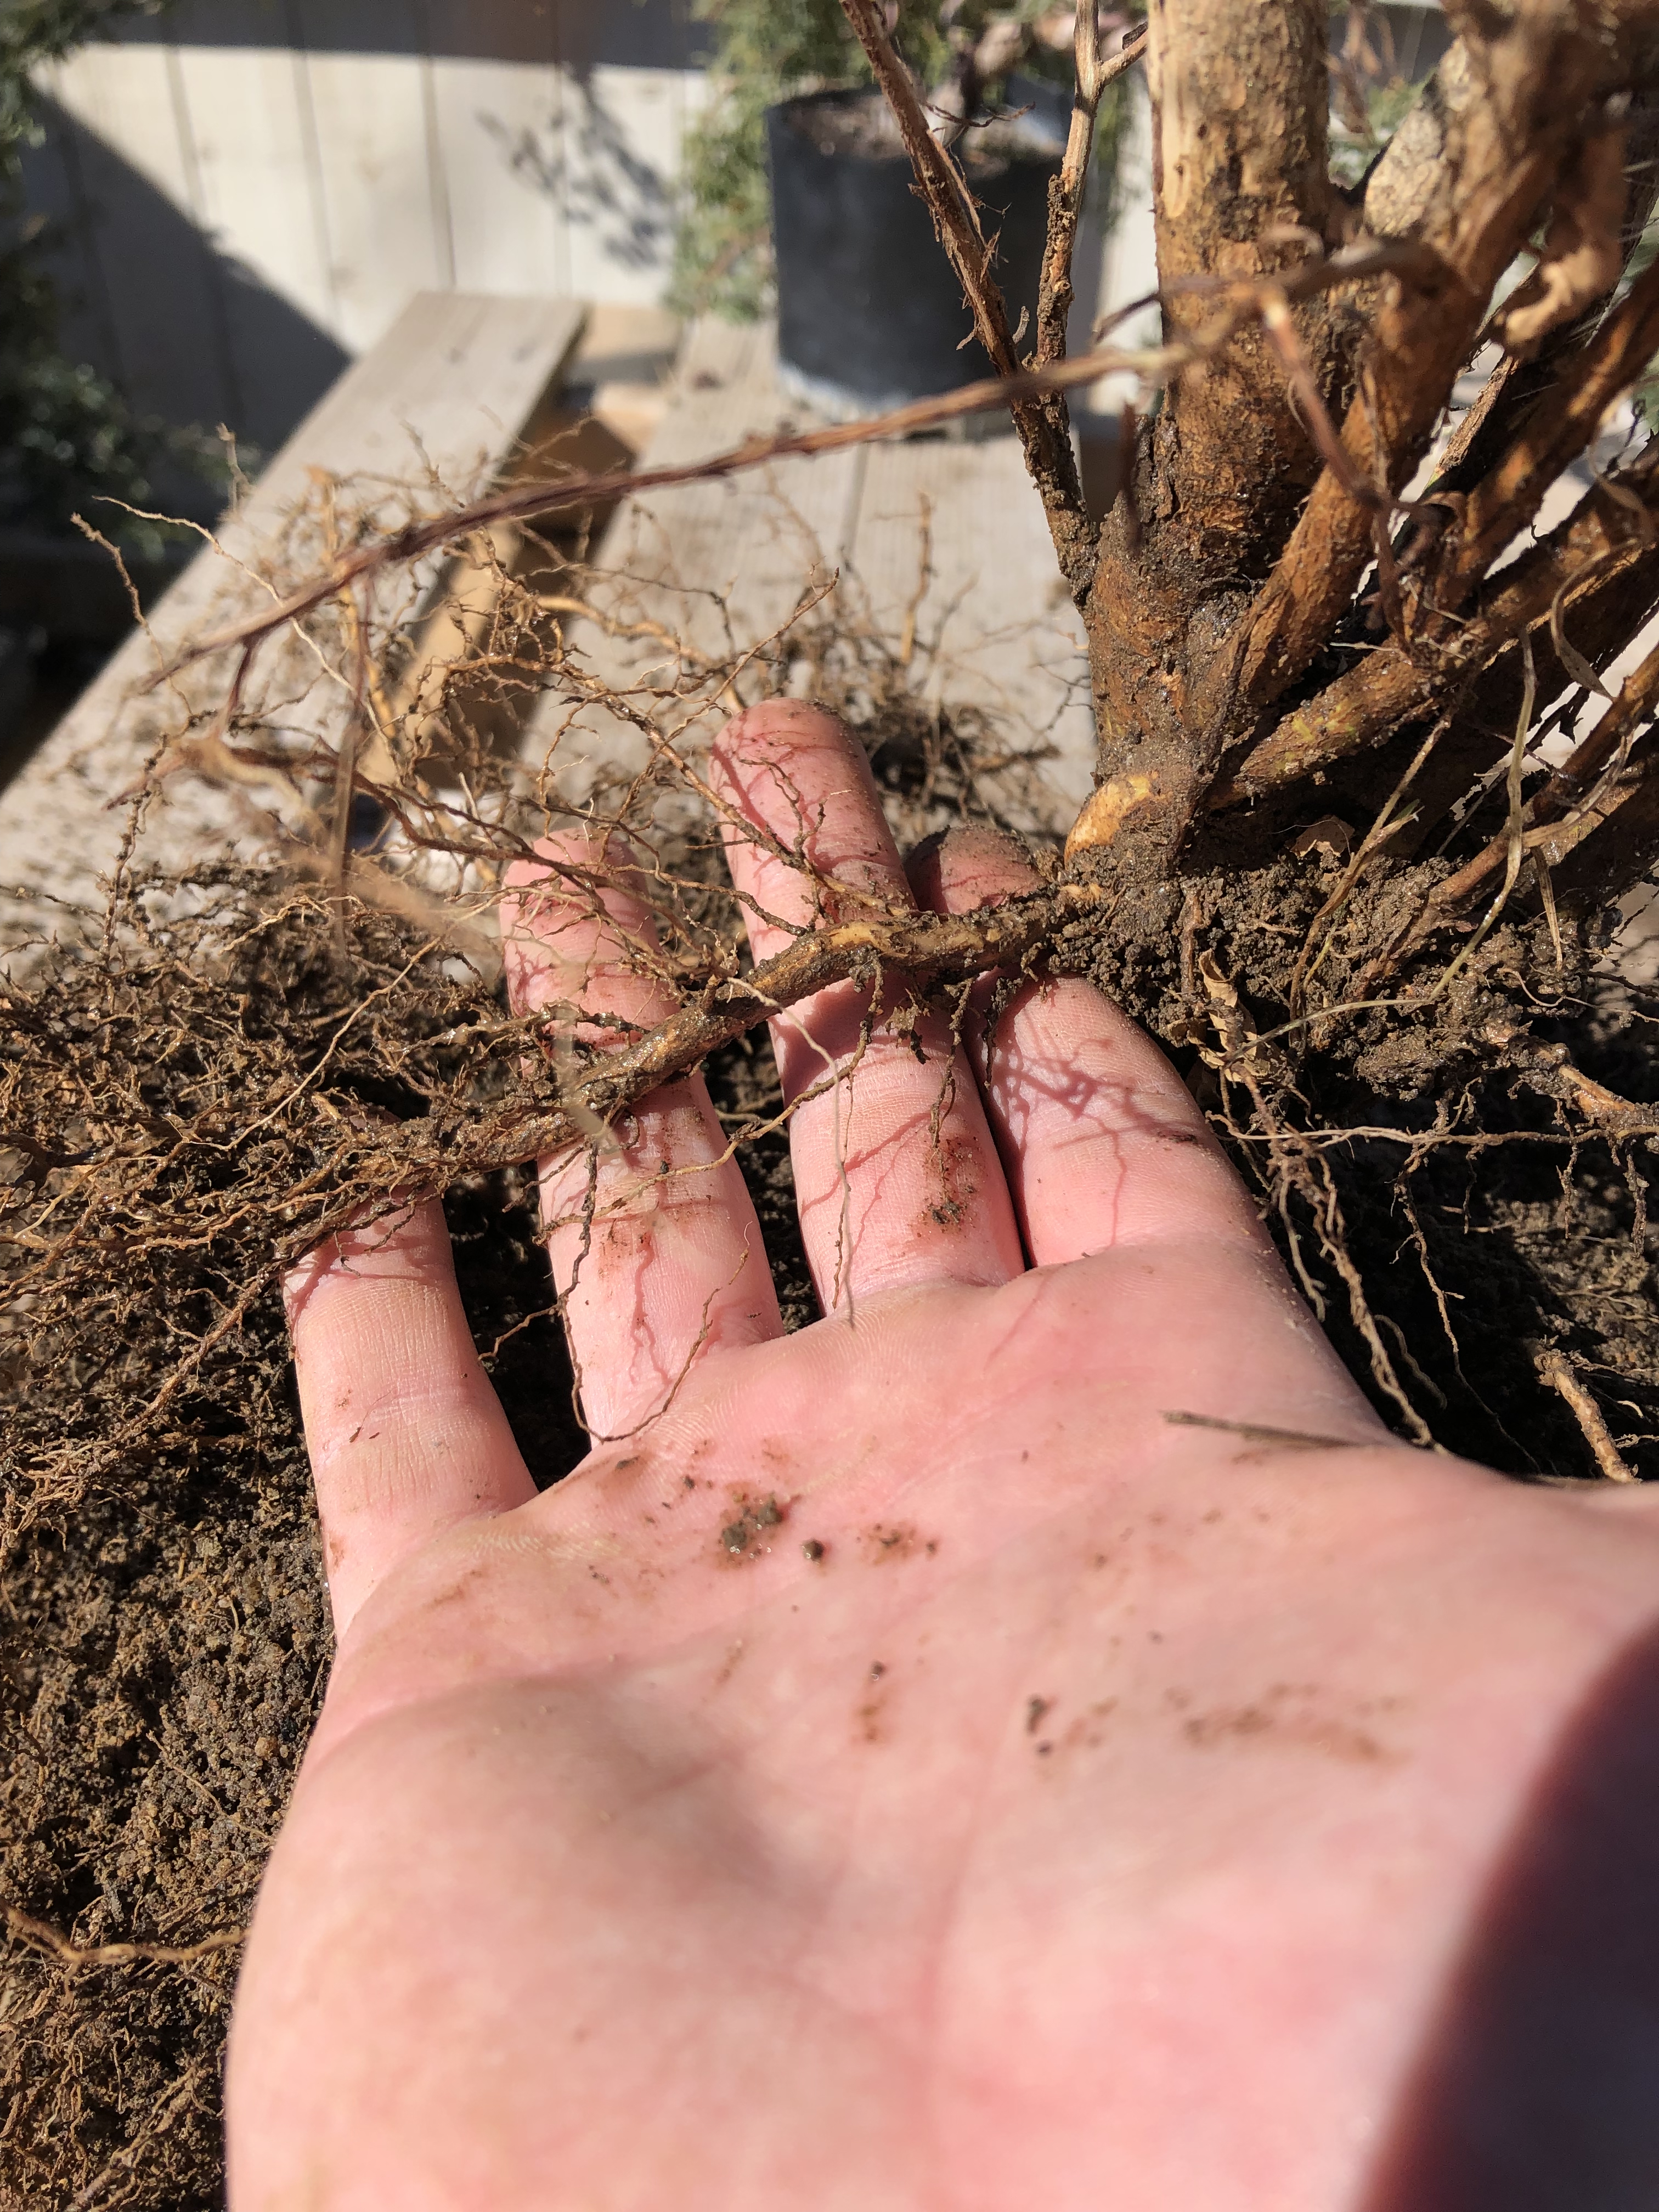
As I flip the tree over to work on the roots, take note on how I hold the tree to avoid damage to the branches.
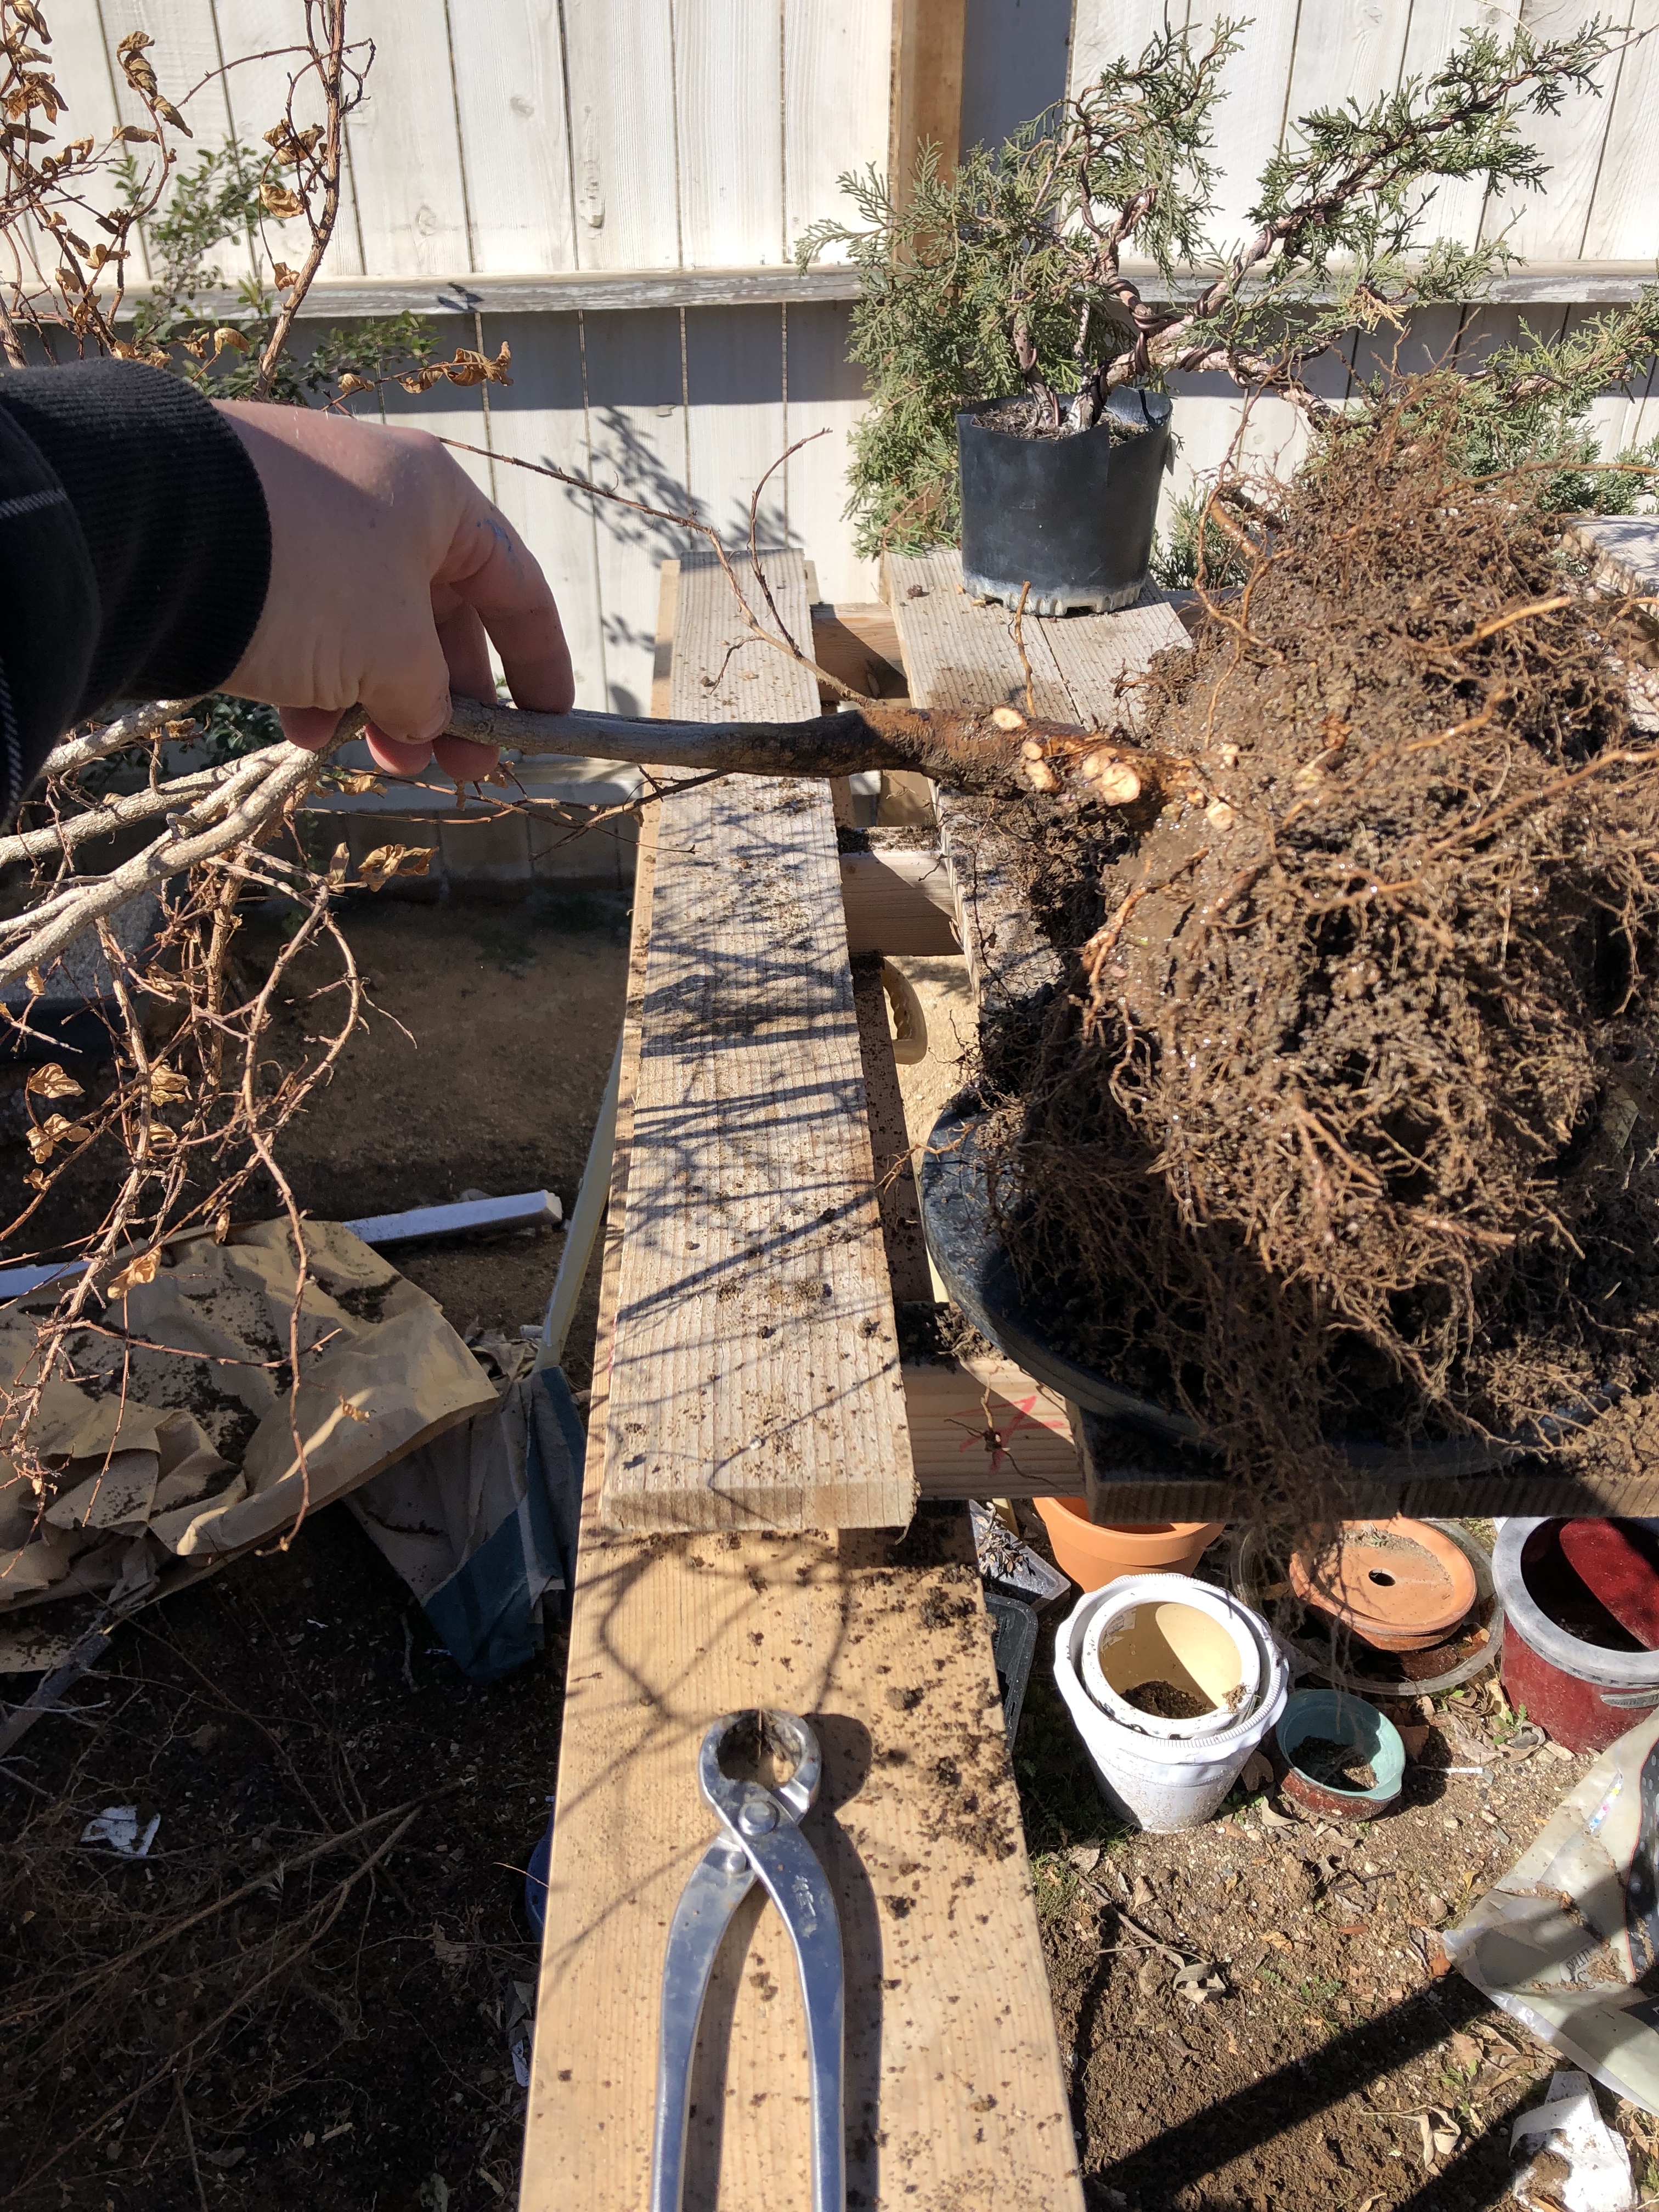
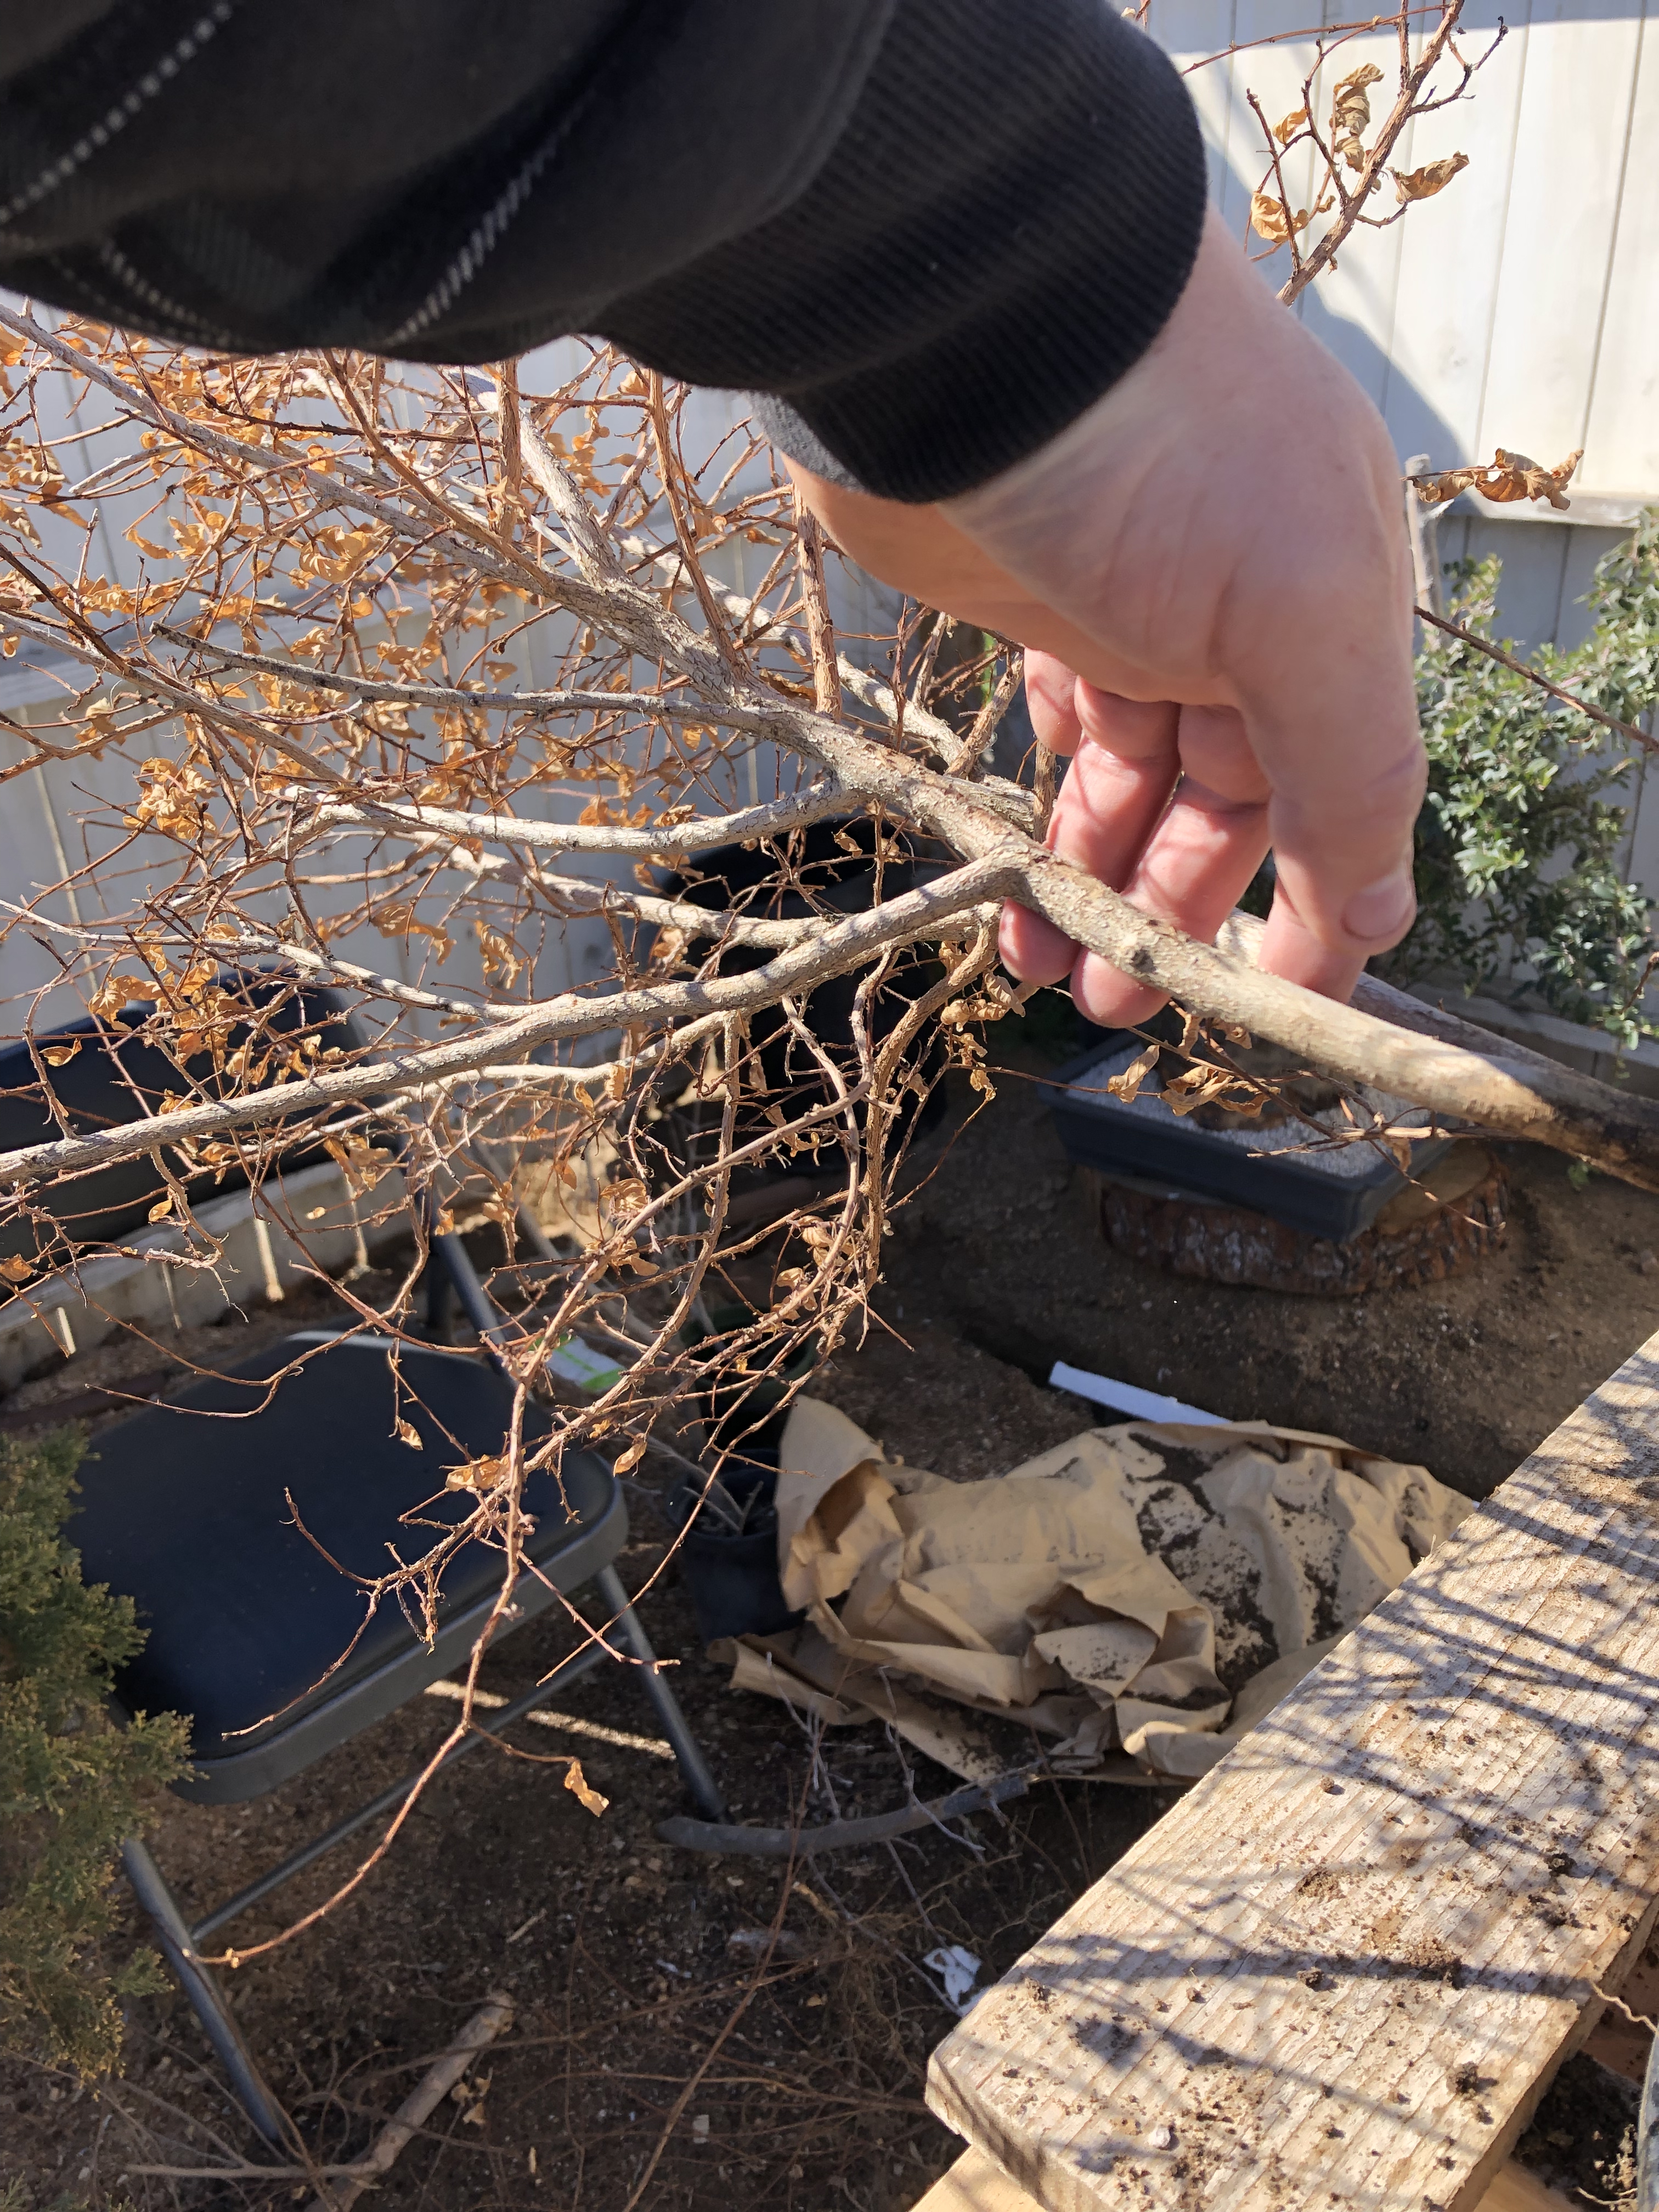
I know nothing will hit the branches where I’m holding it, so I can work freely with the roots.
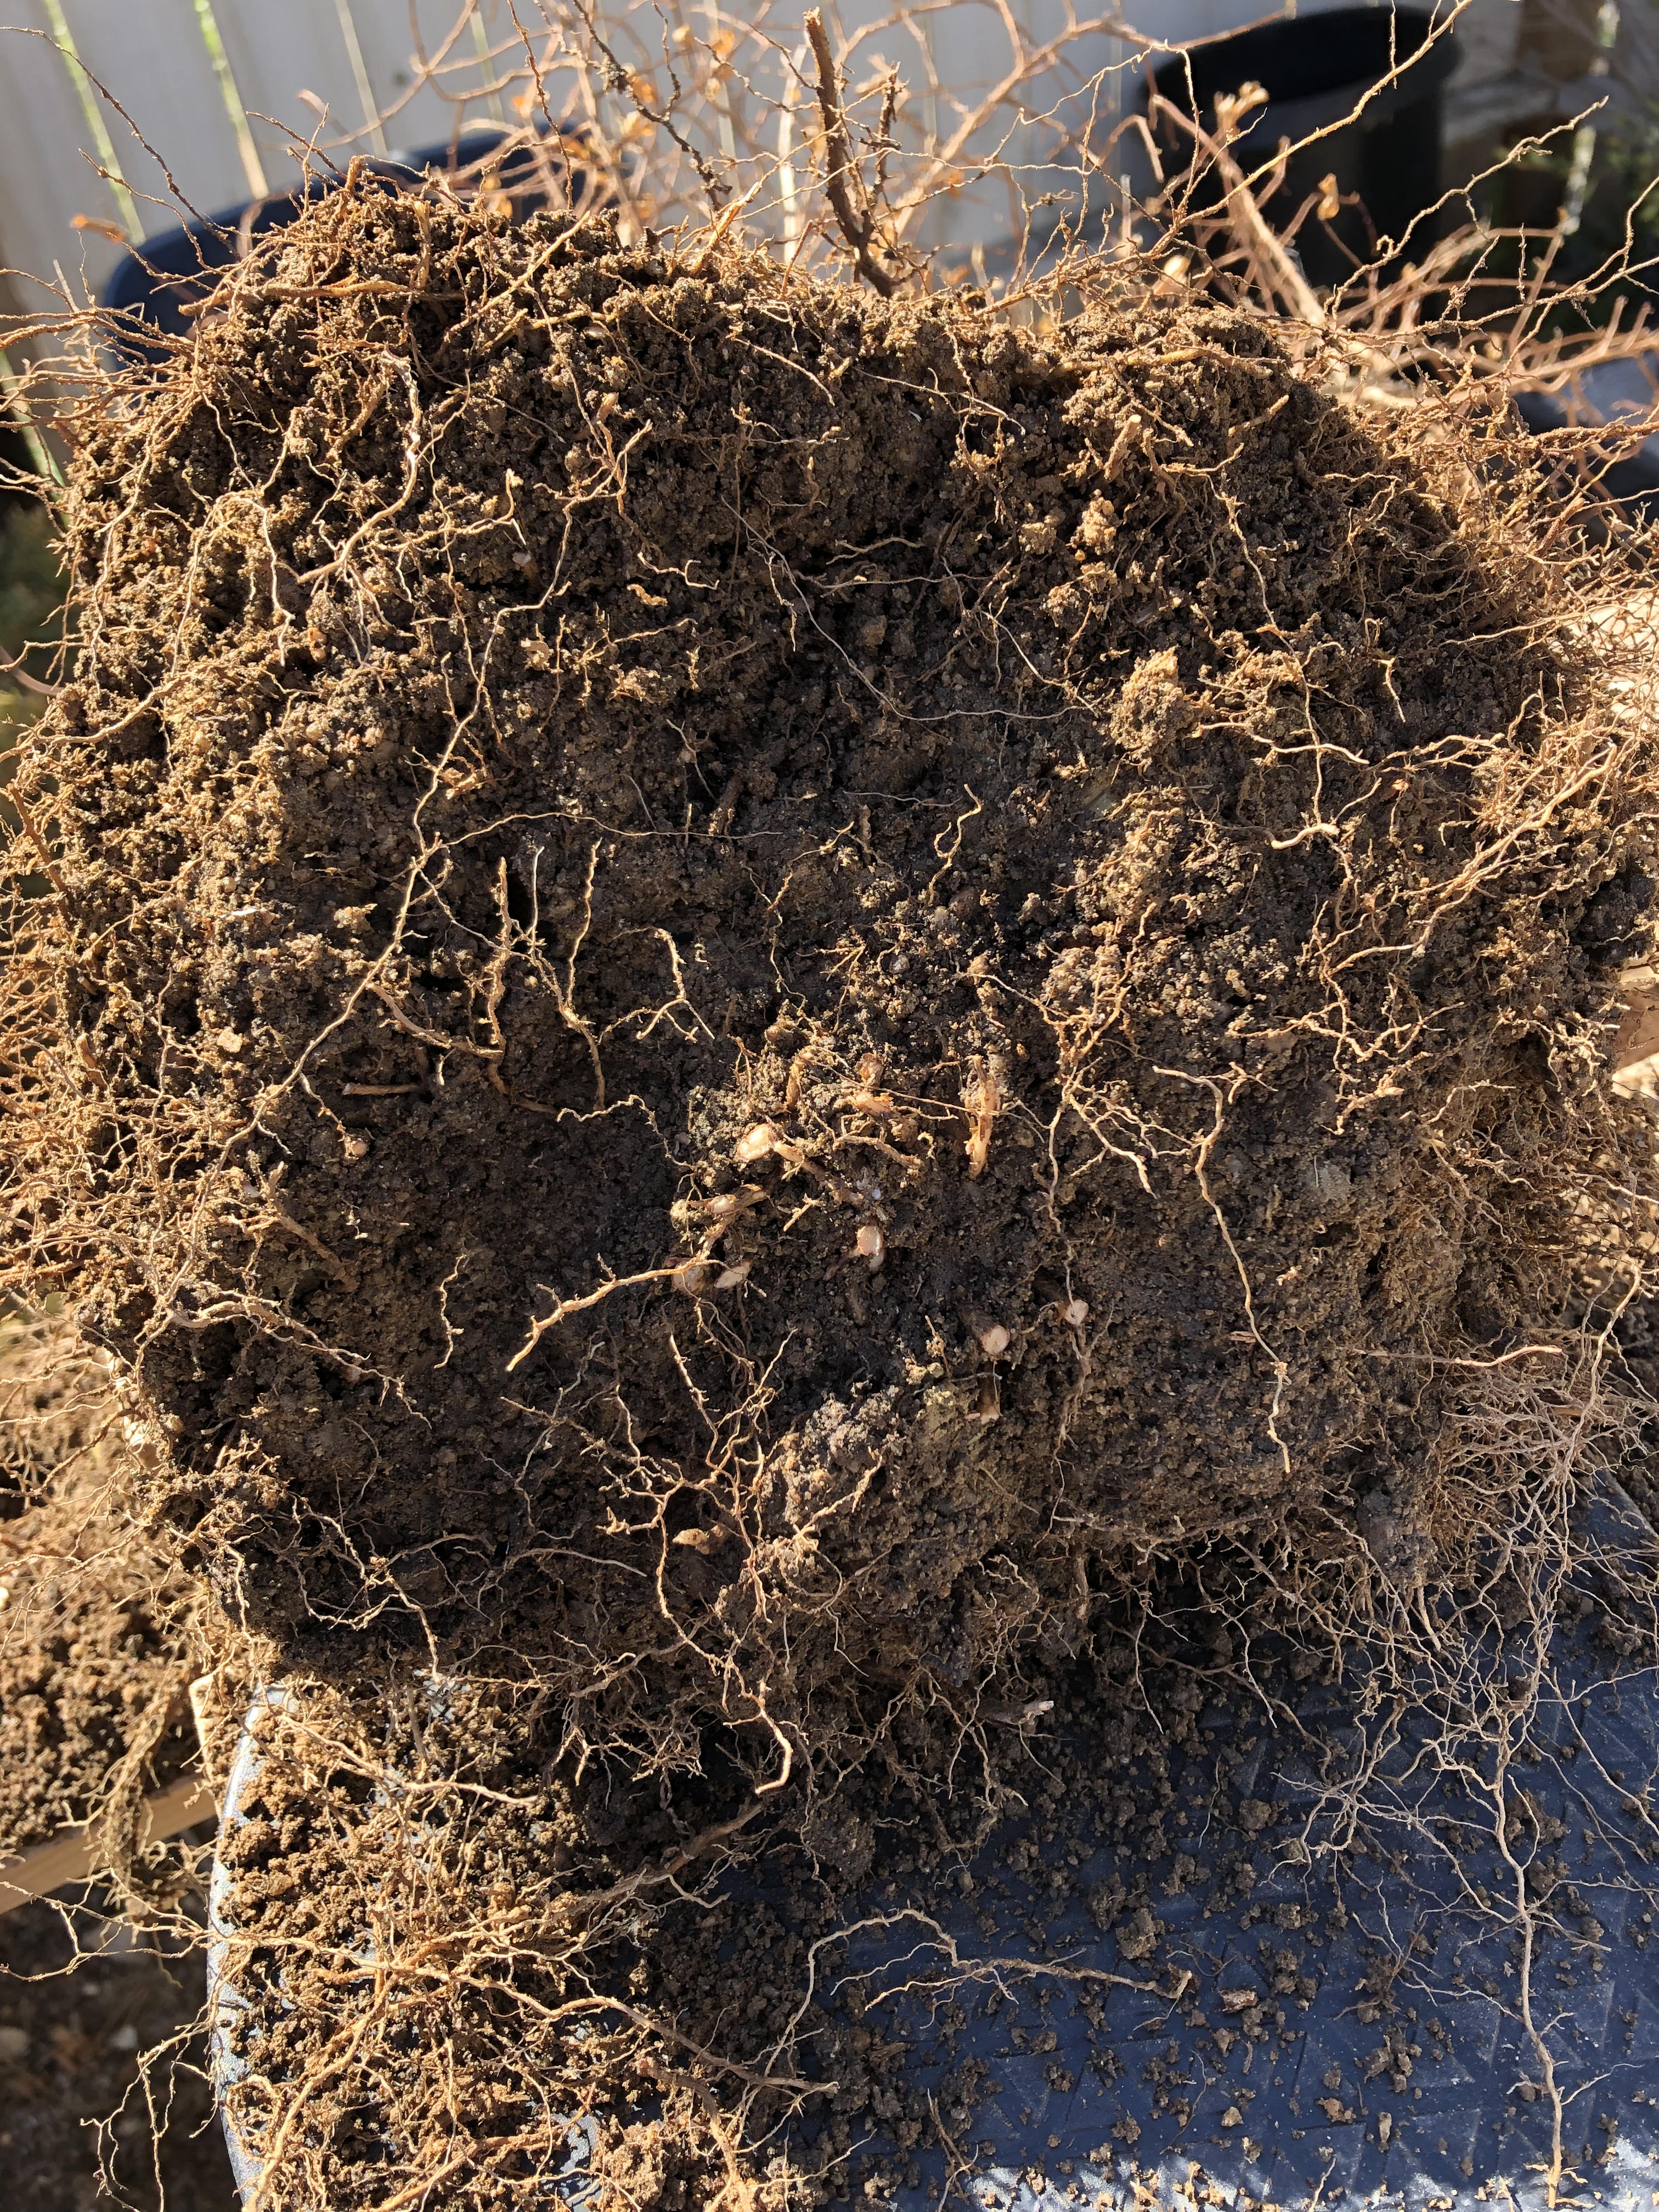
I noticed a huge group of medium sized roots here. This will be what is limiting the height of the tree in a pot.
This is the pot that I was looking at for the tree. Needs a bit more work on the roots.
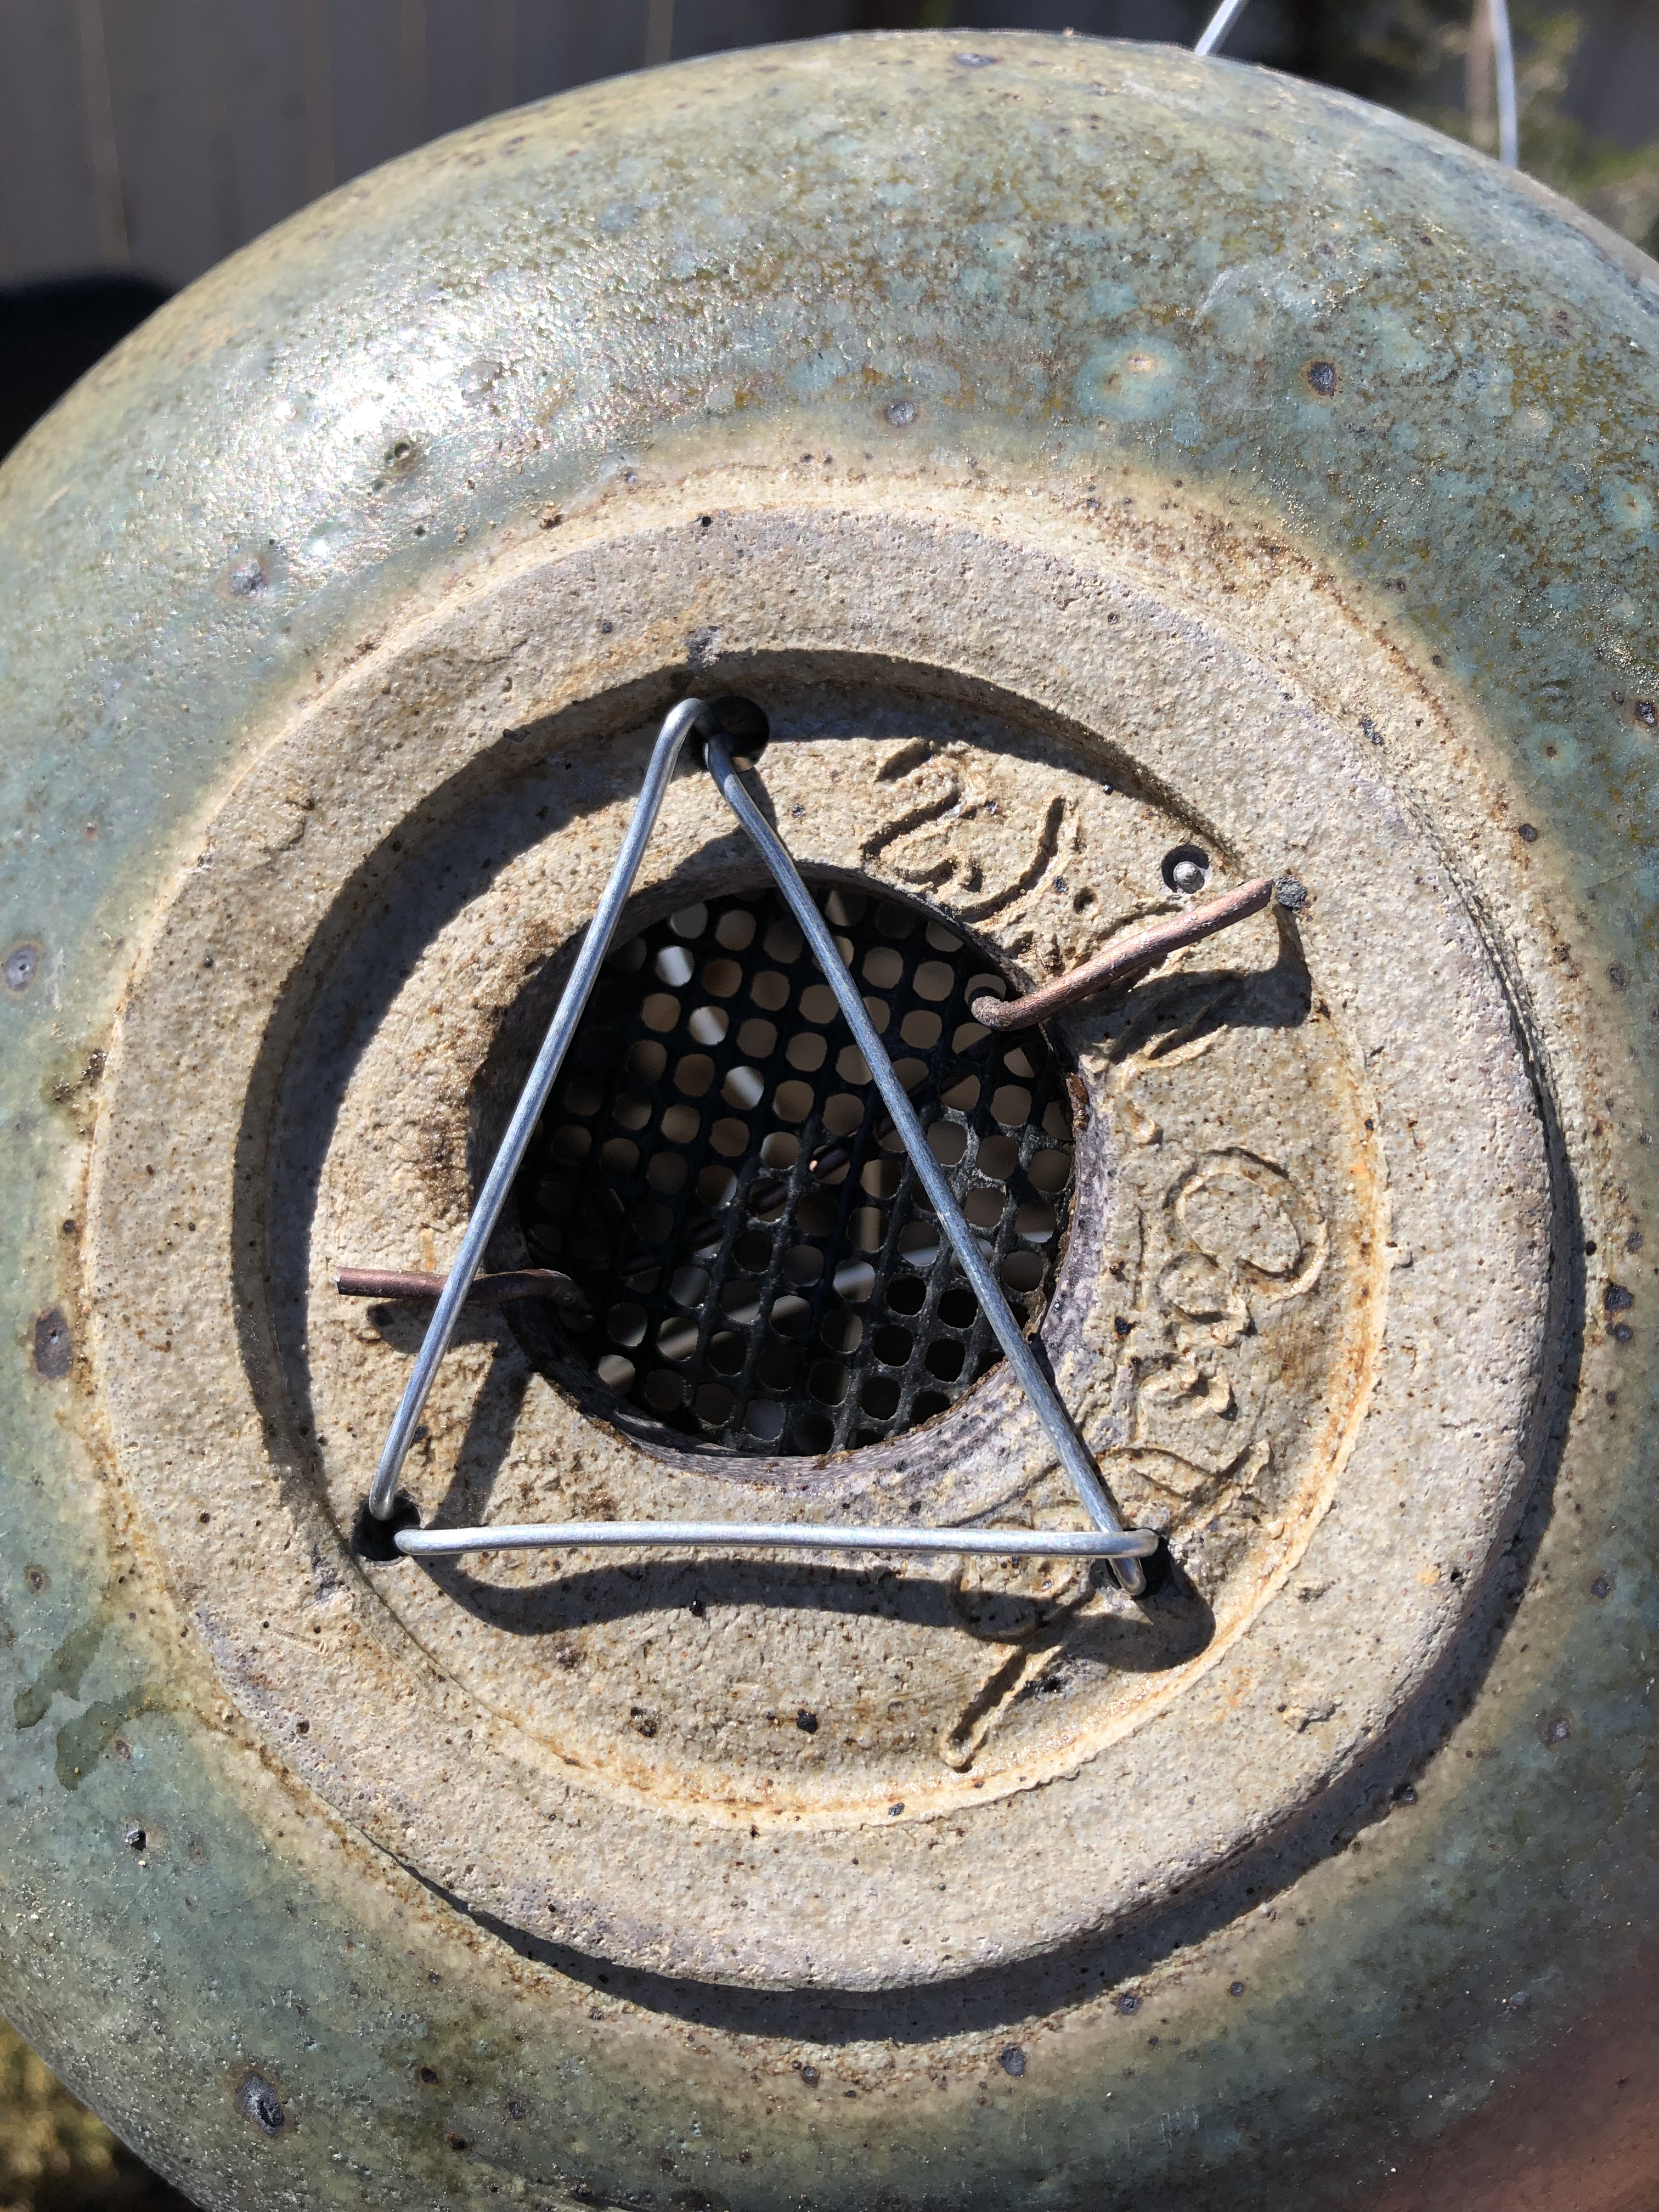
I prepared the pot with a screen and 3 tie wires.
I learned this from Ryan Neil of Bonsai Mirai. Doing this allows you to pierce the rootball if needed to get both wires through without volcanoes erupting over frustration.
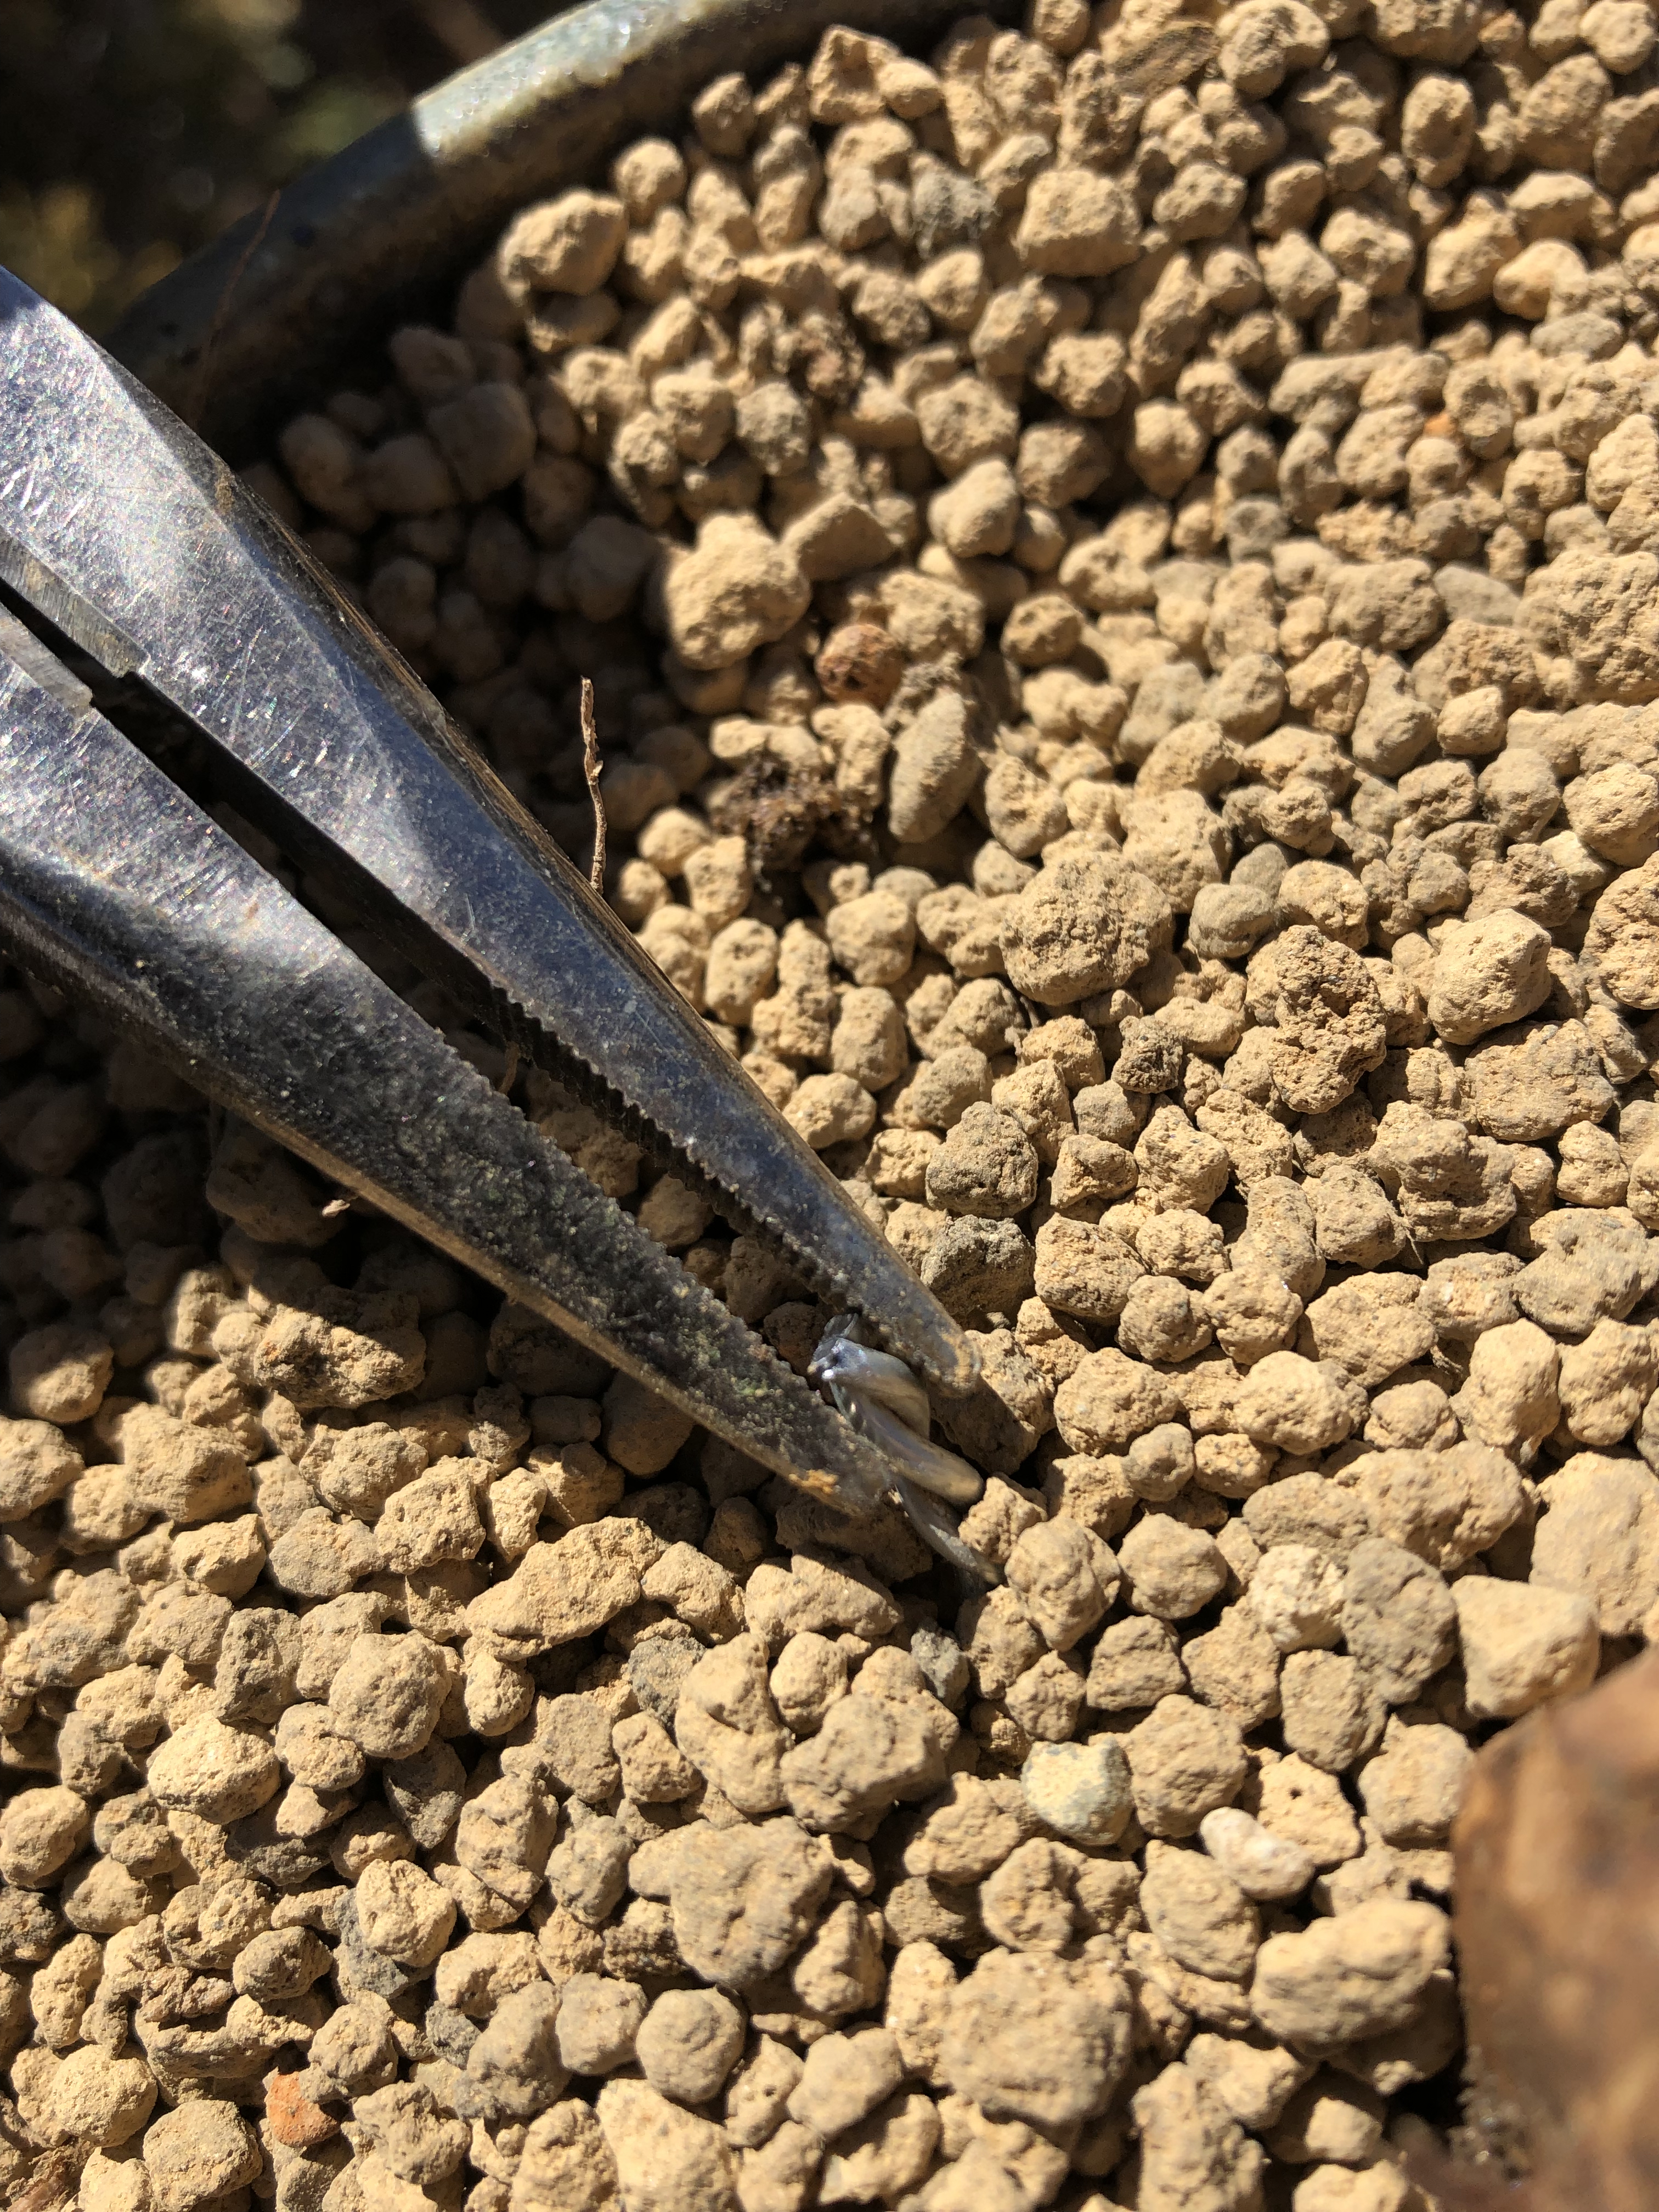
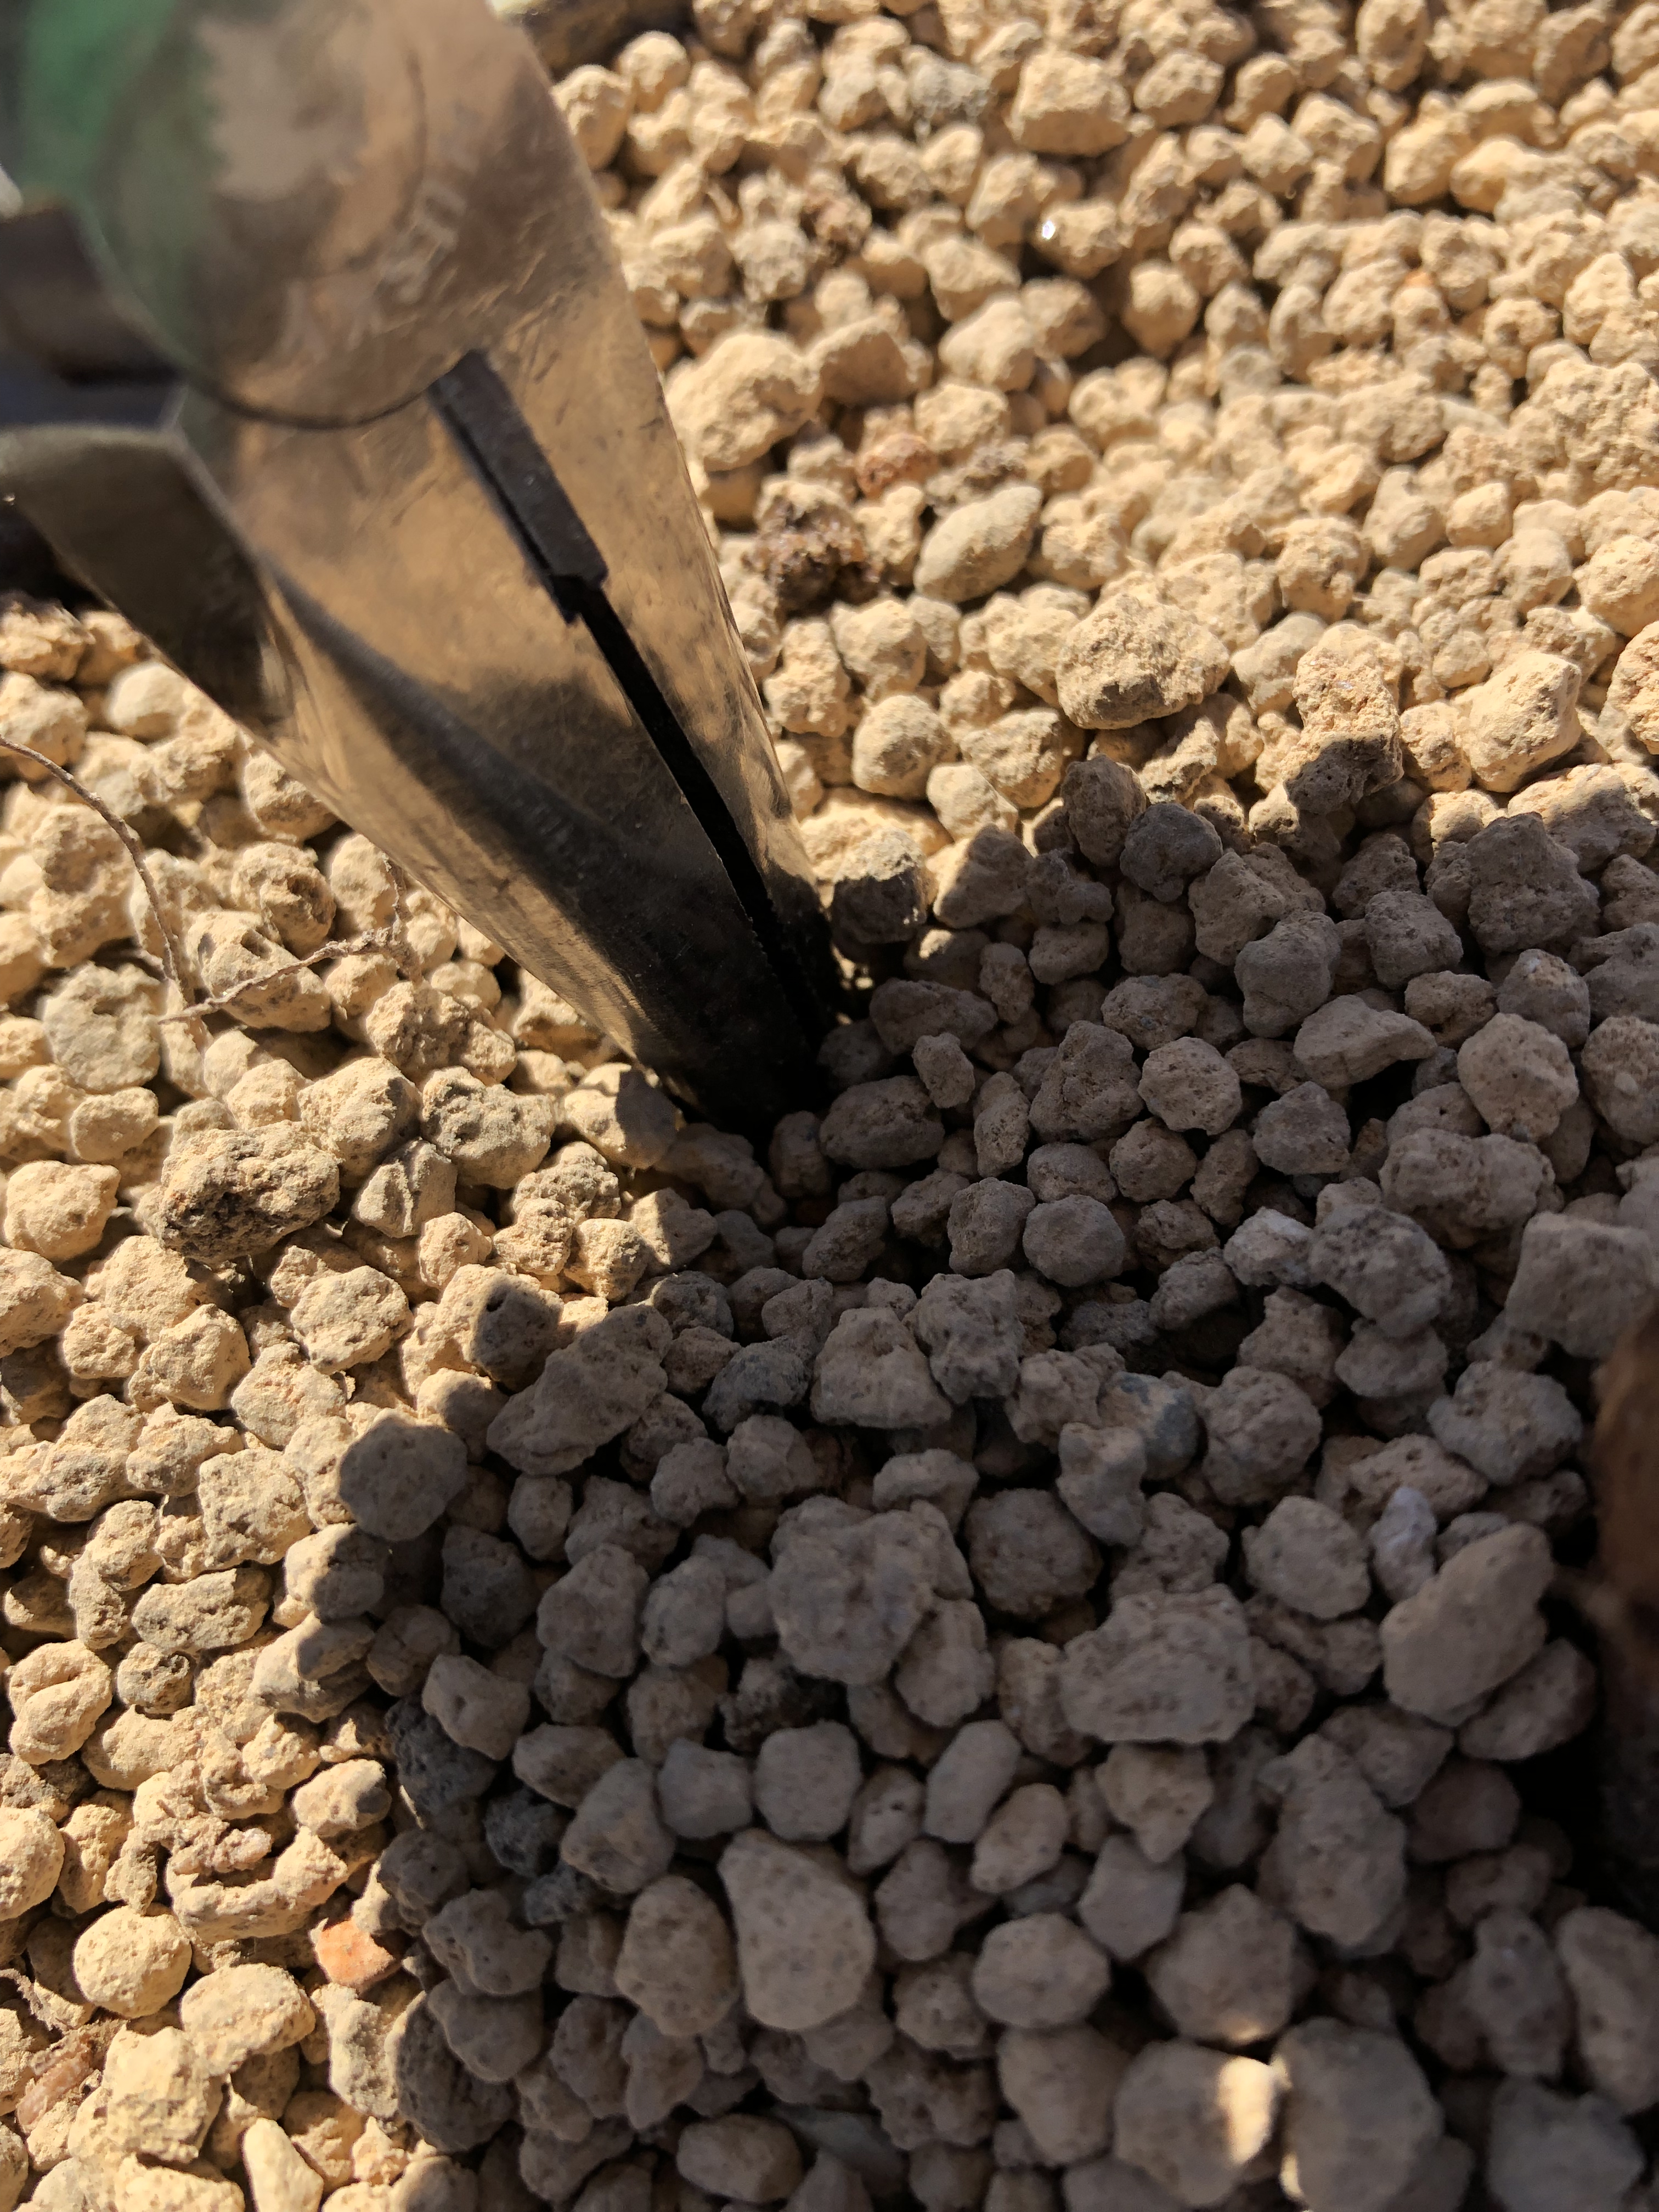
Aeration layer on the bottom.
Further root reduction.

Once I get the wires through, I cut off the tops to continue with the tying down process. 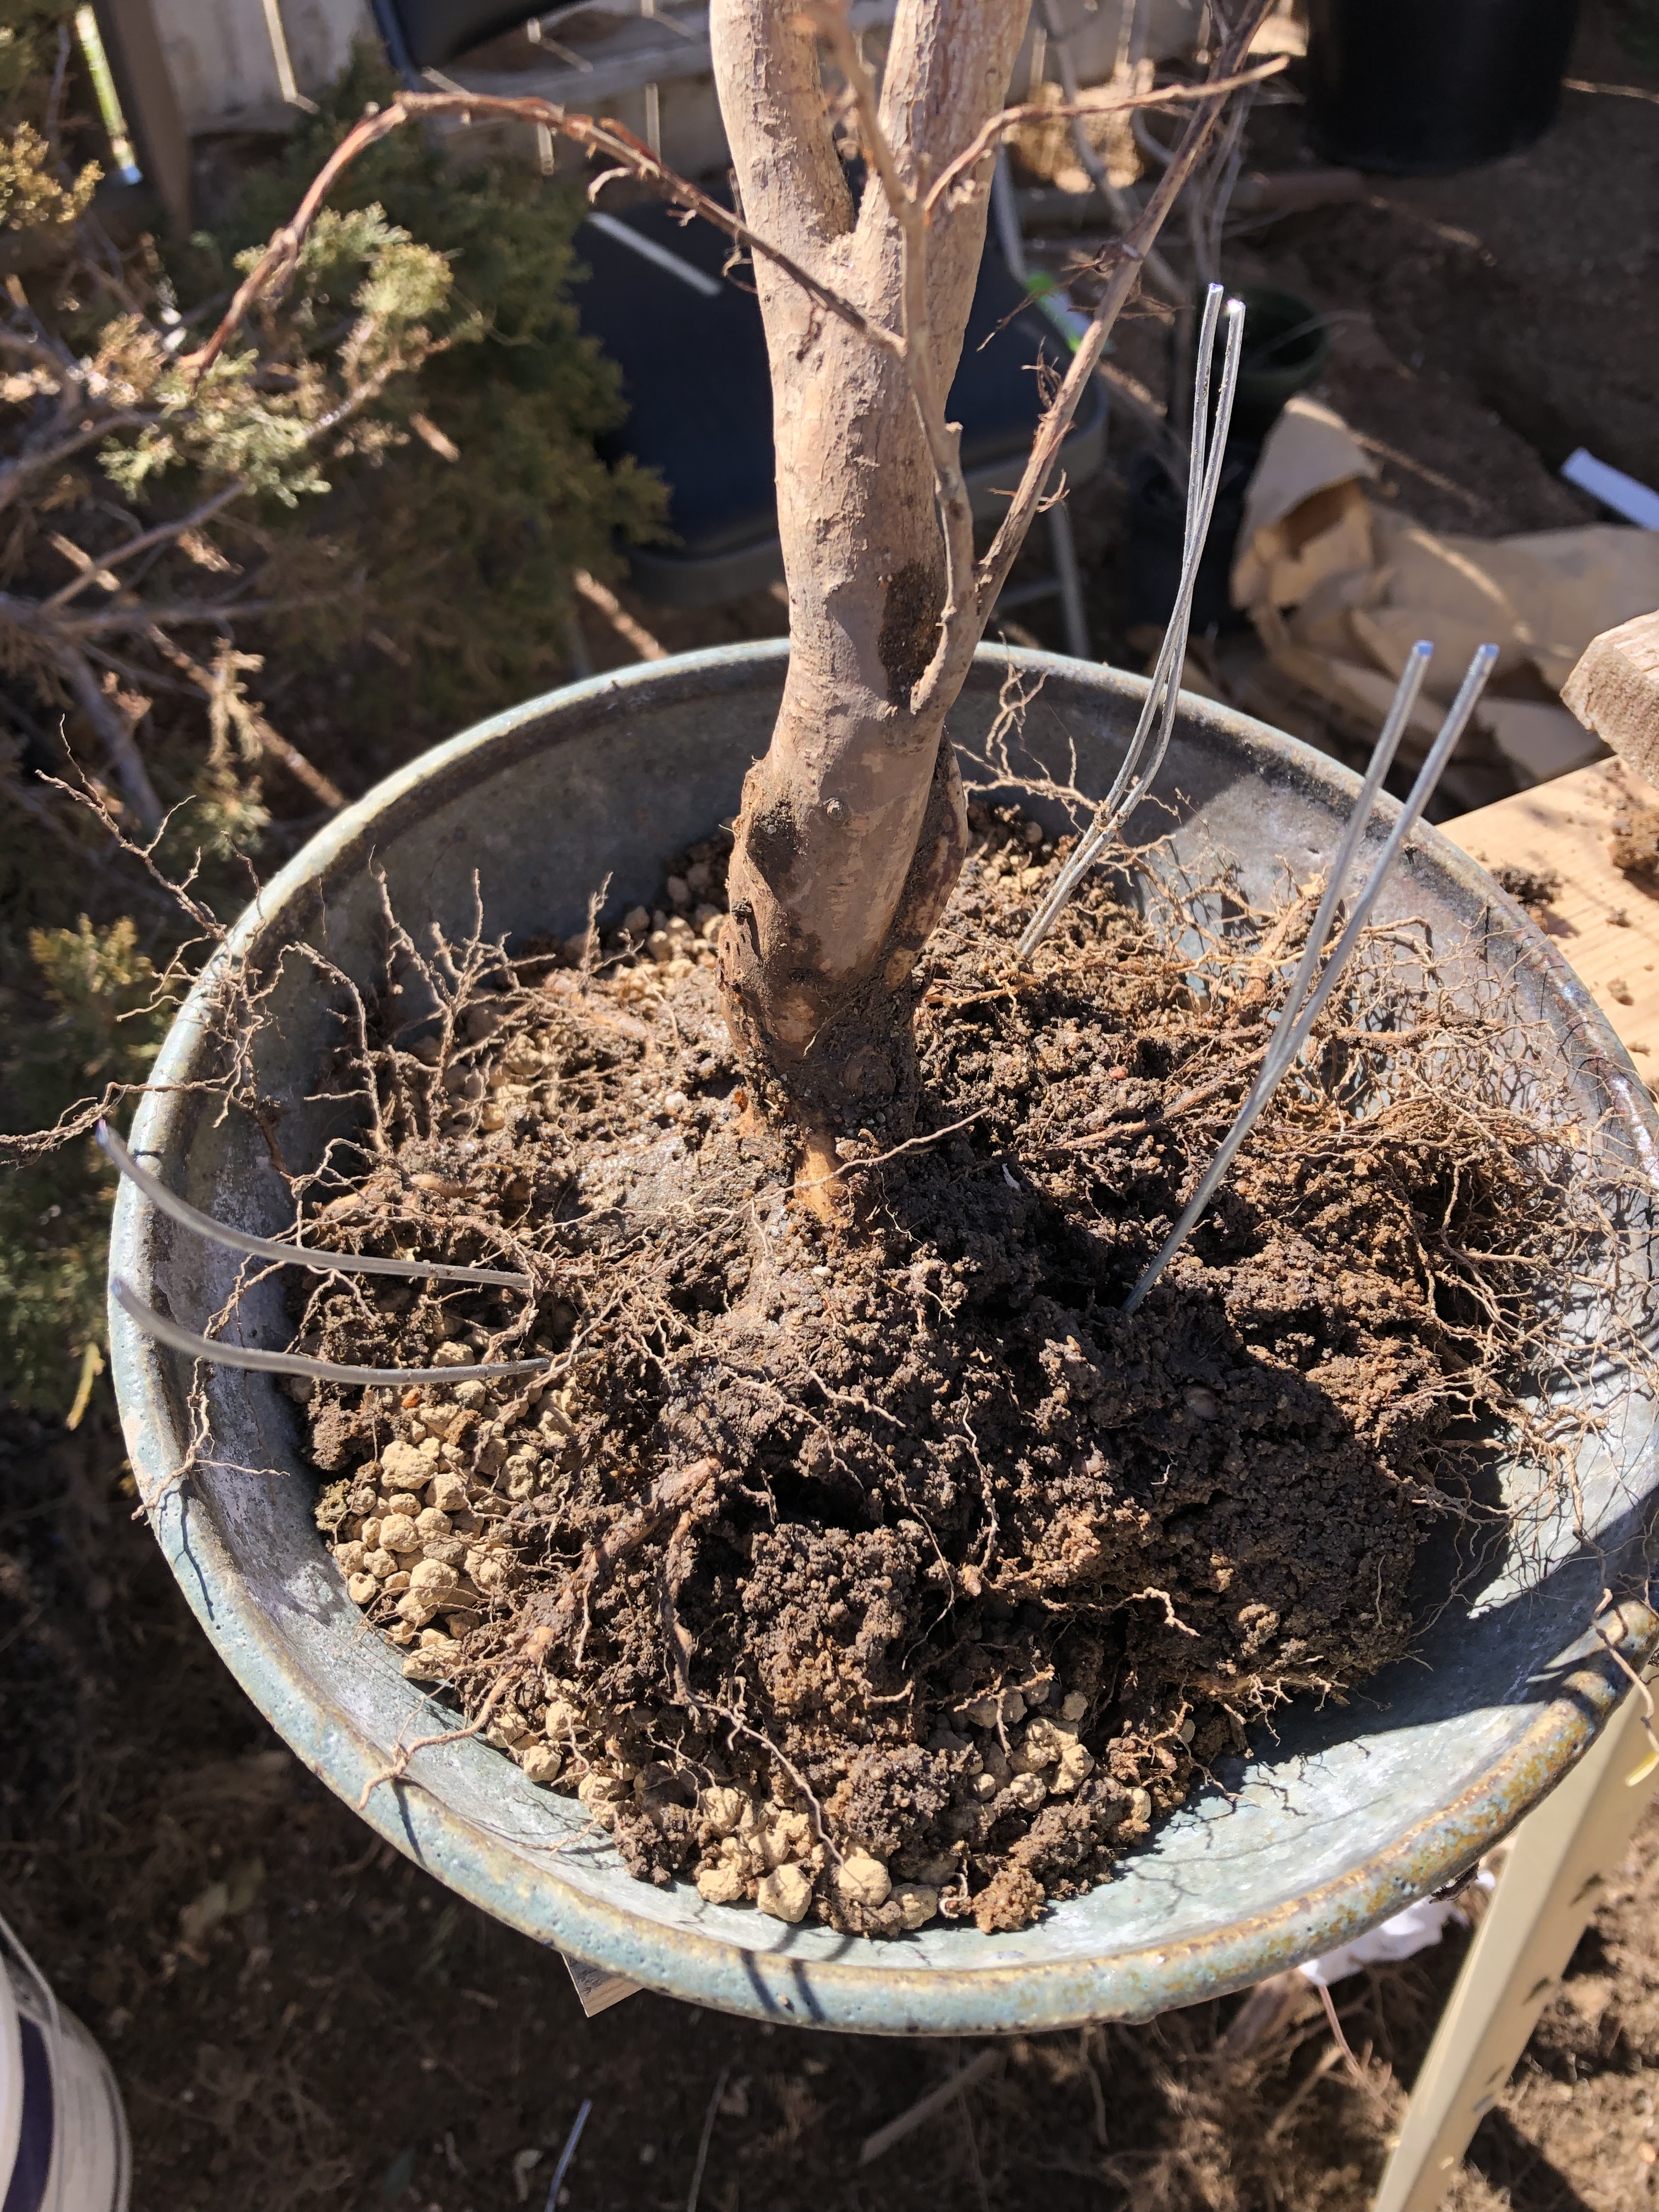
Once I secure the tree in, I cut off the remaining wires and push them down into the soil to hide the wires.
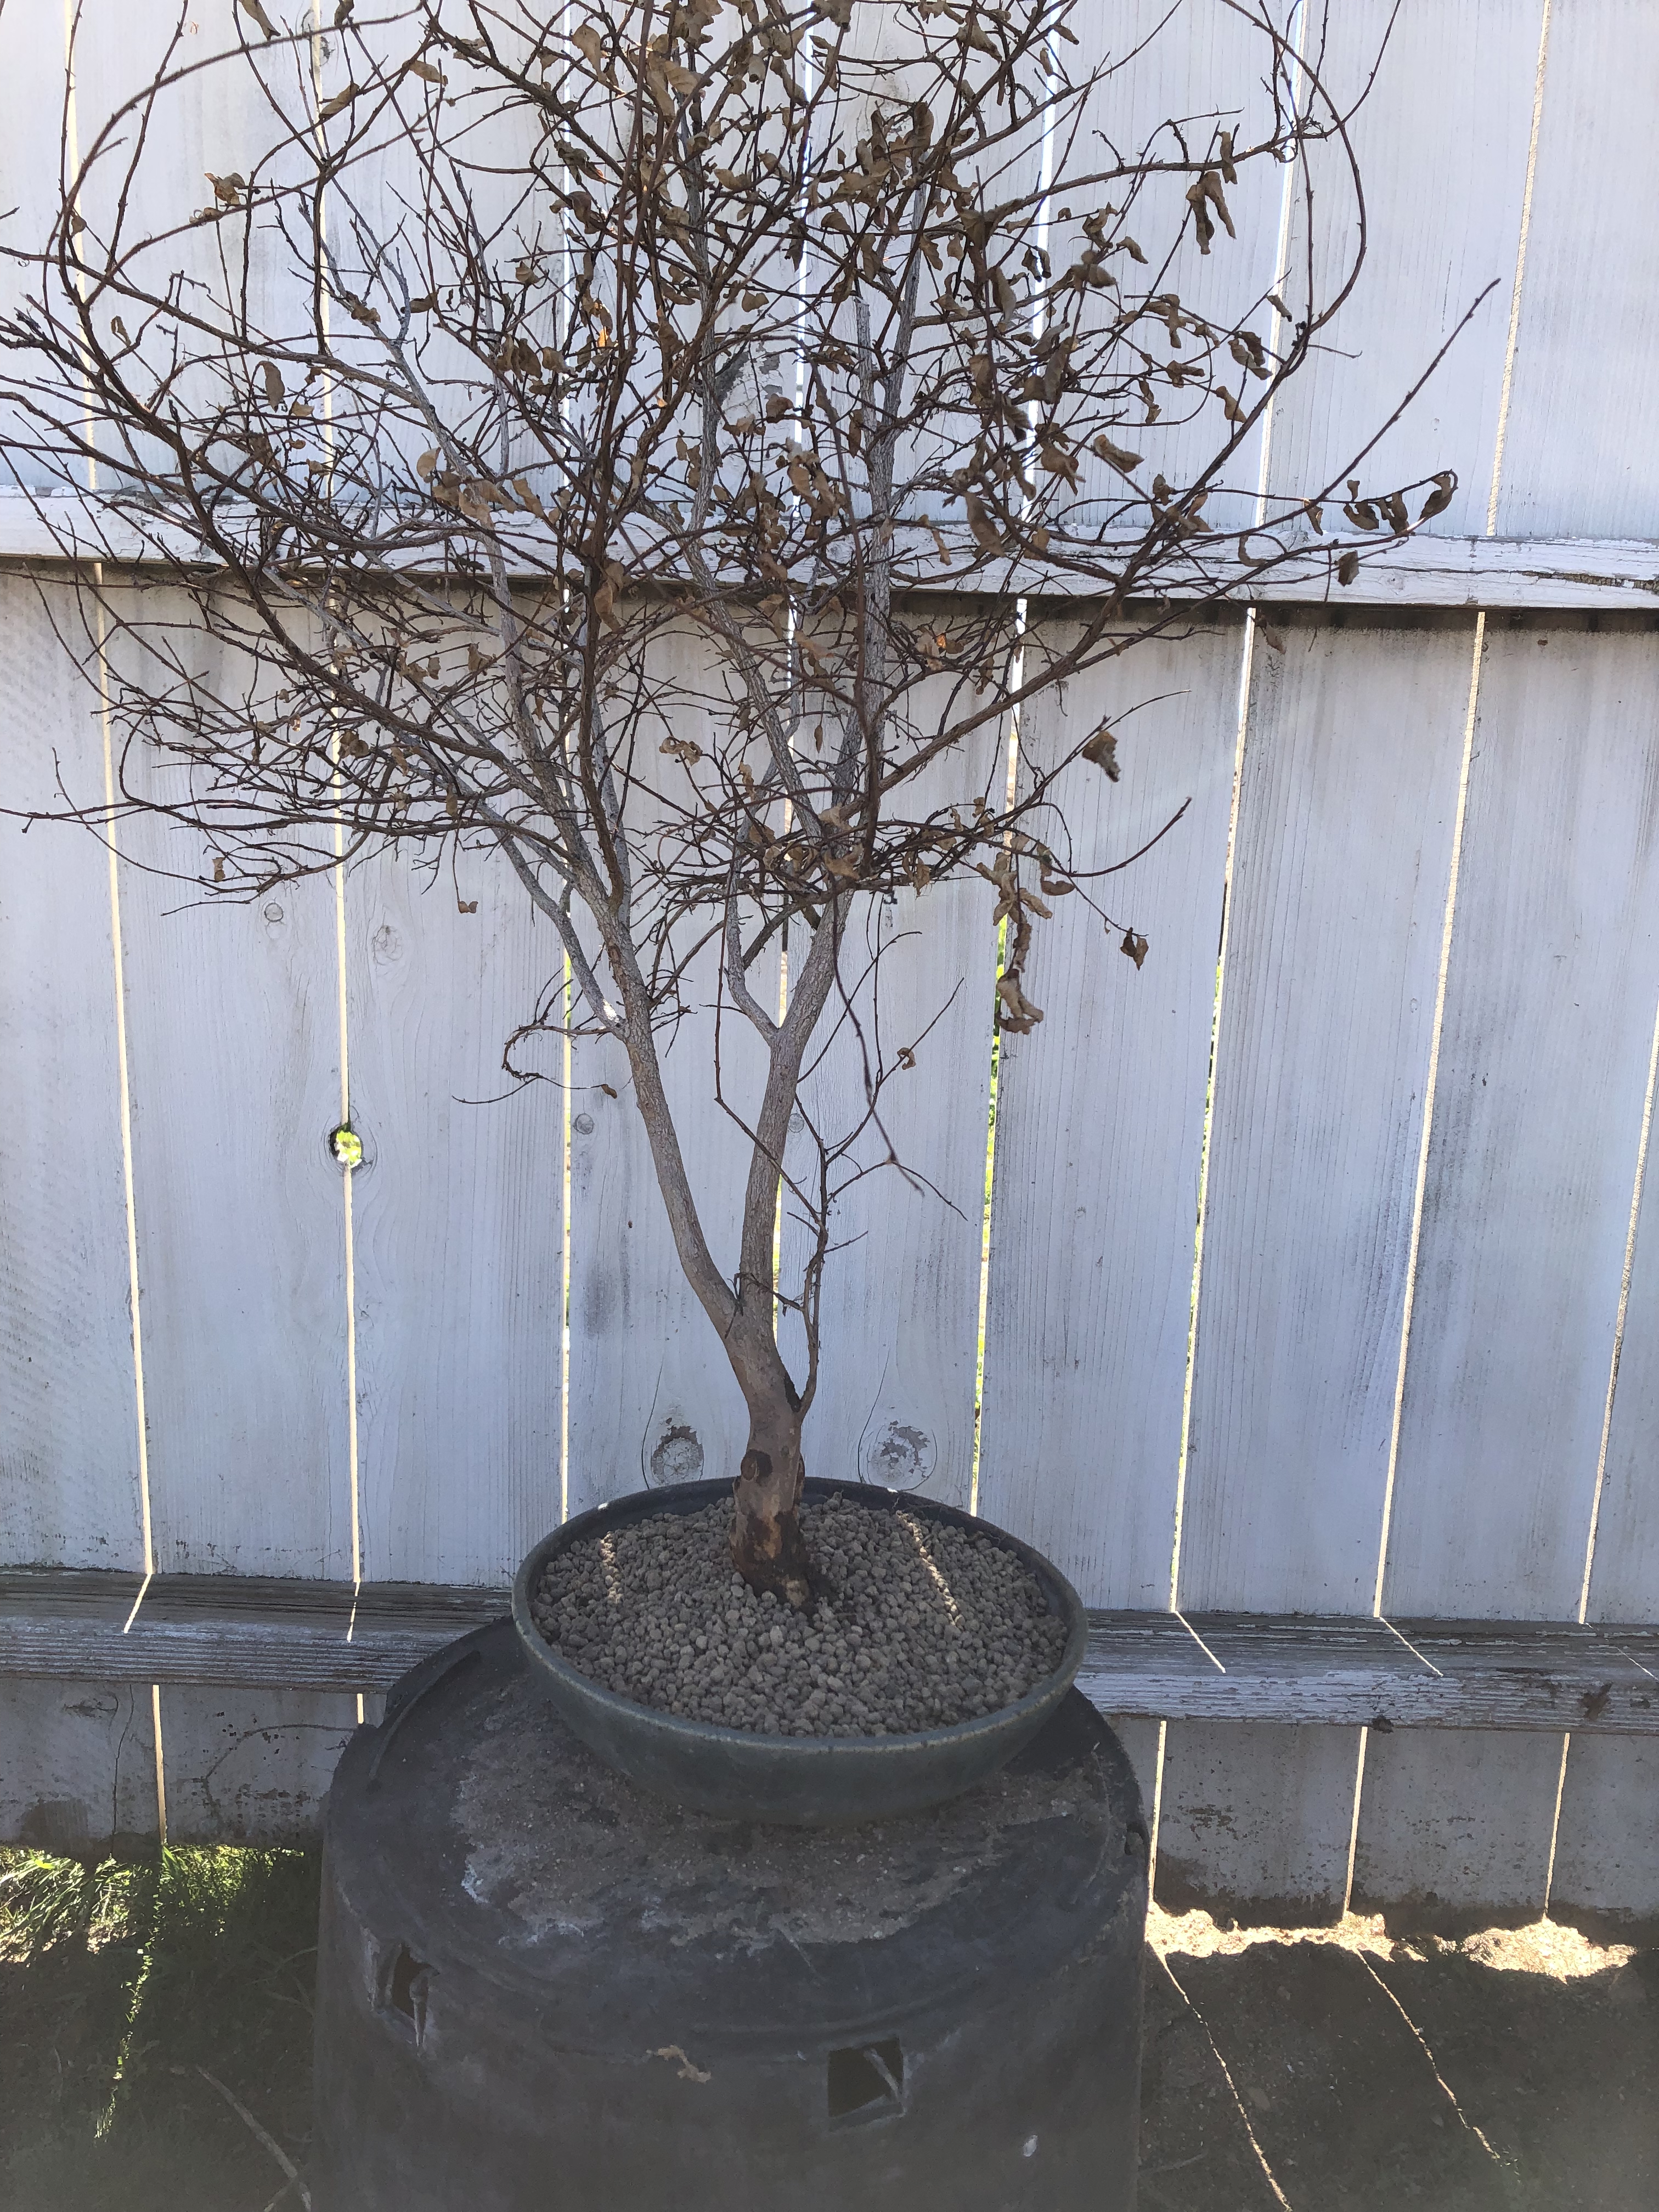
Got to this point, now to look at the canopy and what to reduce.
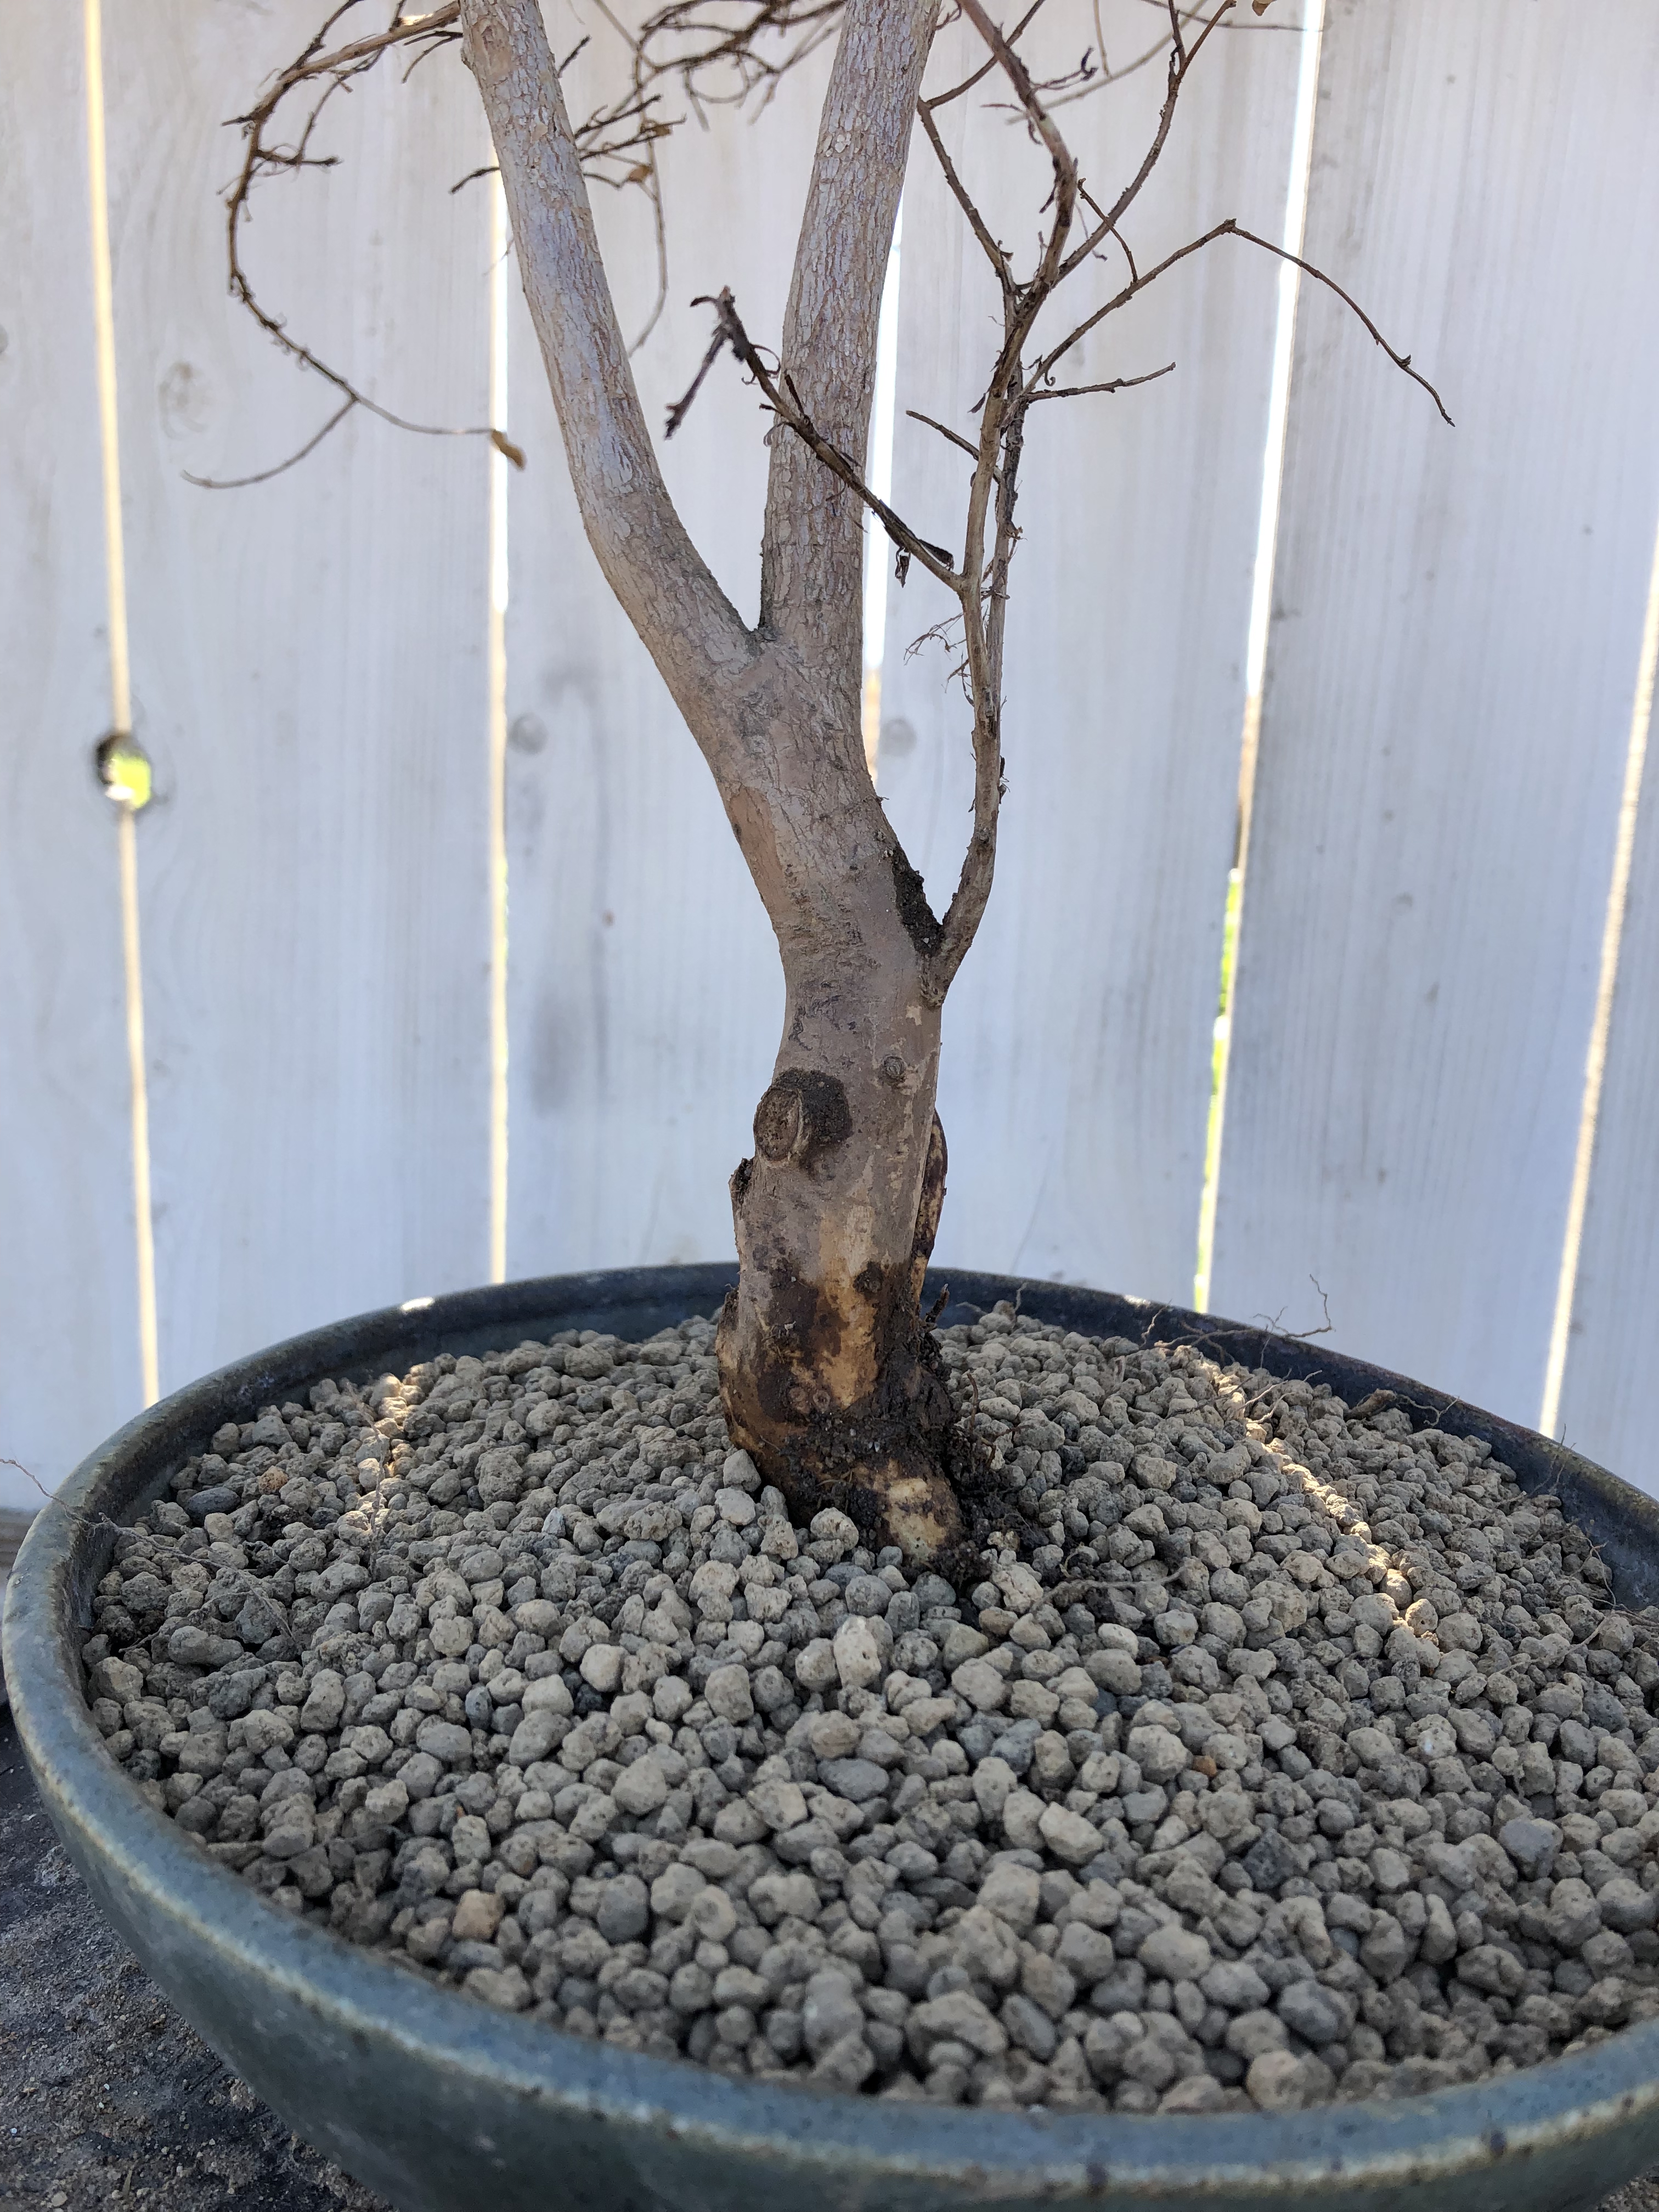
Close up of the trunk.
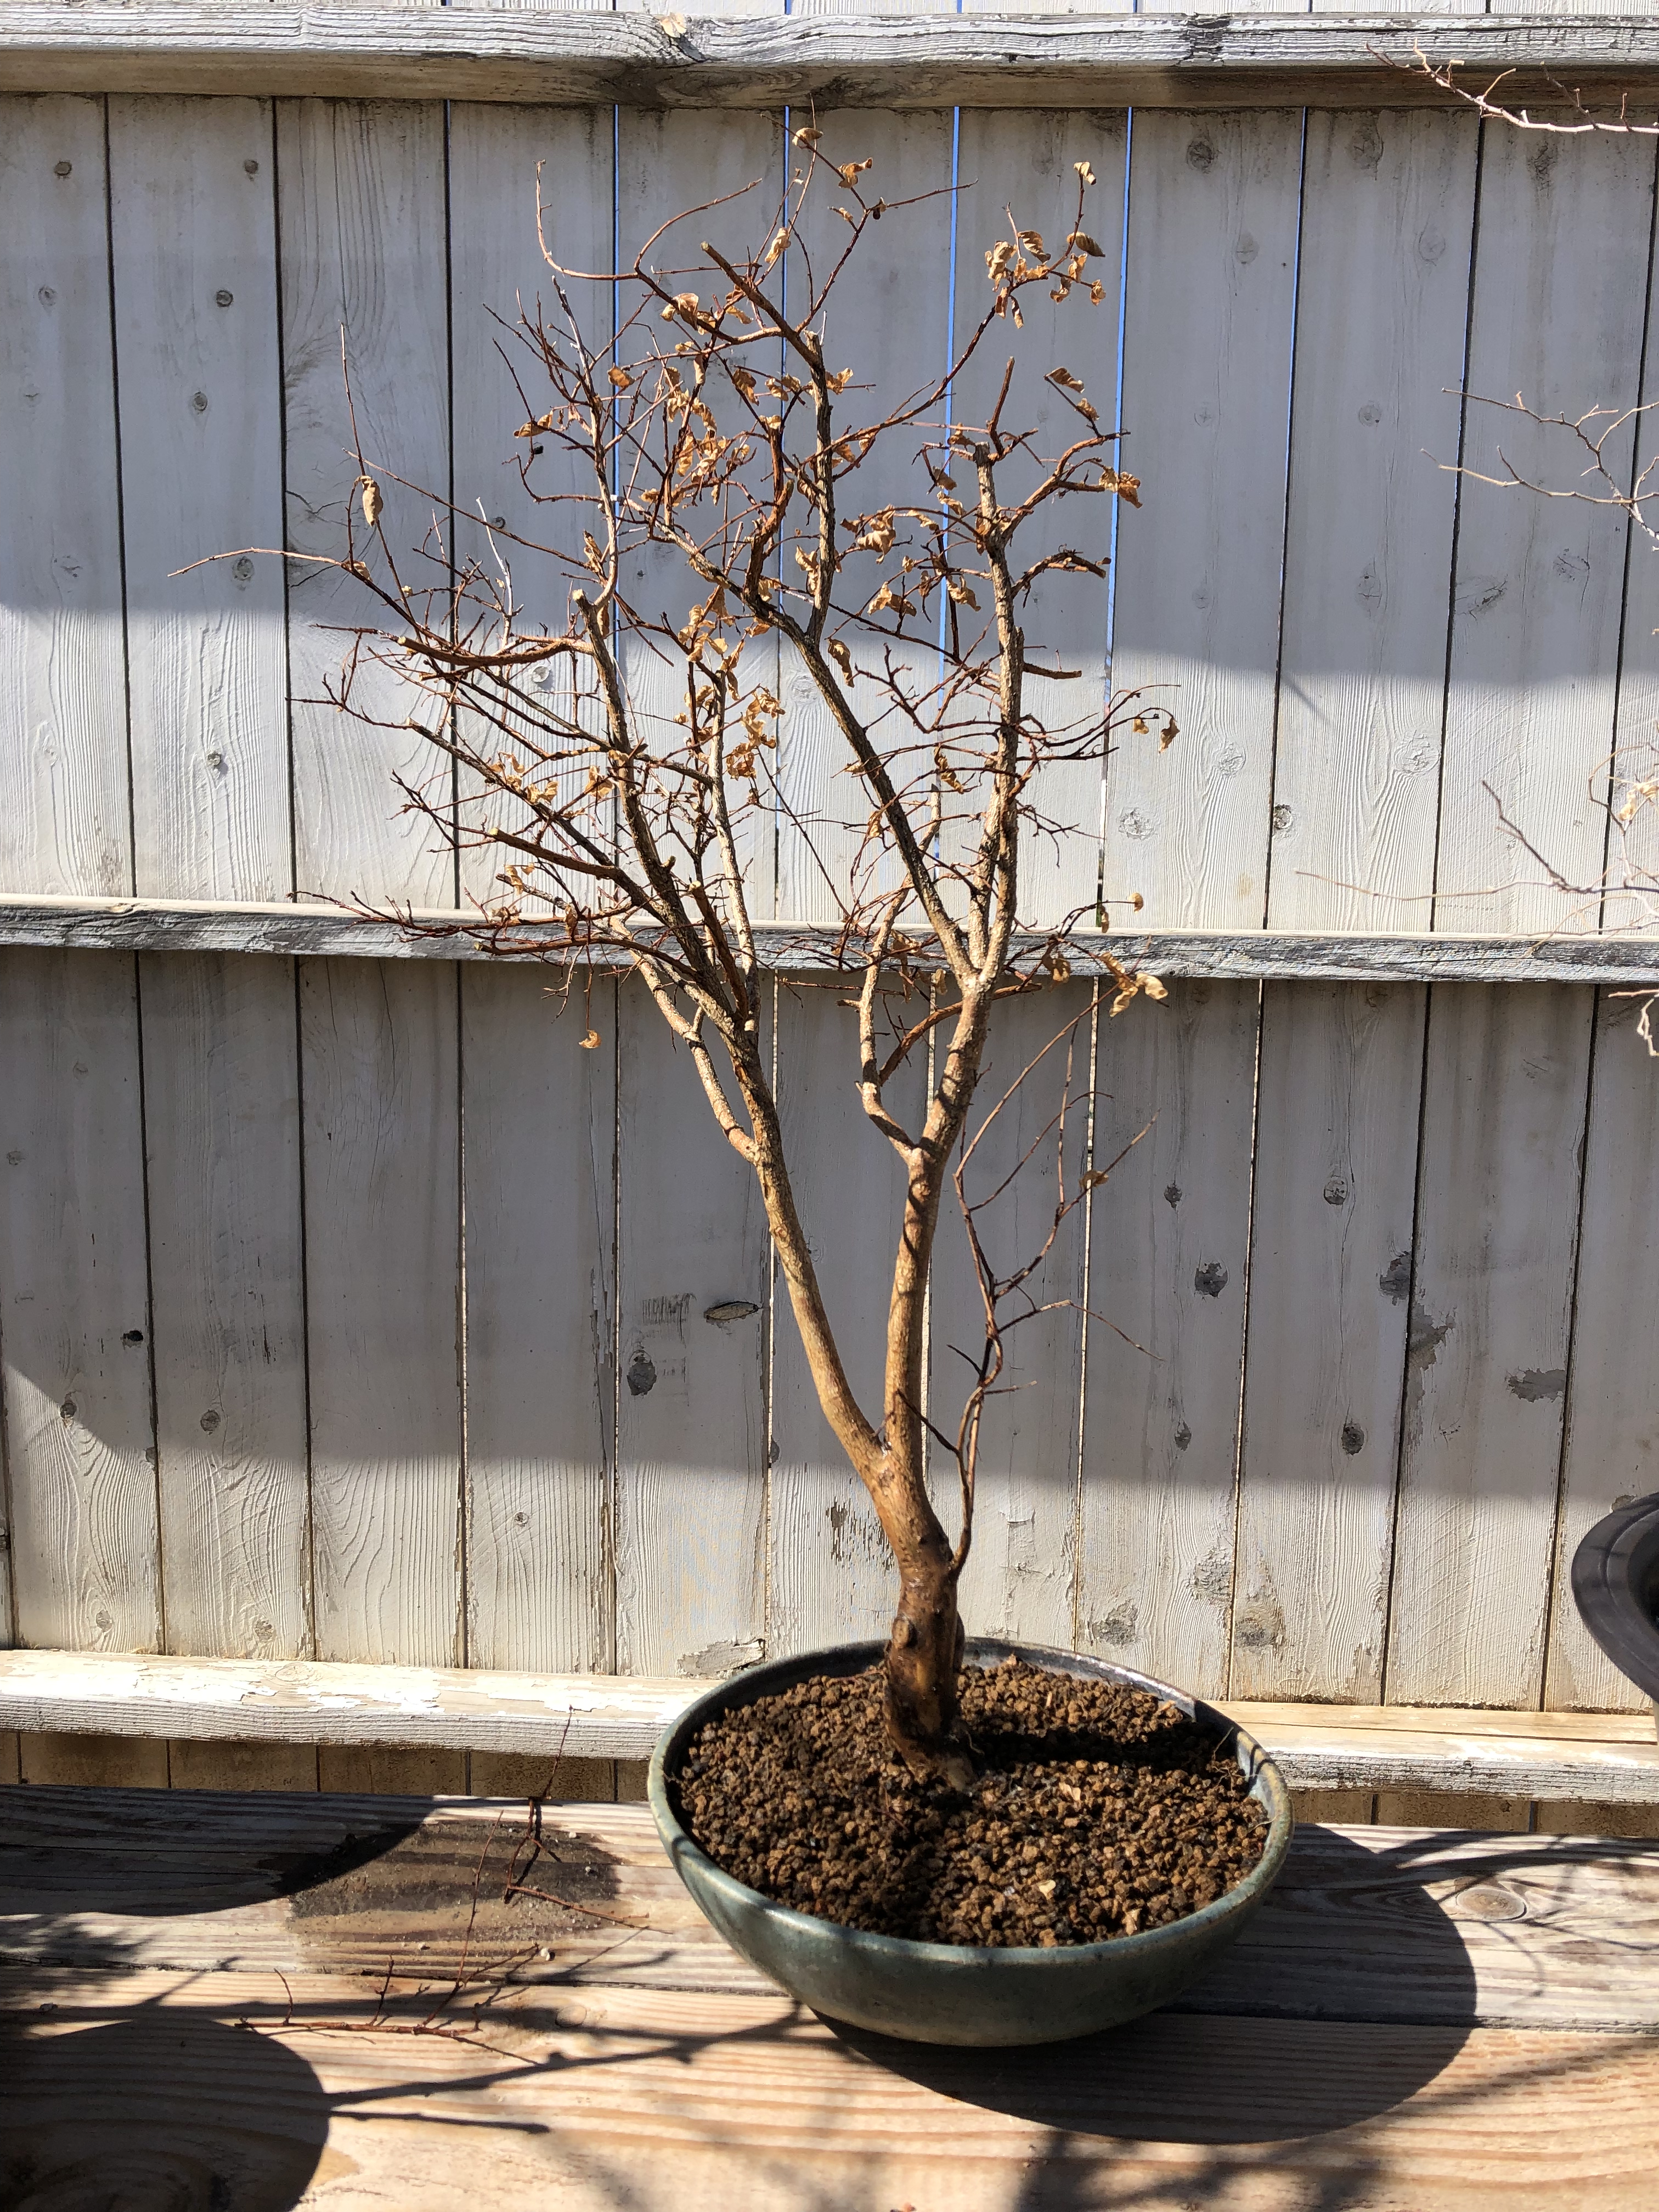 I removed a bit of the branches. I’m not 100% sure what direction I want to go on this yet, so I removed crossing branches, any branches that were too long without taper, and shortened the height of it. I’ll revisit this during the late Spring or Summer to see how it is working.
Reblogged this on Wolf's Birding and Bonsai Blog.